

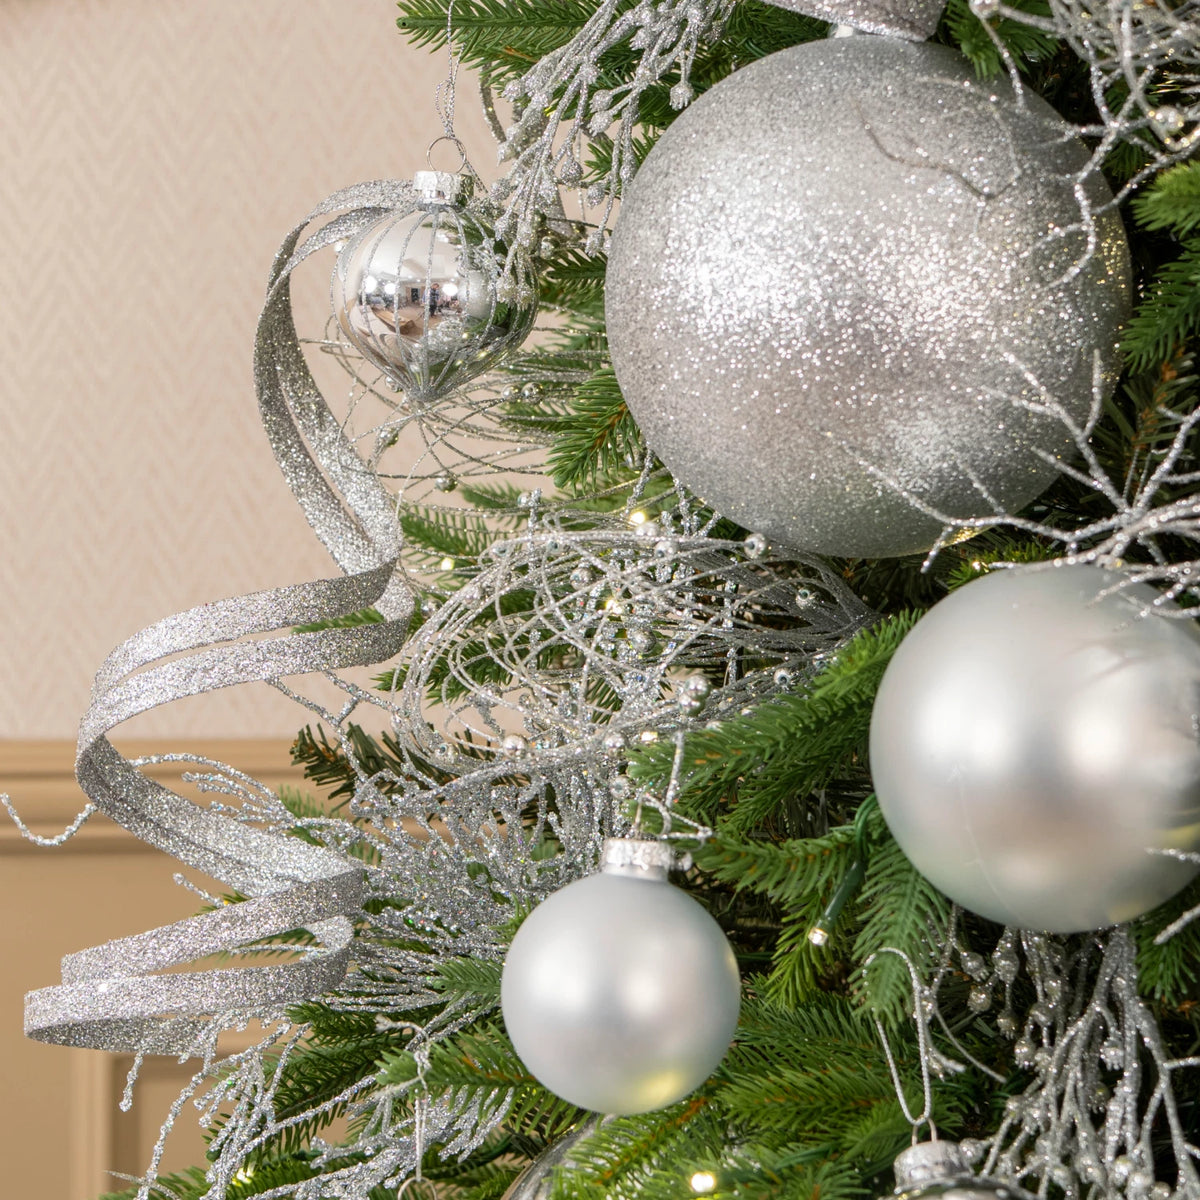
The Silver
Look
Look

Follow our simple step-by-step guide to style the timeless look with foliage, baubles and texture. Watch the video below for the full look.
Watch The look
Come to life
Come to life
Discover how to style silver decorations in our video, creating a bright, layered Christmas look with glittering texture, glass detail and elegant festive sparkle.

Step-by-step
Make sure every branch of your 7 ft Royal Fir Christmas Tree has been carefully fluffed before you begin adding any decorations. Properly shaping your tree at the beginning creates a fuller silhouette and gives every bauble, pick and spray somewhere to sit naturally.
To help, you can stand back every few minutes while fluffing to check how the tree is looking from a distance. This makes it much easier to spot any uneven areas that remain.
Once you’re happy with the shape, position your Square Silver Sequin Tree Collar around the base before the rest of the decorating. The sequin finish introduces the silver theme from the beginning and creates a sparkling foundation for the all-silver design.
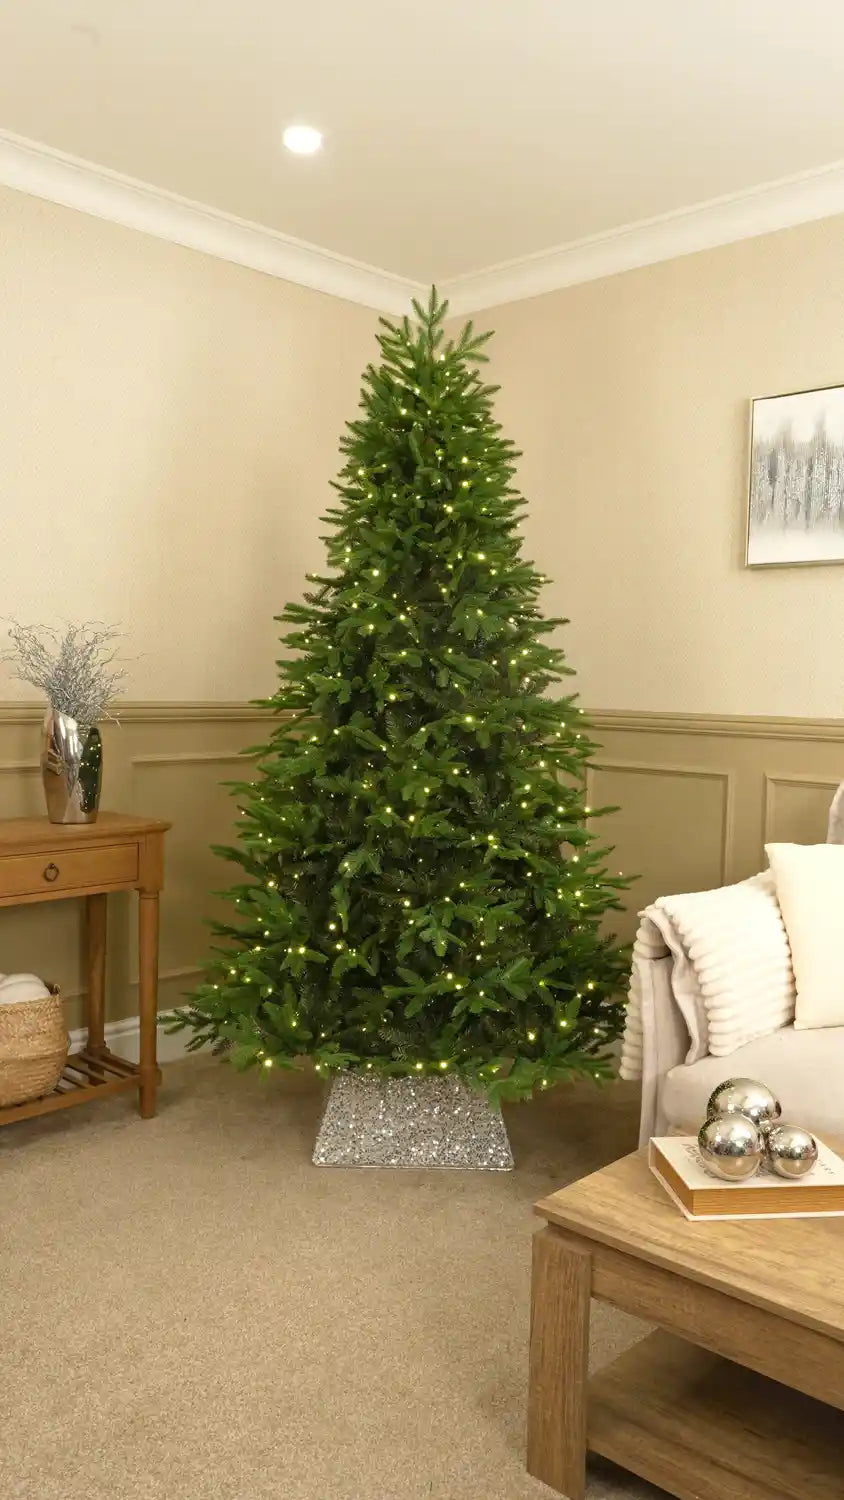
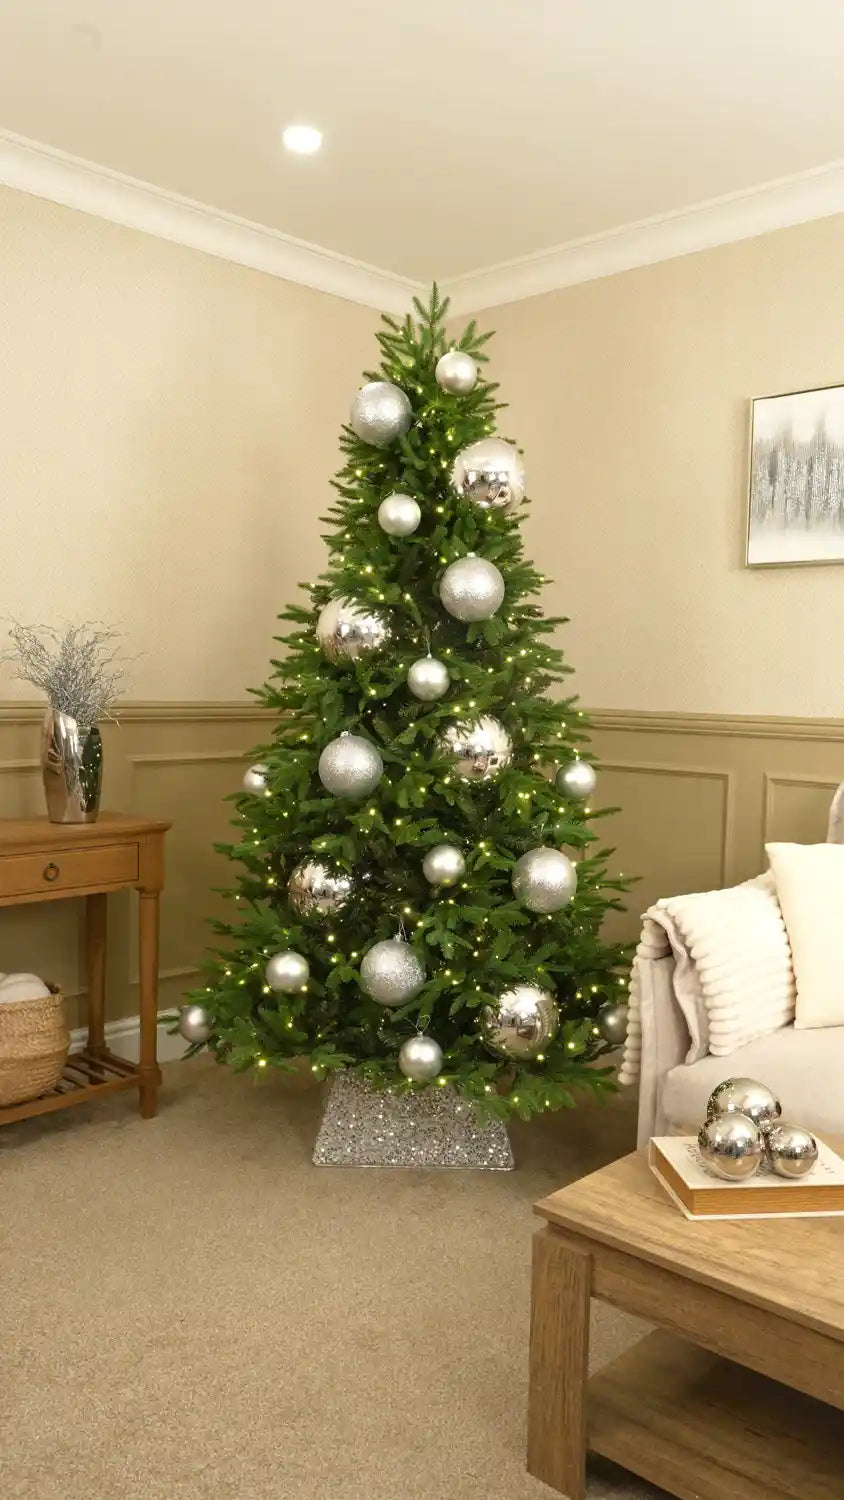
Start the main decoration layer by adding silver baubles in a mixture of sizes and finishes.
Use 20cm, 15cm and 10cm silver baubles in shiny, matt and glitter finishes, working them throughout the whole tree. For this all-silver look, the aim is not to create a strict size gradient, but to mix the different bauble sizes more freely so the tree feels full and balanced from top to bottom.
Place some baubles deeper into the greenery and allow others to sit closer to the front. This gives the single-colour palette more depth while helping each finish catch the light in a slightly different way.
Next, add Silver Glitter Twig Picks throughout the tree in the spaces between the baubles.
Push the stems into the greenery, leaving the glittered branches to extend slightly beyond the tree. Vary the direction and angle of each pick as you work, rather than placing them all in the same position.
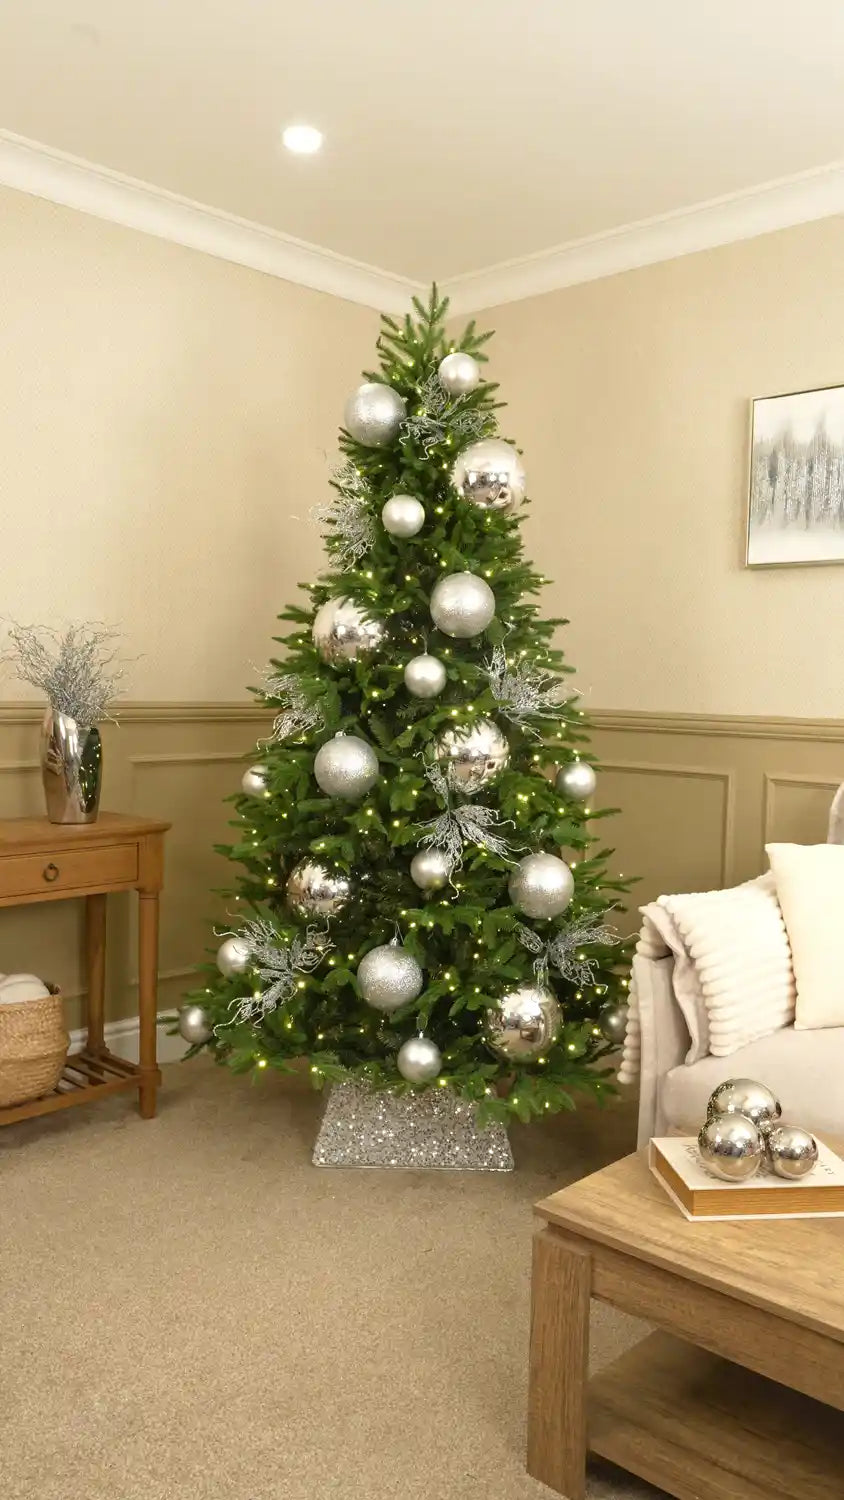
Add Silver Glitter Twig Berry Tip Sprays throughout the tree to build another layer of sparkle and texture.
Work the sprays into the spaces between the baubles and twig picks, pushing the stems into the greenery while allowing the longer glittered branches to trail outwards and downwards.
Spread them evenly around the tree rather than grouping too many together. Their softer, cascading shape contrasts with the more structured twig picks and helps the silver decorations flow naturally through the branches.
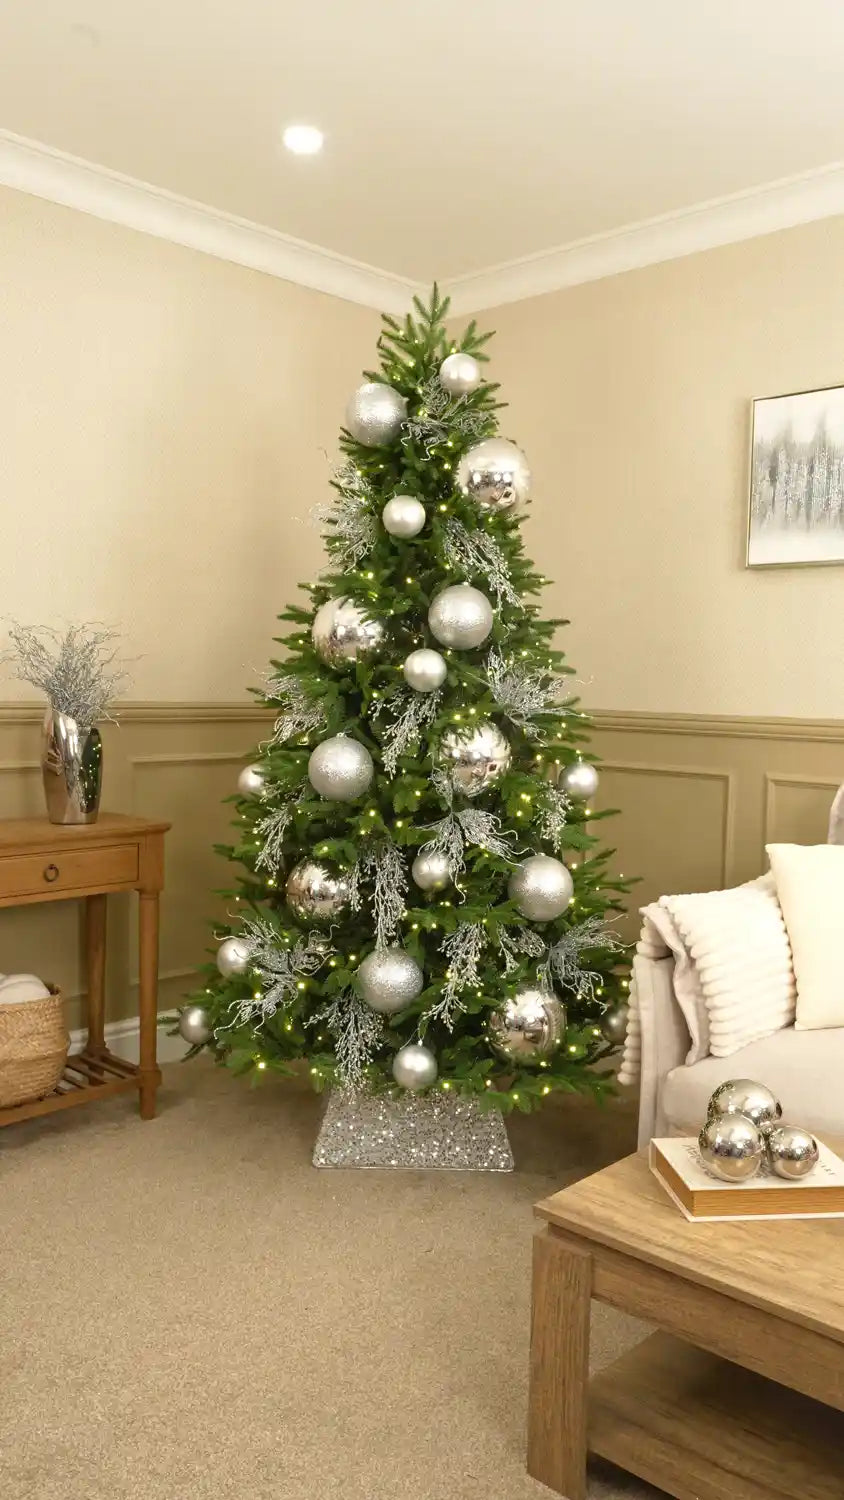
Next, add Silver Glitter Coral Picks throughout the tree to fill some of the remaining spaces between the baubles and sprays.
Push each pick into the greenery so the stem is hidden, while allowing the delicate coral branches to sit closer to the front of the tree. Vary their direction as you work, using them to connect the other silver elements without making the arrangement feel too uniform.
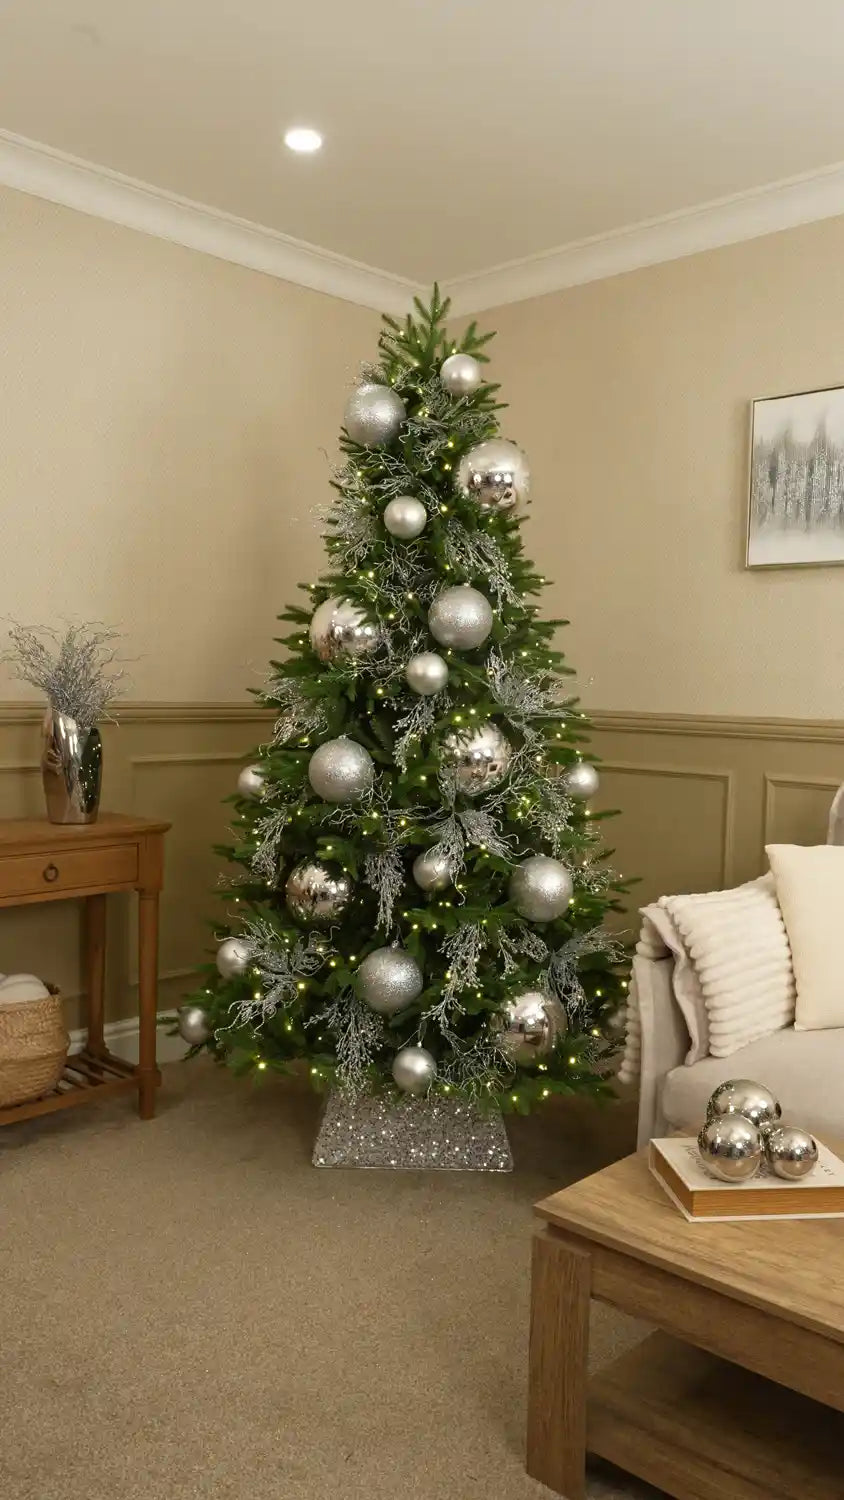
Continue adding texture with Silver Glitter Nest Sprays, working them throughout the tree to build fullness around the existing decorations.
Tuck the stems well into the branches, then shape and curve the nest sprays around the baubles, picks and sprays already in place. Allow some to sweep around the decorations and others to extend slightly out from the greenery.
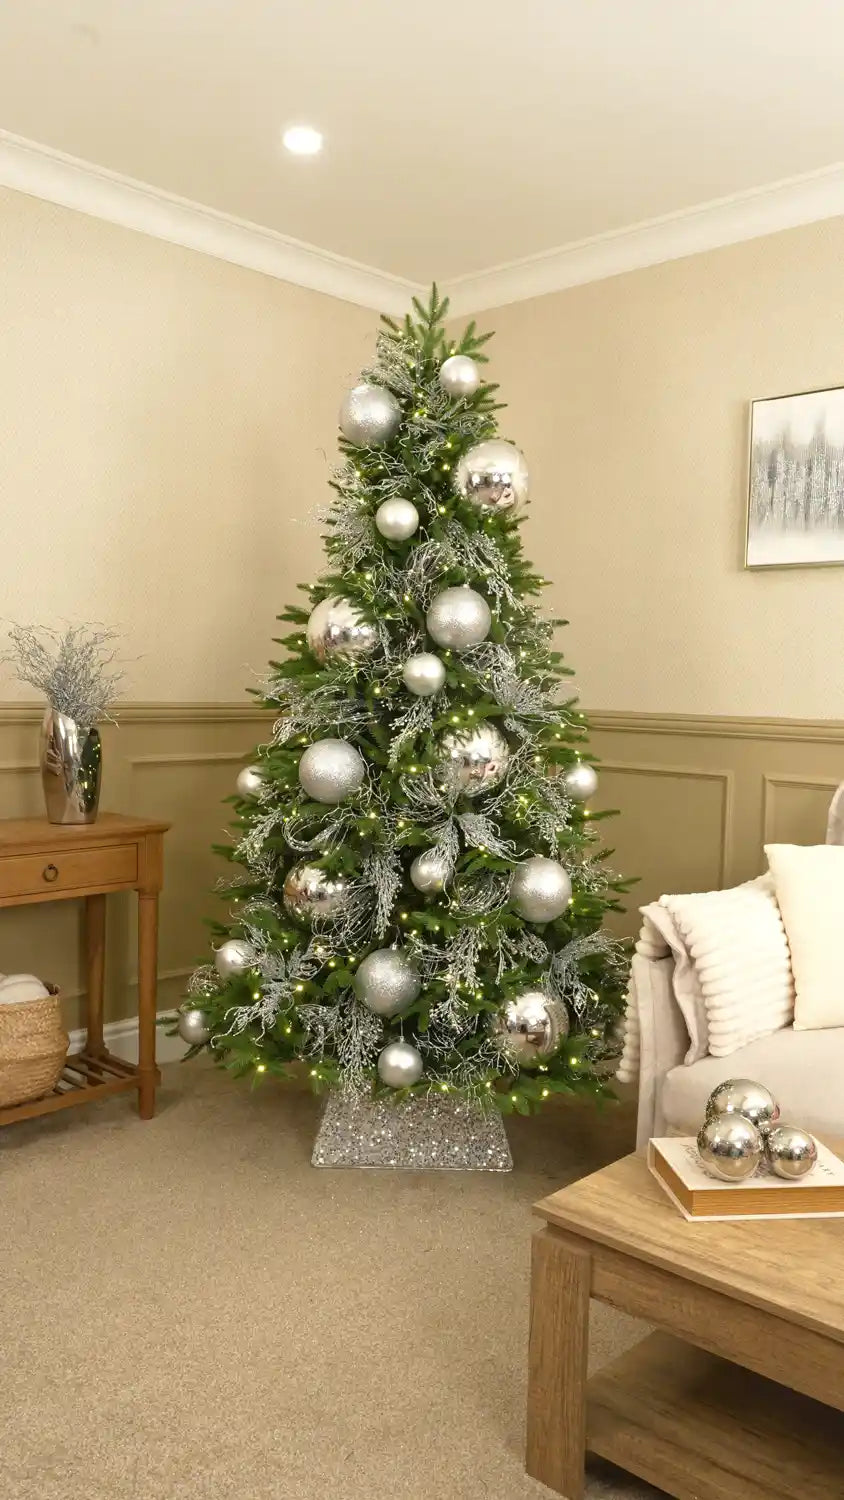
Next, add Silver Glitter Spiral Swirl Picks throughout the tree between the existing sprays and baubles.
Gently shape the spirals before placing them, then tuck the stems into the branches so the curled sections sit prominently towards the front of the tree. Allow some of the spirals to curl around the baubles and other decorations for a flowing, intertwined effect.
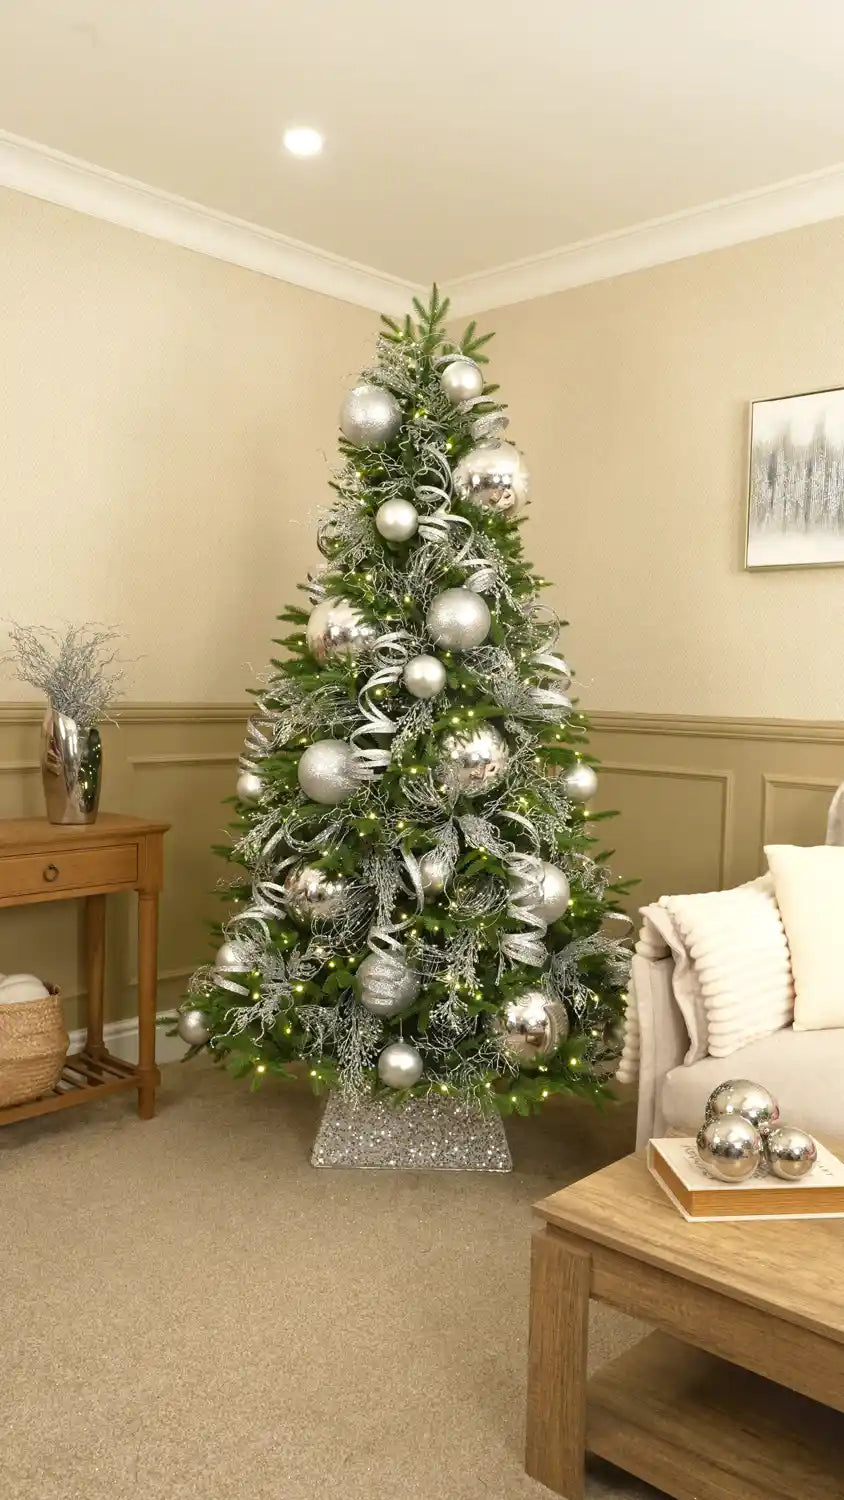
Once the larger decorations, picks and sprays are in place, add Silver Glass Baubles throughout the remaining branch tips.
Scatter them between the oversized baubles and decorative picks, taking them from the bottom of the tree through to the top. Mix the different shapes and finishes as you work, rather than creating a strict pattern.
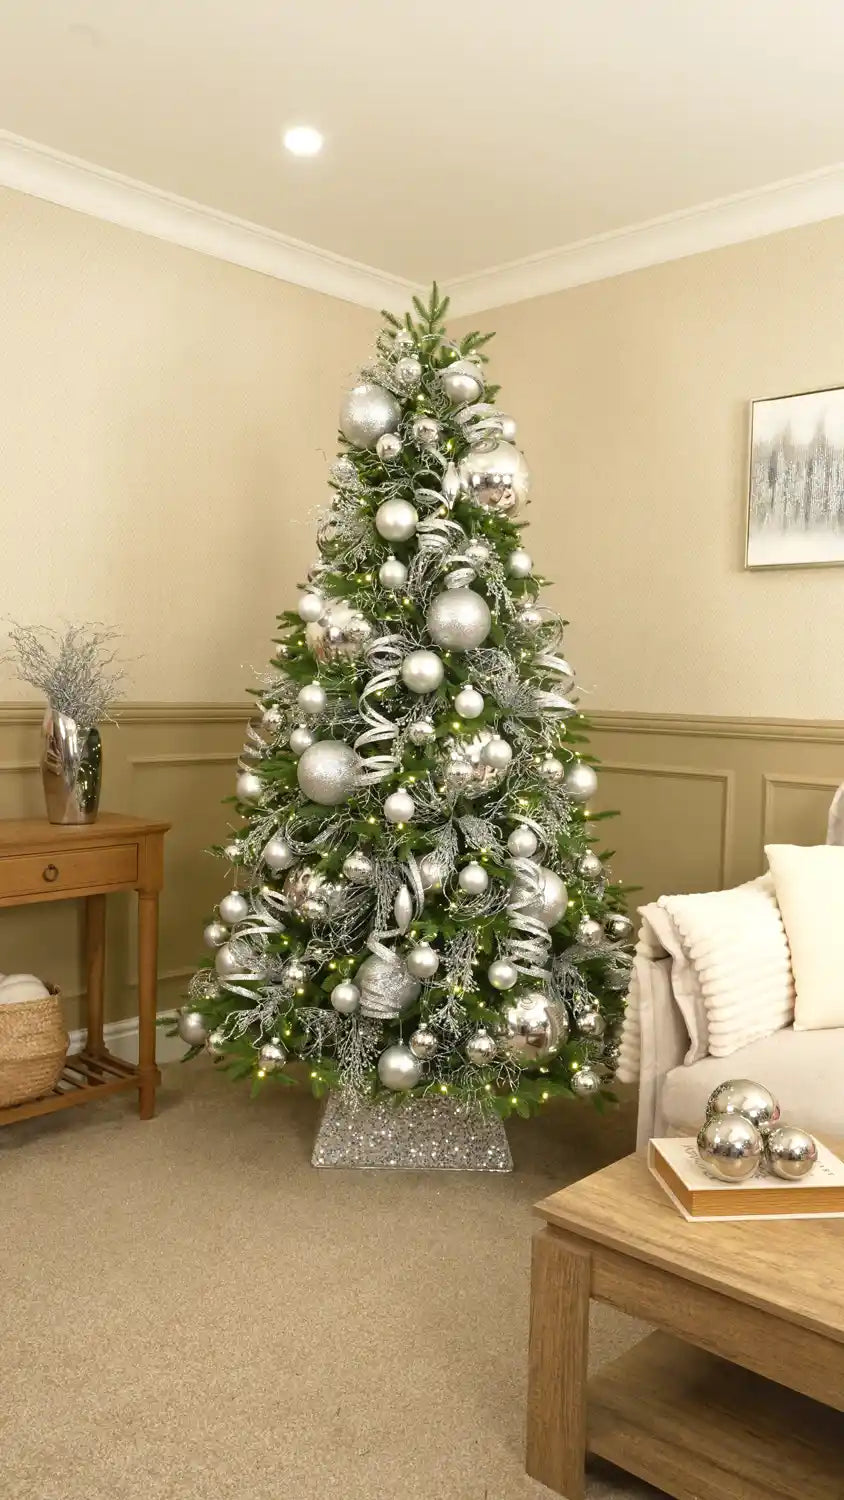
Finish the tree with a Silver Glitter Twig Tree Topper.
Place the topper securely at the top of the tree, then arrange the glittered twigs so they fan out above the branches and extend slightly beyond the natural shape. Gently spread and shape the individual stems to give the topper height and fullness.
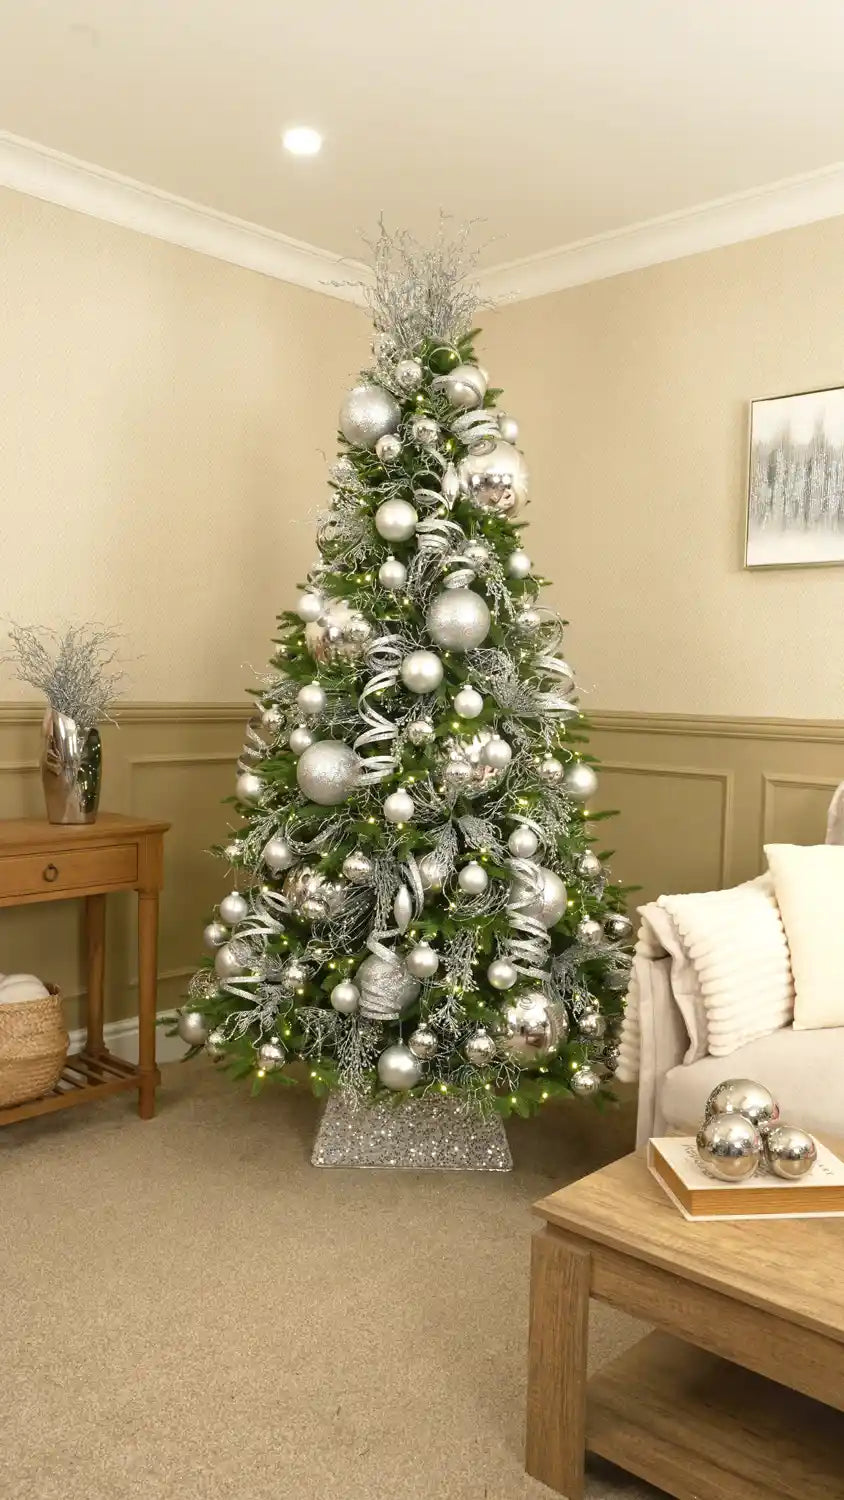
The Finished Look
This all-silver Christmas tree combines oversized baubles, glass decorations, glitter picks, decorative sprays and a statement topper to create a sparkling festive look with plenty of texture and detail.
Decorating with a single colour works best when you mix different sizes, shapes and finishes. The combination of shiny, matt, glitter and glass decorations keeps the silver palette from feeling flat, while the twig picks, coral picks, nest sprays and spiral swirls add movement throughout the branches.
Set against the rich green foliage of the Royal Fir, this all-silver Christmas tree theme creates a bright, statement festive centrepiece that feels glamorous, full and beautifully easy to recreate.
Shop the look highlights


Choose your option


Choose your option


Choose your option


Choose your option


Choose your option


Choose your option


Choose your option


Choose your option


