

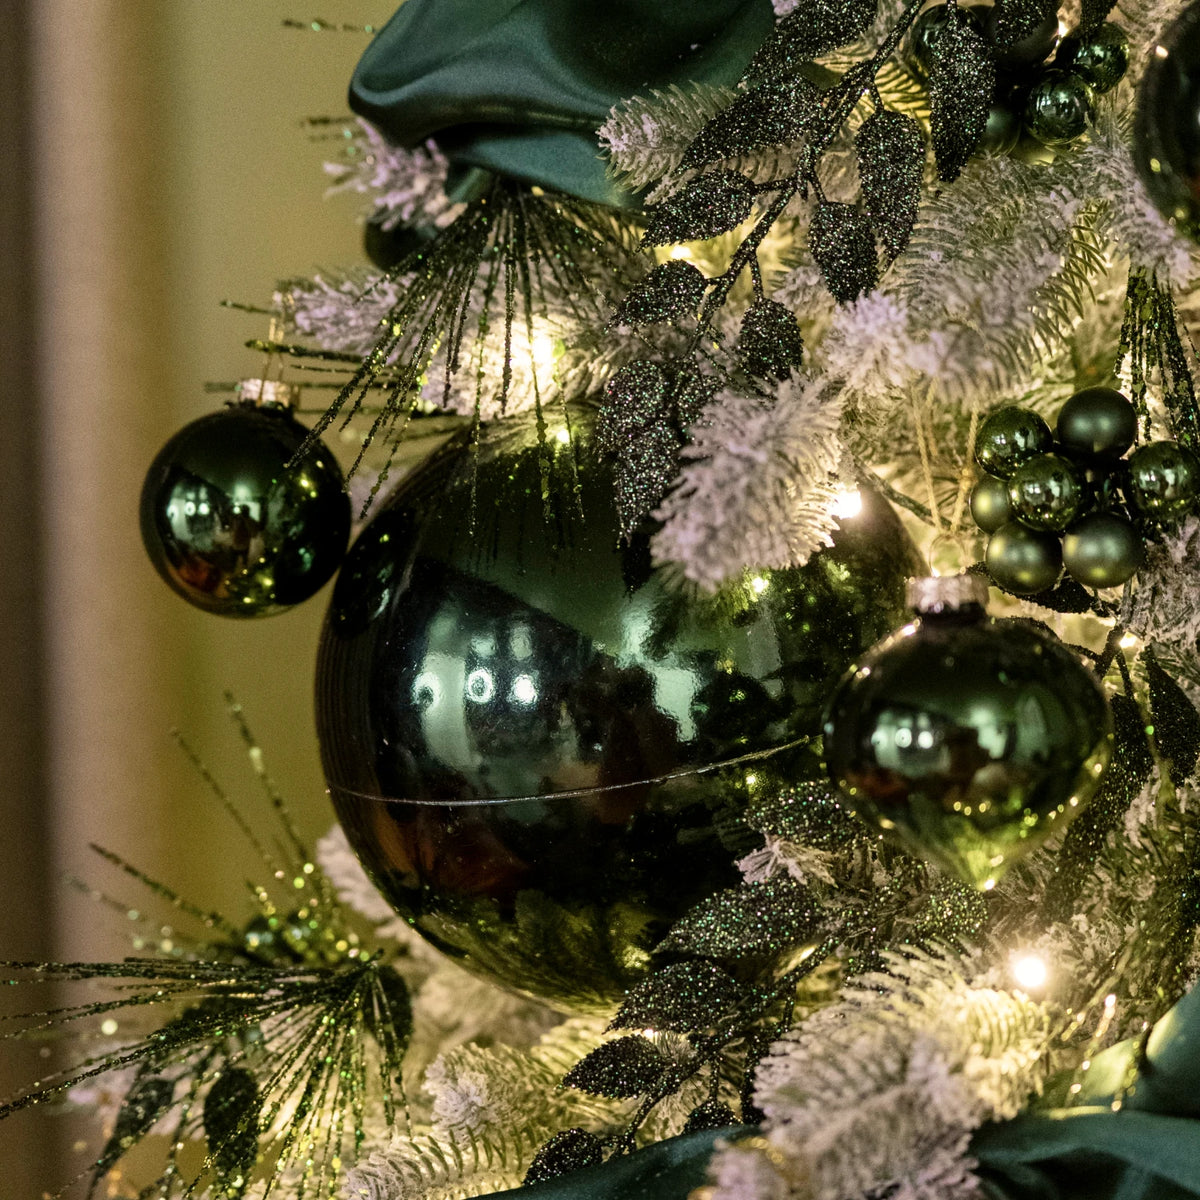
The Sage Green Look

Tasteful Sage Green Styling
Follow our simple step-by-step guide to style the timeless look with foliage, baubles and texture. Watch the video below for the full look.
Watch The look
Come to life
Come to life
Discover in our video how to style with sage green decorations, creating a beautifully layered Christmas look with soft colour,elegant texture and subtle festive sparkle.

Step-by-step
Begin with the 7.5ft Pre-Lit Snow Flocked Christmas Tree and finish the base with the Sage Green Faux Fur Diamond Tree Skirt.
Take time to shape and fluff every branch, spreading the flocked tips evenly to create a full, balanced silhouette. The snowy finish provides a beautiful backdrop for the rich green decorations that will follow, while the matching faux fur tree skirt completes the base with a soft, luxurious finish.
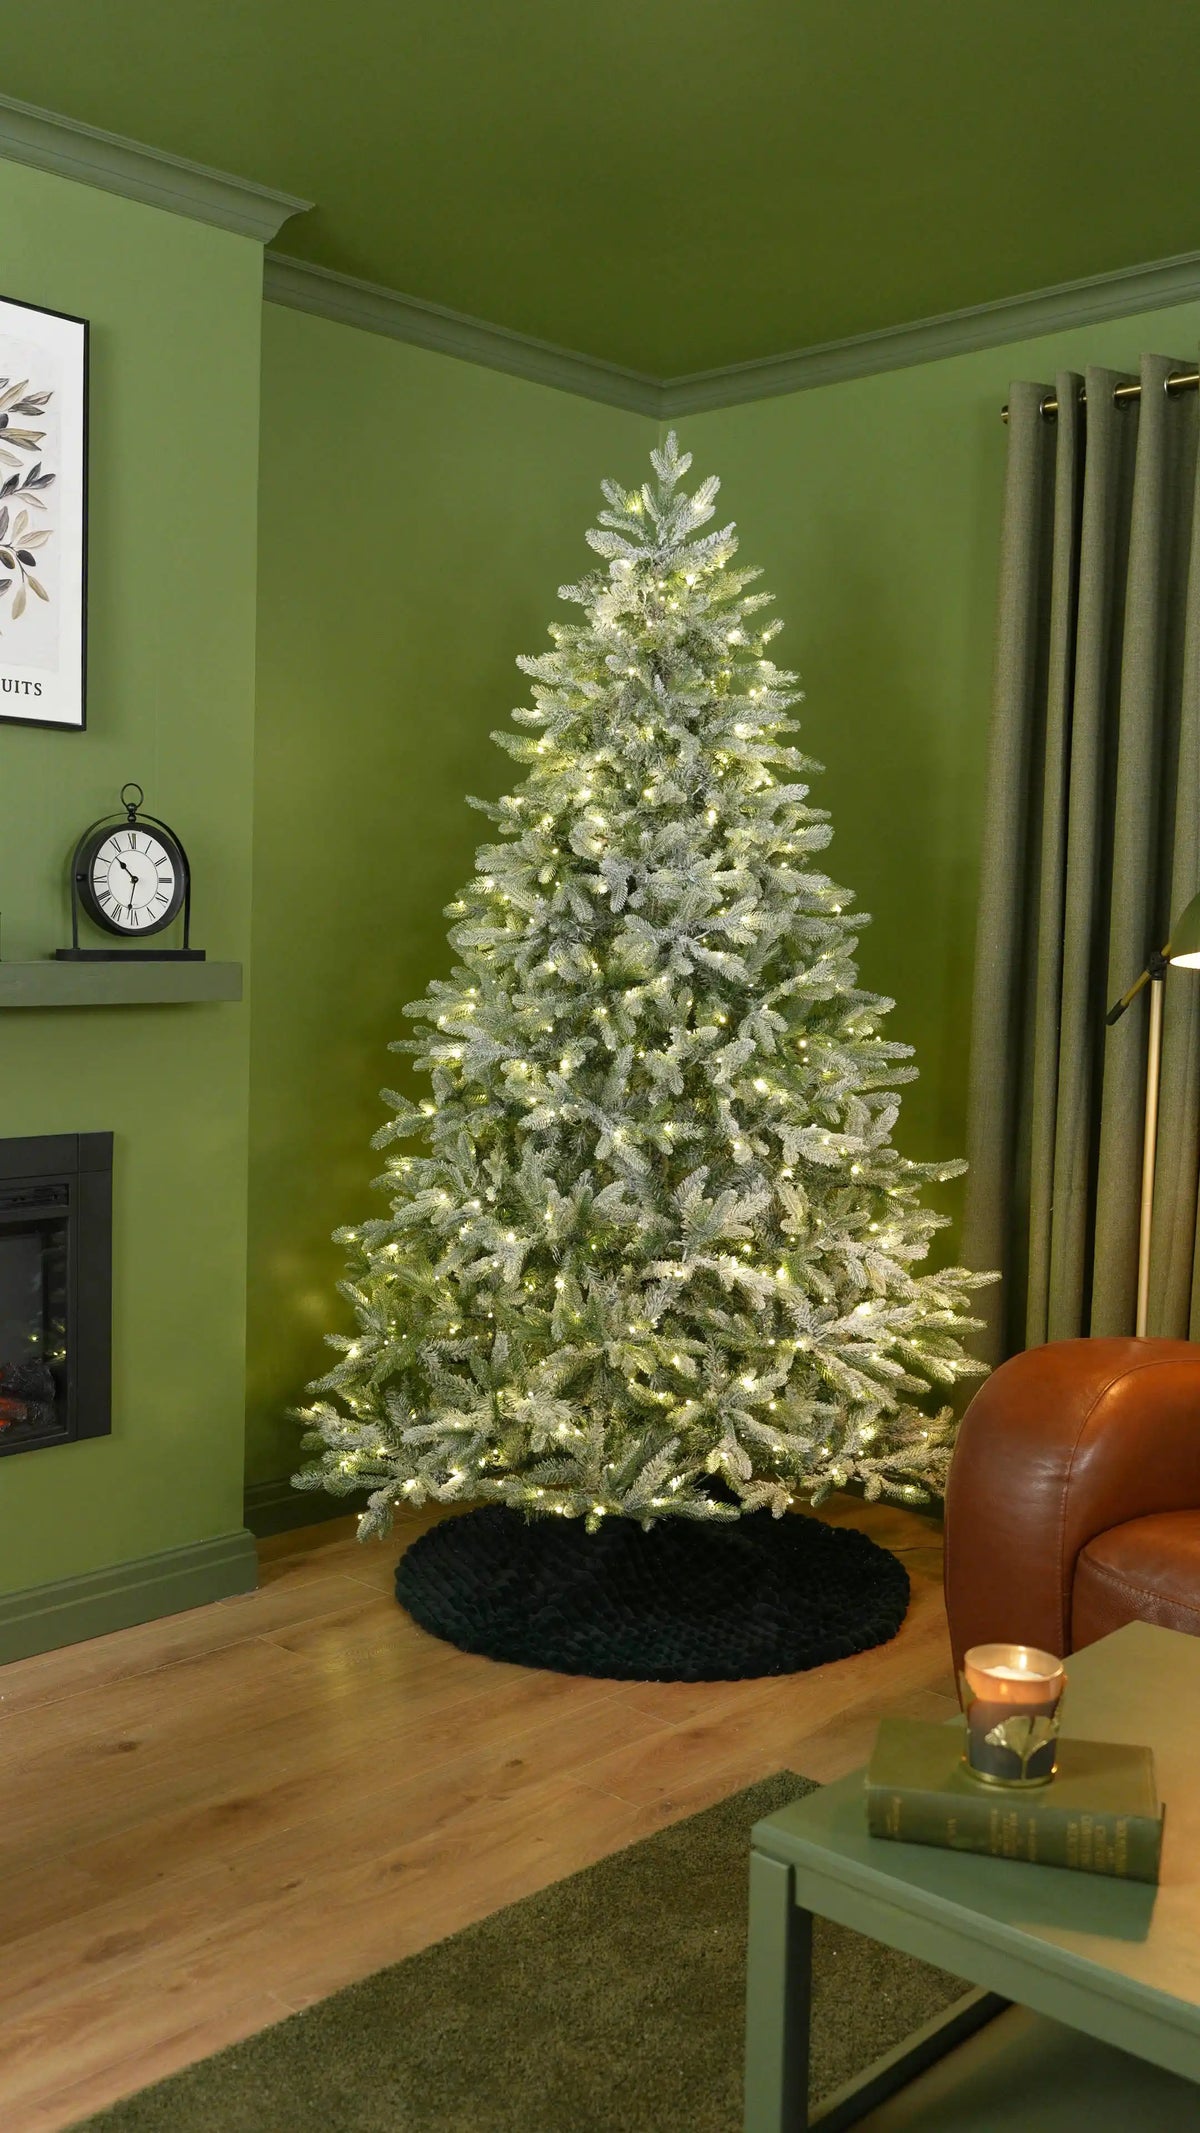
Starting near the top of the tree, begin adding the Sage Green Satin.
Before cutting your satin, hold the roll against the tree to measure the length you'll need for each row. Always leave yourself a little extra, as creating the bunches will use more fabric than you might expect.
Secure one end of the satin into the tree, then decide where you'd like your first bunch to sit. Once you're happy with the position, wrap a branch around the satin to hold it in place, allowing the fabric between each securing point to naturally bunch. Continue this process along the row, creating evenly sized bunches until you reach the end, before moving on to the next layer.
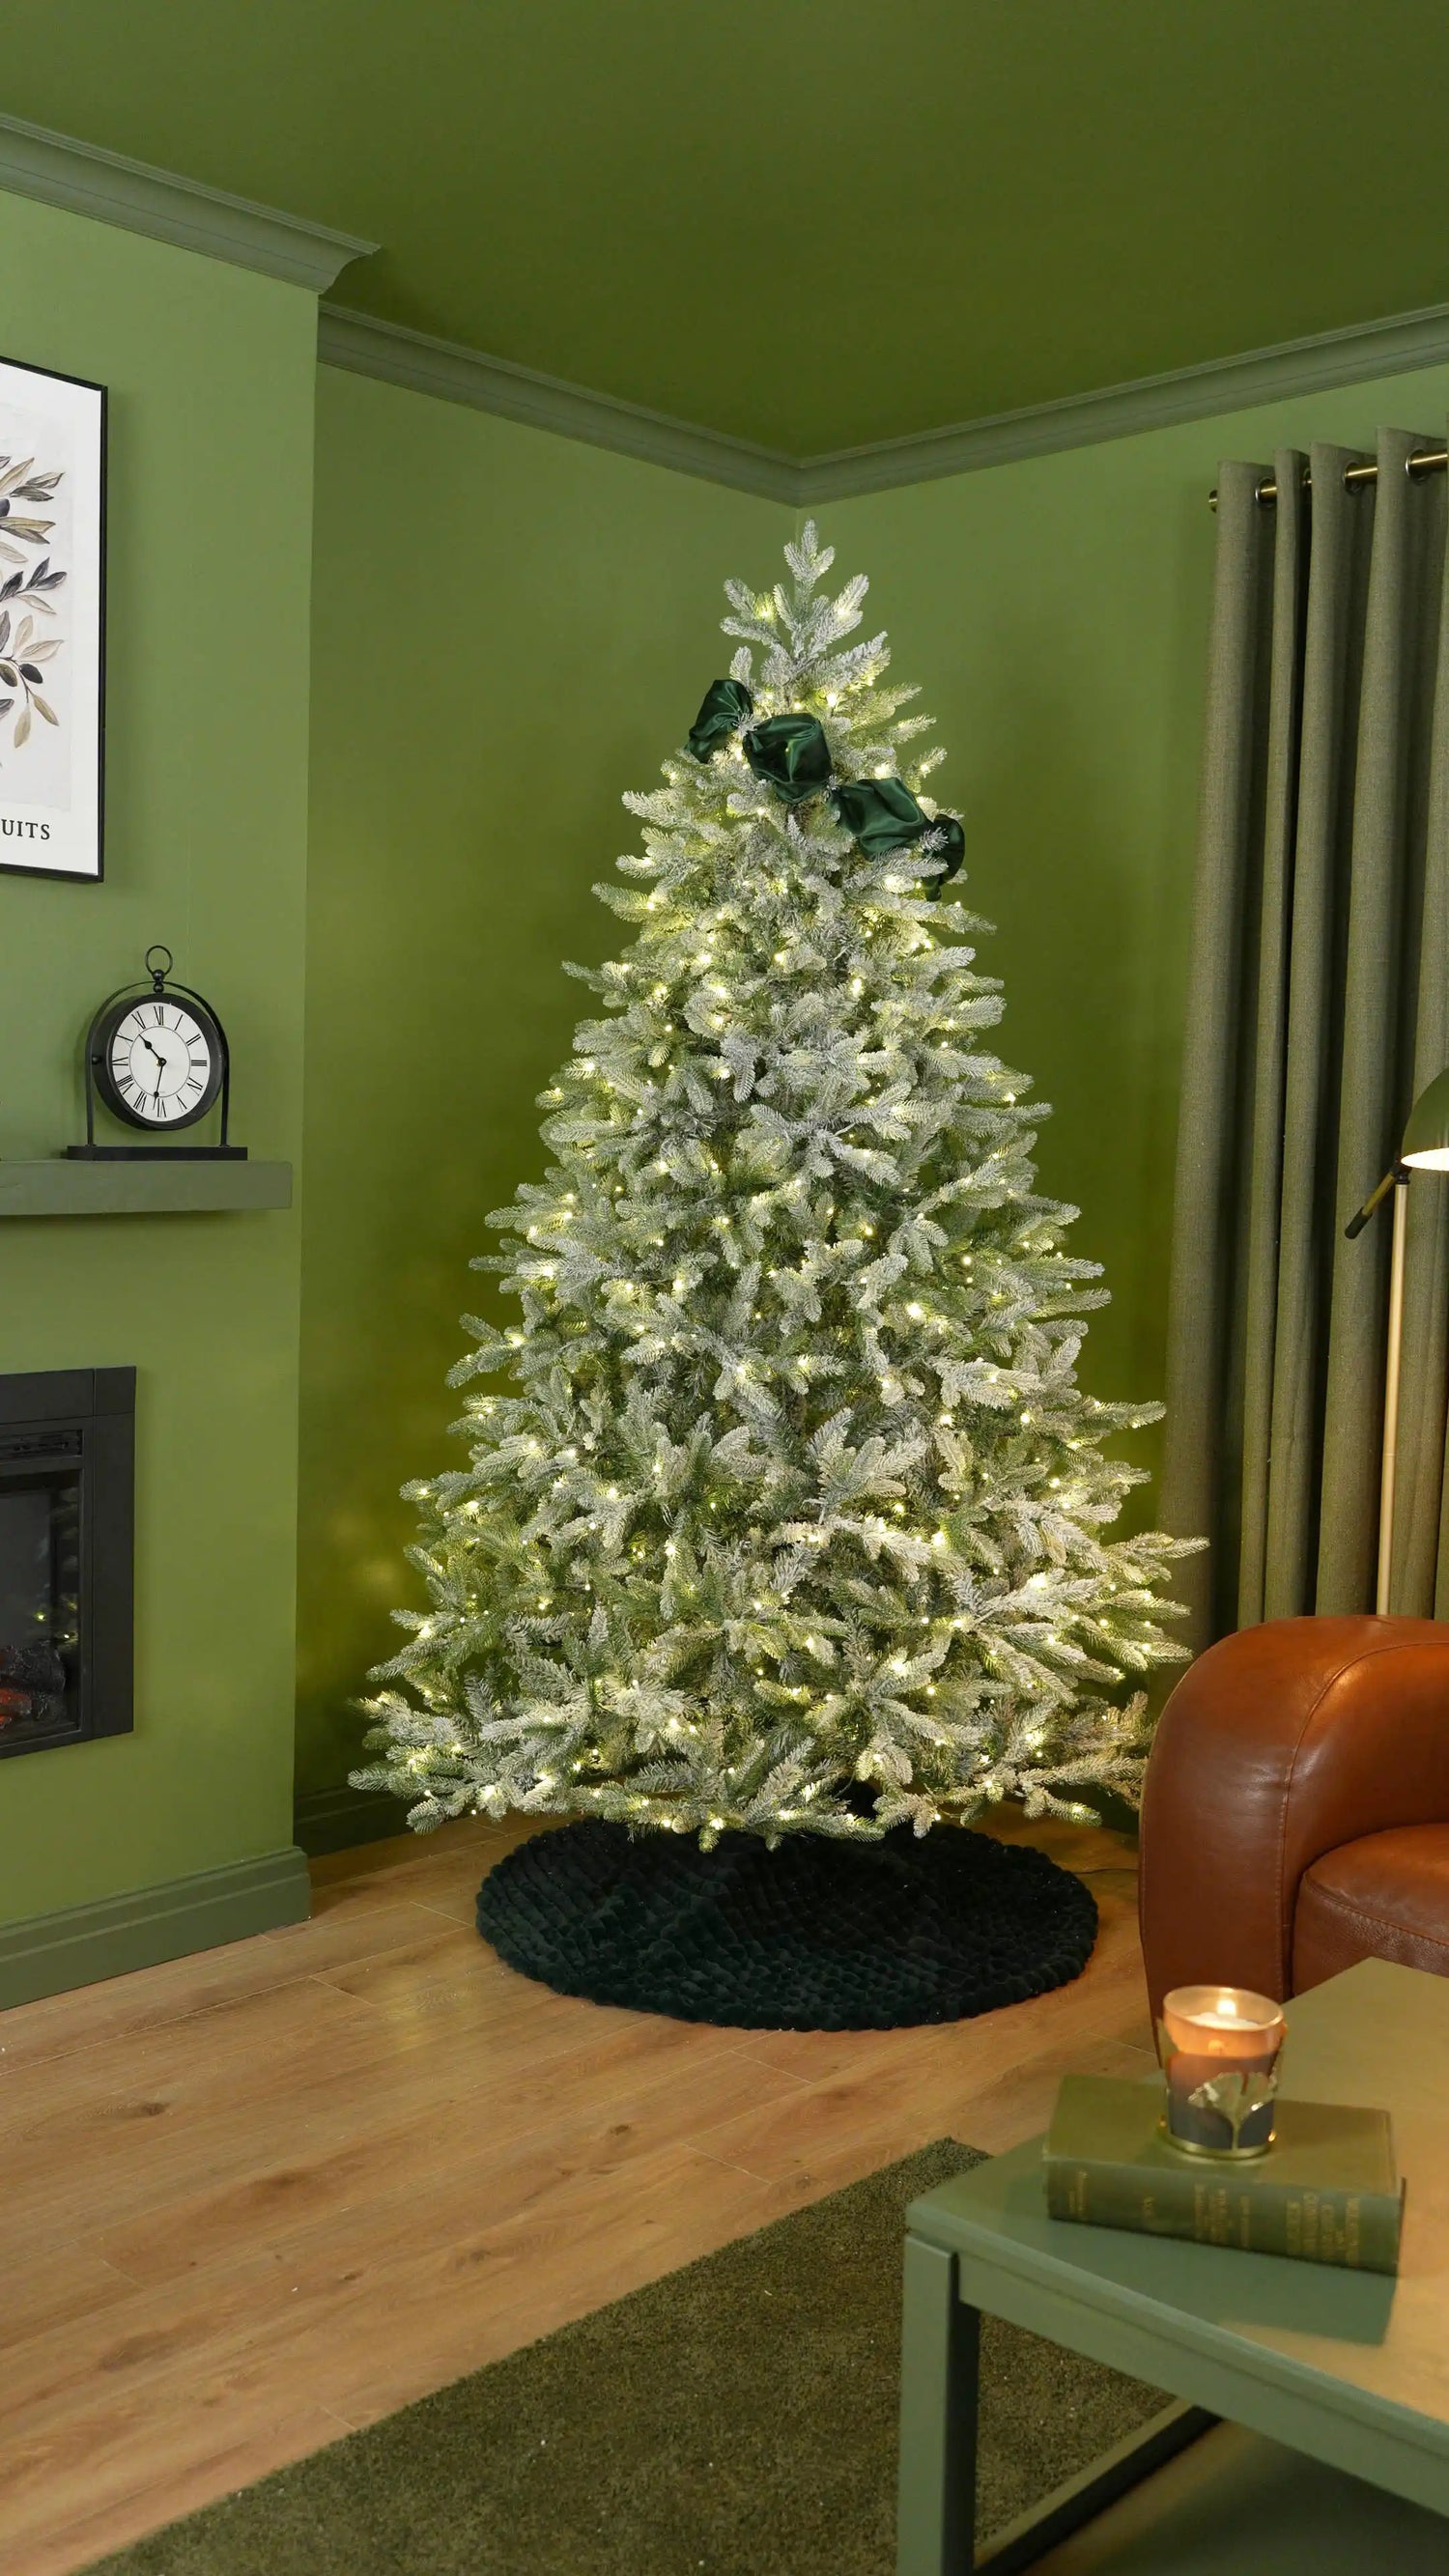
Continue adding further lengths of the Sage Green Satin, repeating the same technique of creating soft bunches by securing the satin with the branches.
Work your way evenly down the tree until you reach the point where you'd like the satin to finish. Keep the spacing between each section consistent so the design flows naturally from top to bottom, leaving generous gaps between the satin for the oversized decorations that will be added next.
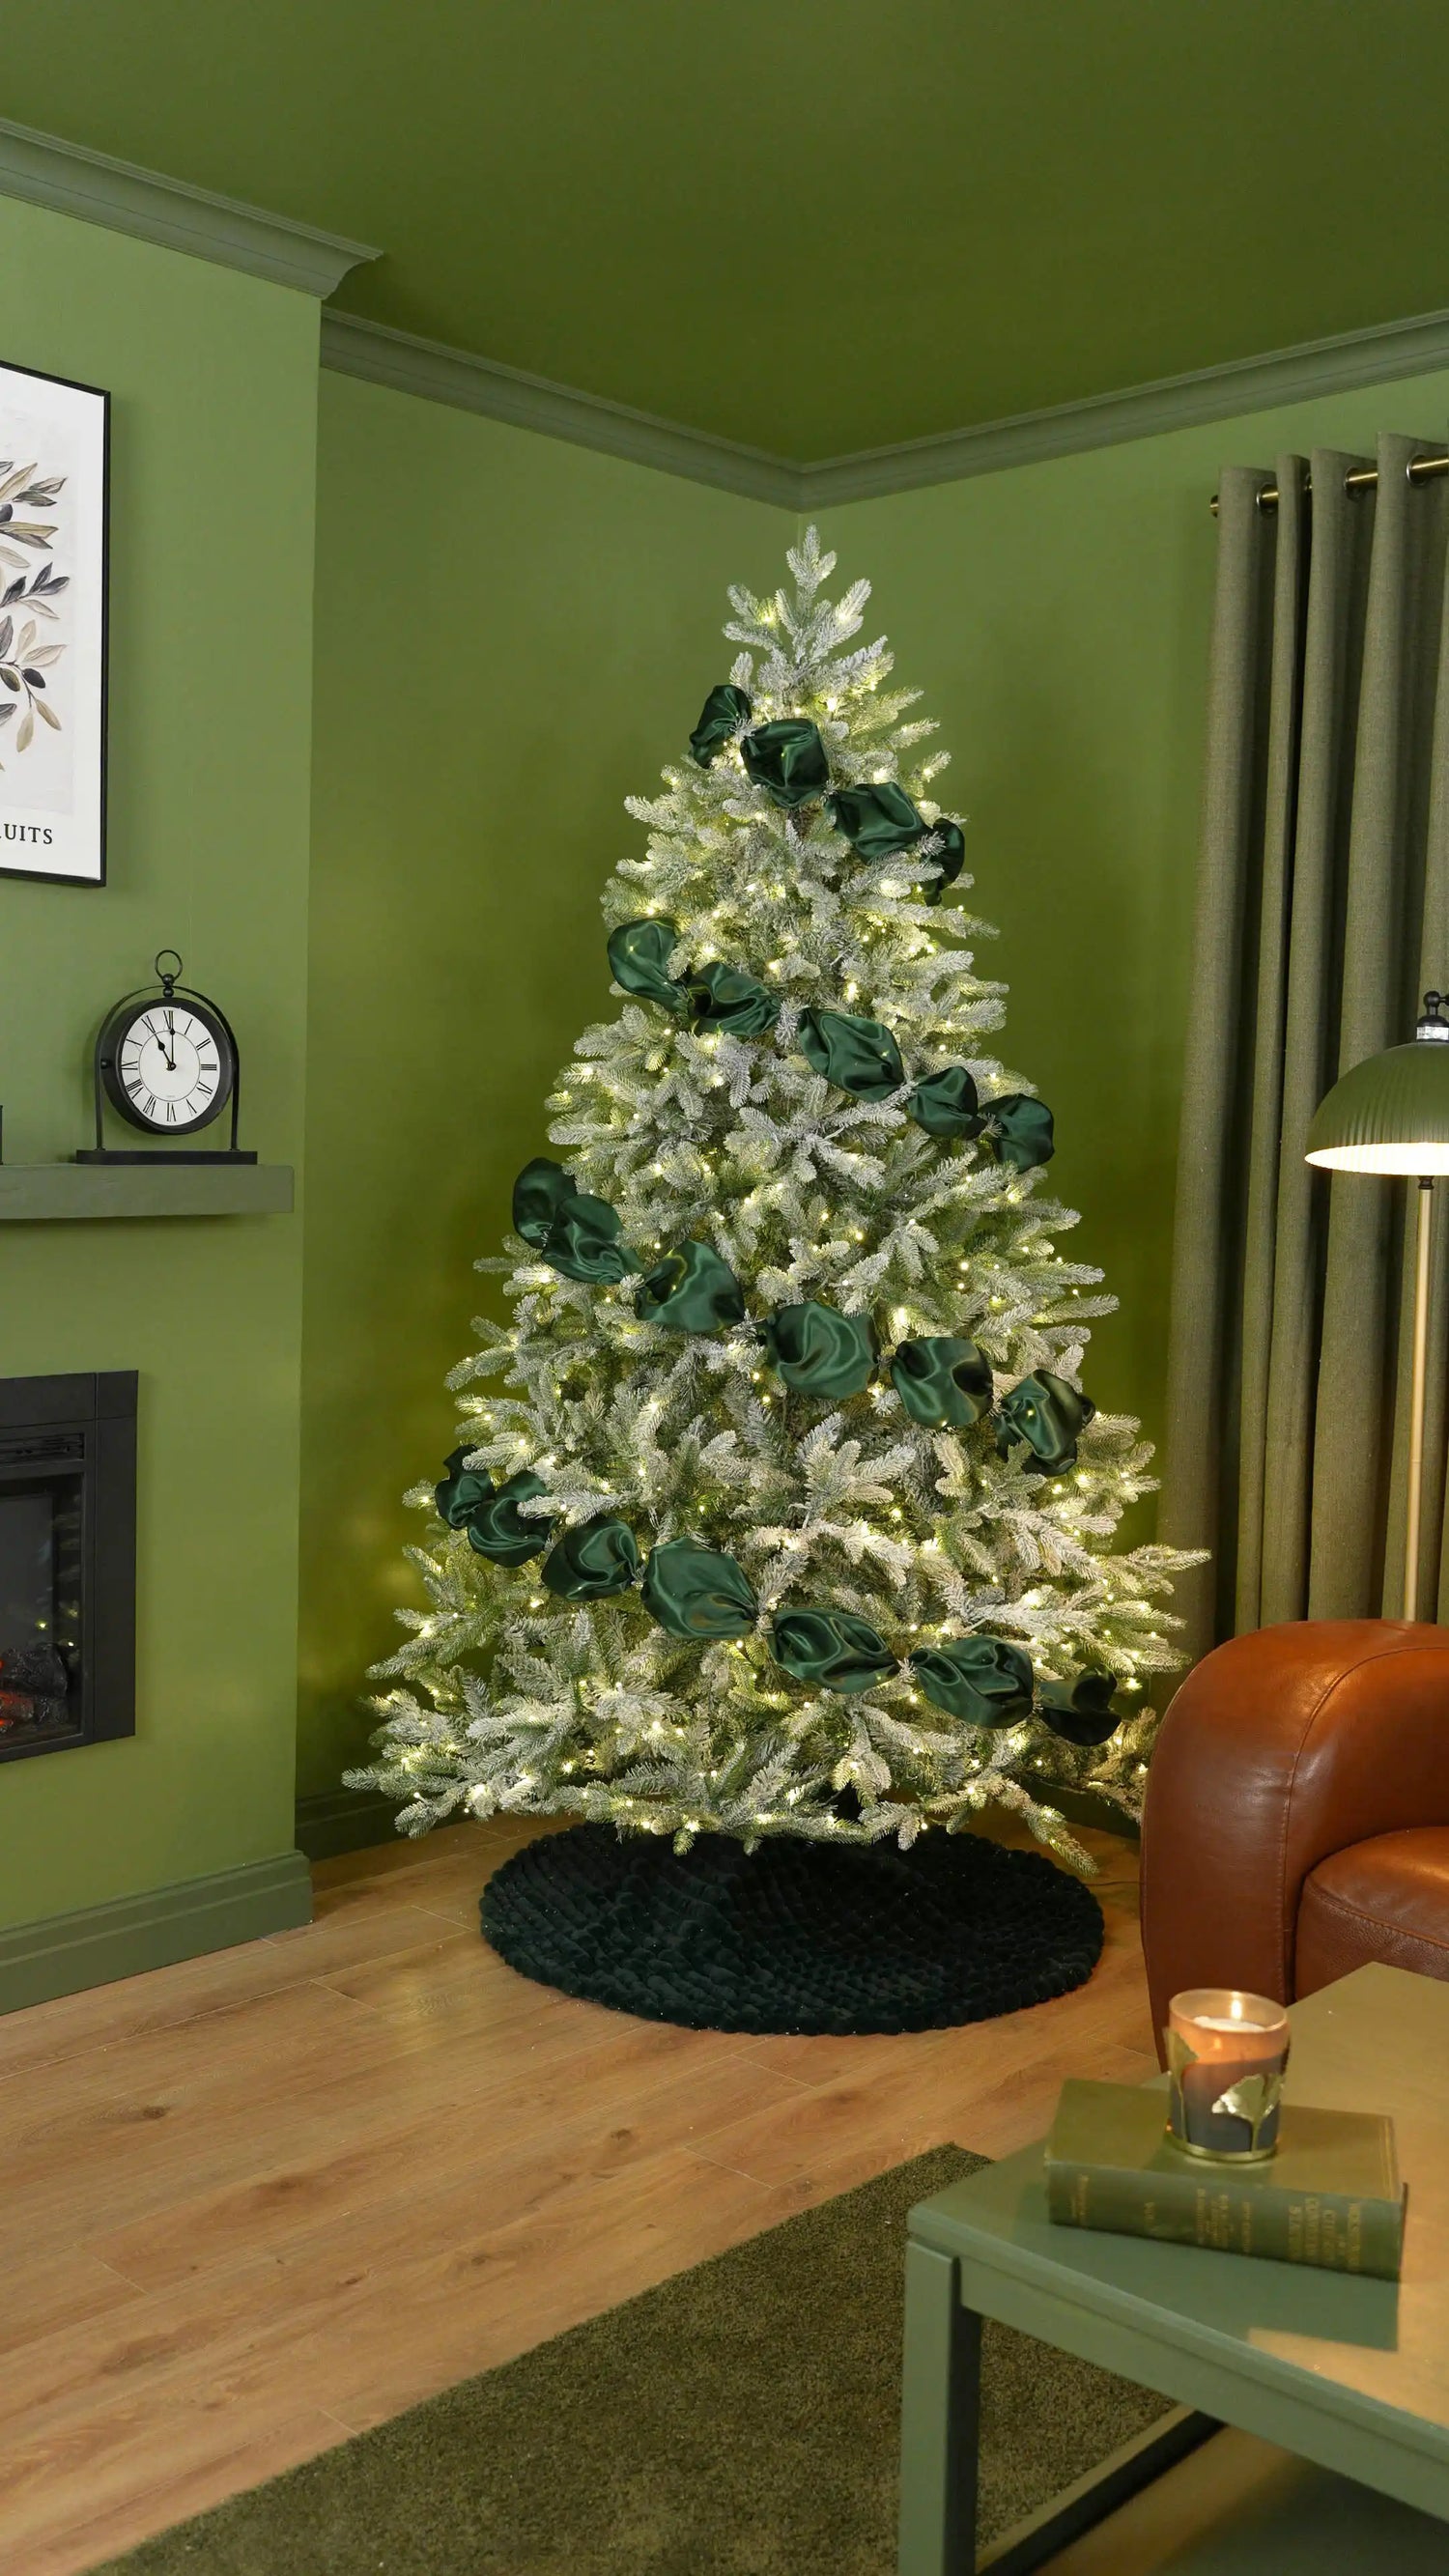
With the satin in place, begin adding the 20cm Oversized Baubles in matt, shiny and glitter finishes.
Position the 20cm baubles across the second and fourth satin layers, placing them towards the front of the branches so they sit clearly within the spaces created by the satin. Keep the placement balanced across each row, allowing the oversized baubles to become the main statement decorations without interrupting the flow of the fabric.
Using the 20cm baubles on alternating layers creates a clear structure through the tree while leaving the third and fifth layers ready for the next bauble size.
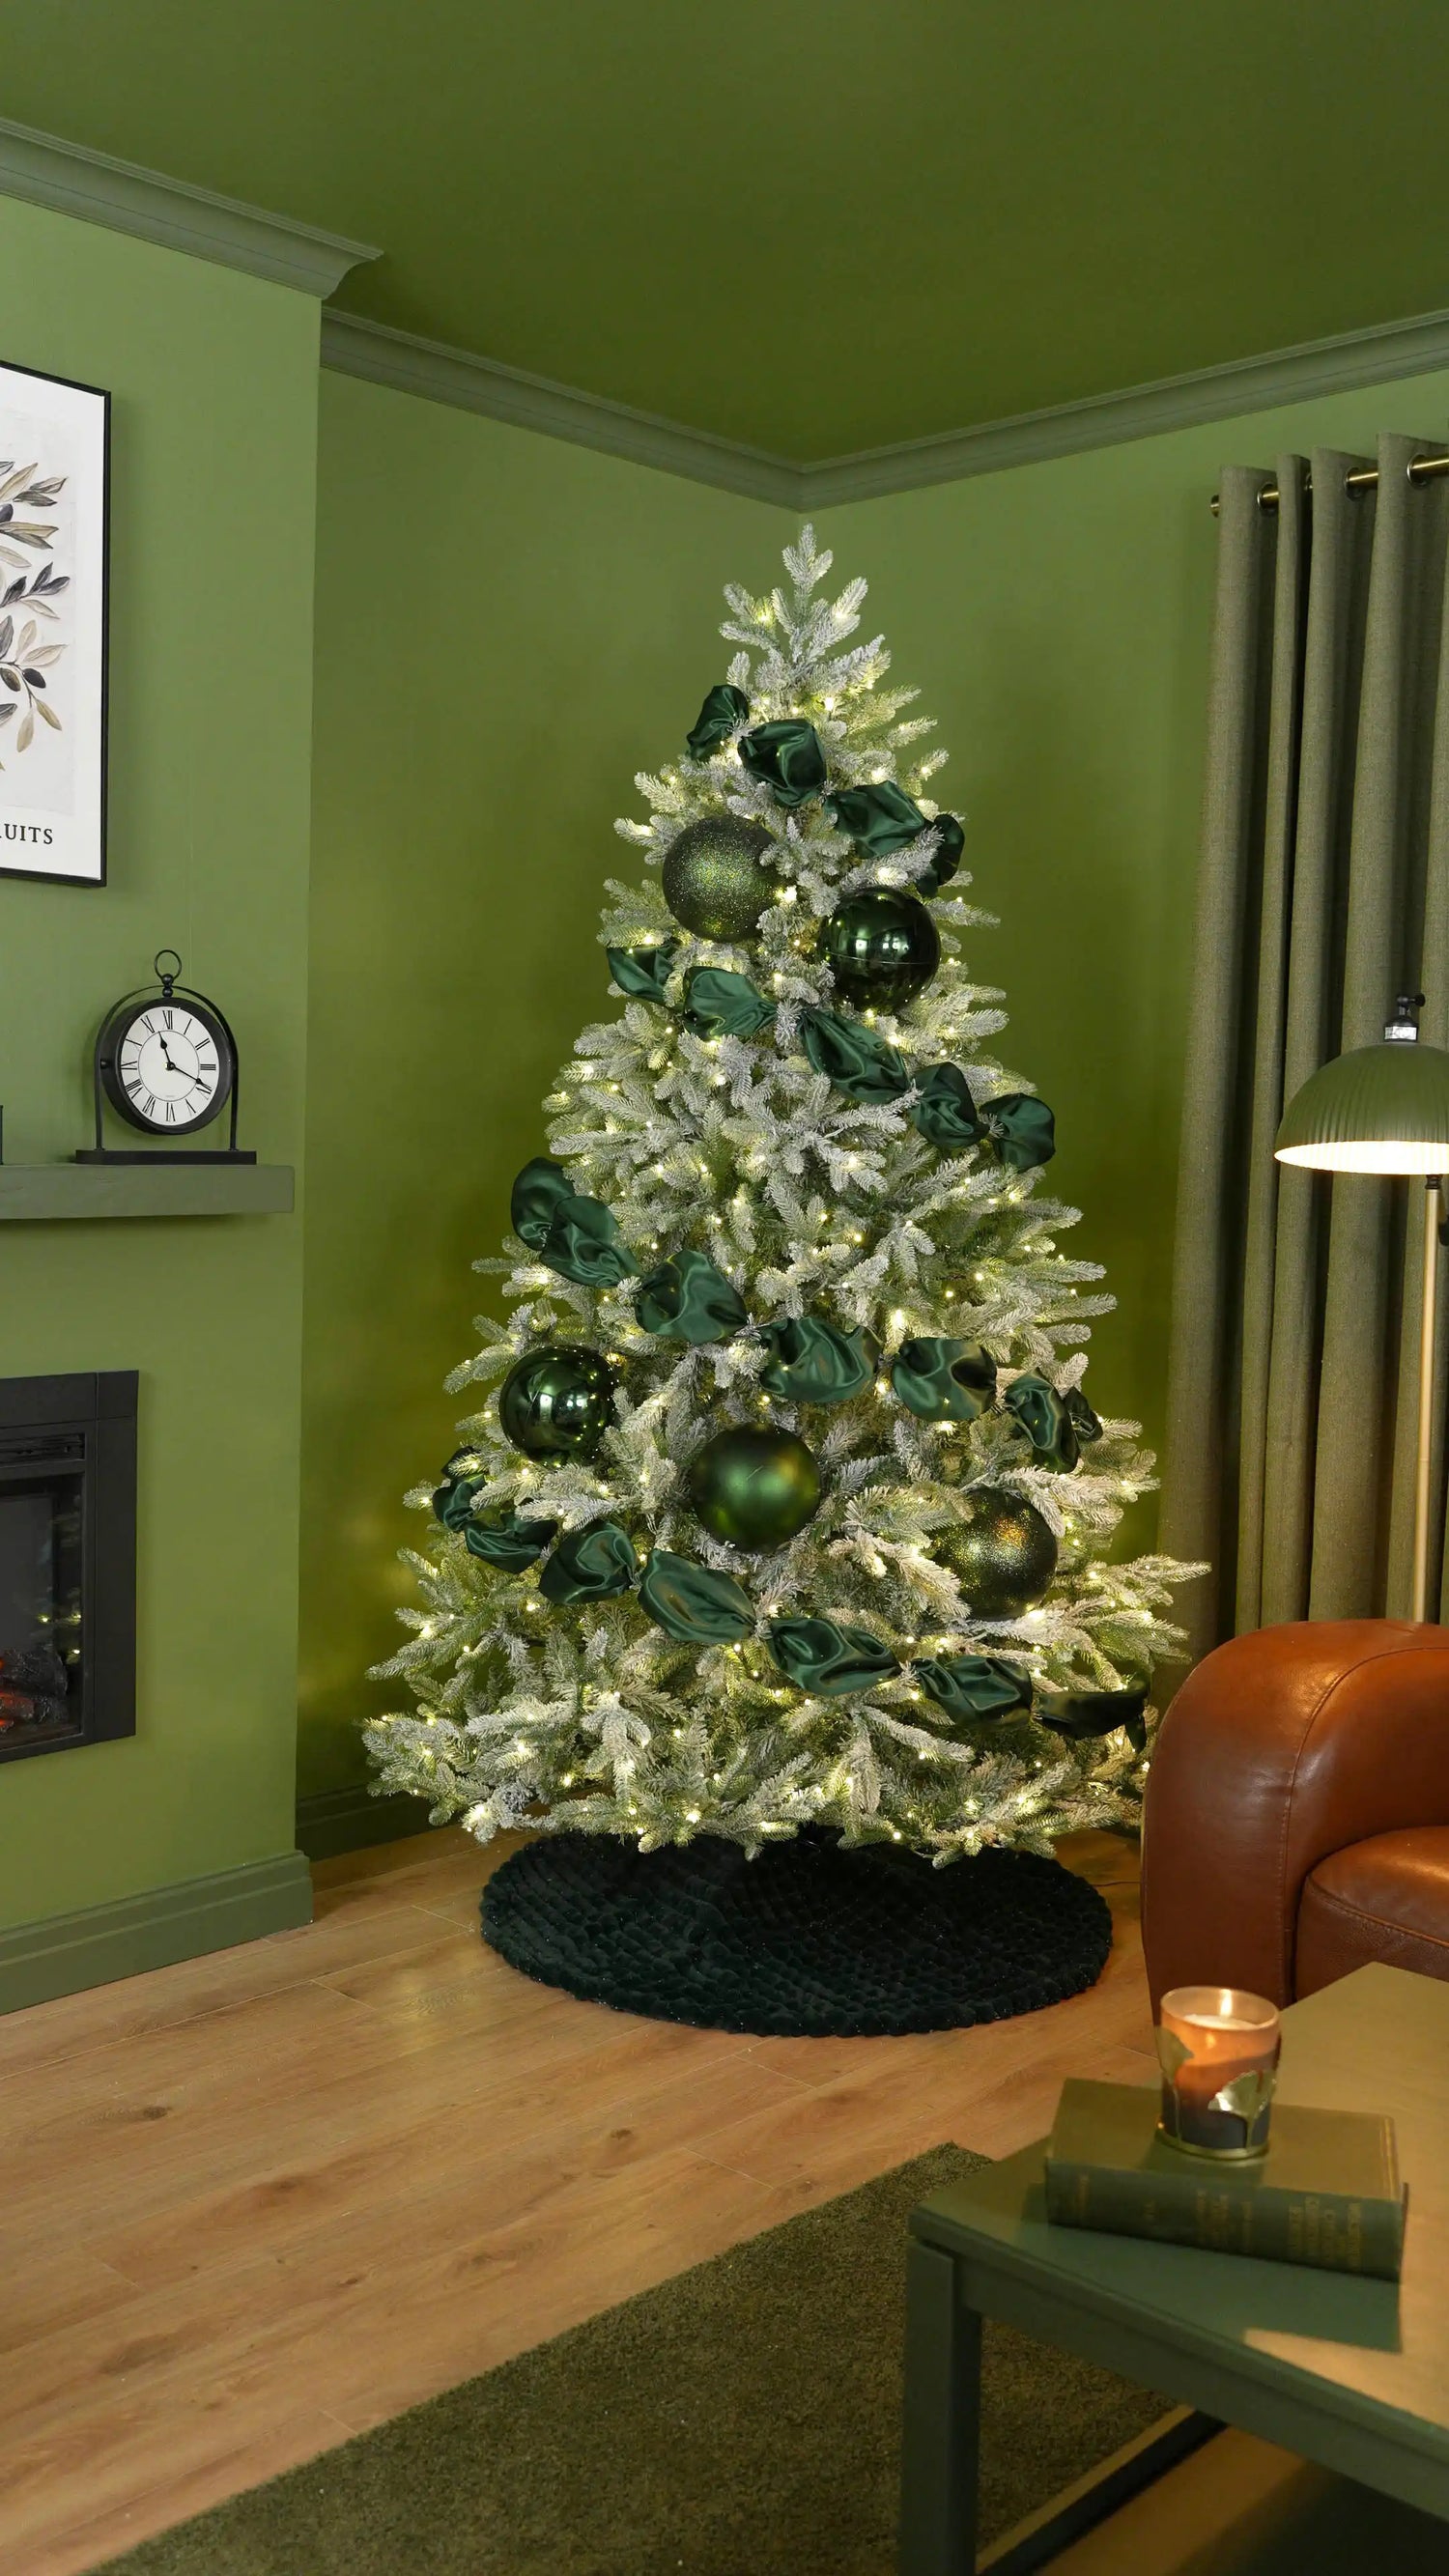
Next, add the 15cm Baubles in the same mix of matt, shiny and glitter finishes, positioning them across the third and fifth satin layers.
Placing the 15cm baubles on the alternating rows between the larger decorations helps create a balanced rhythm from top to bottom. The change in scale adds variety while keeping the design structured, with the satin acting as a guide for where each size should sit.
Together, the 20cm and 15cm baubles create a clean alternating pattern that complements the flowing satin and establishes the main layout of the tree before the smaller decorative details are added.
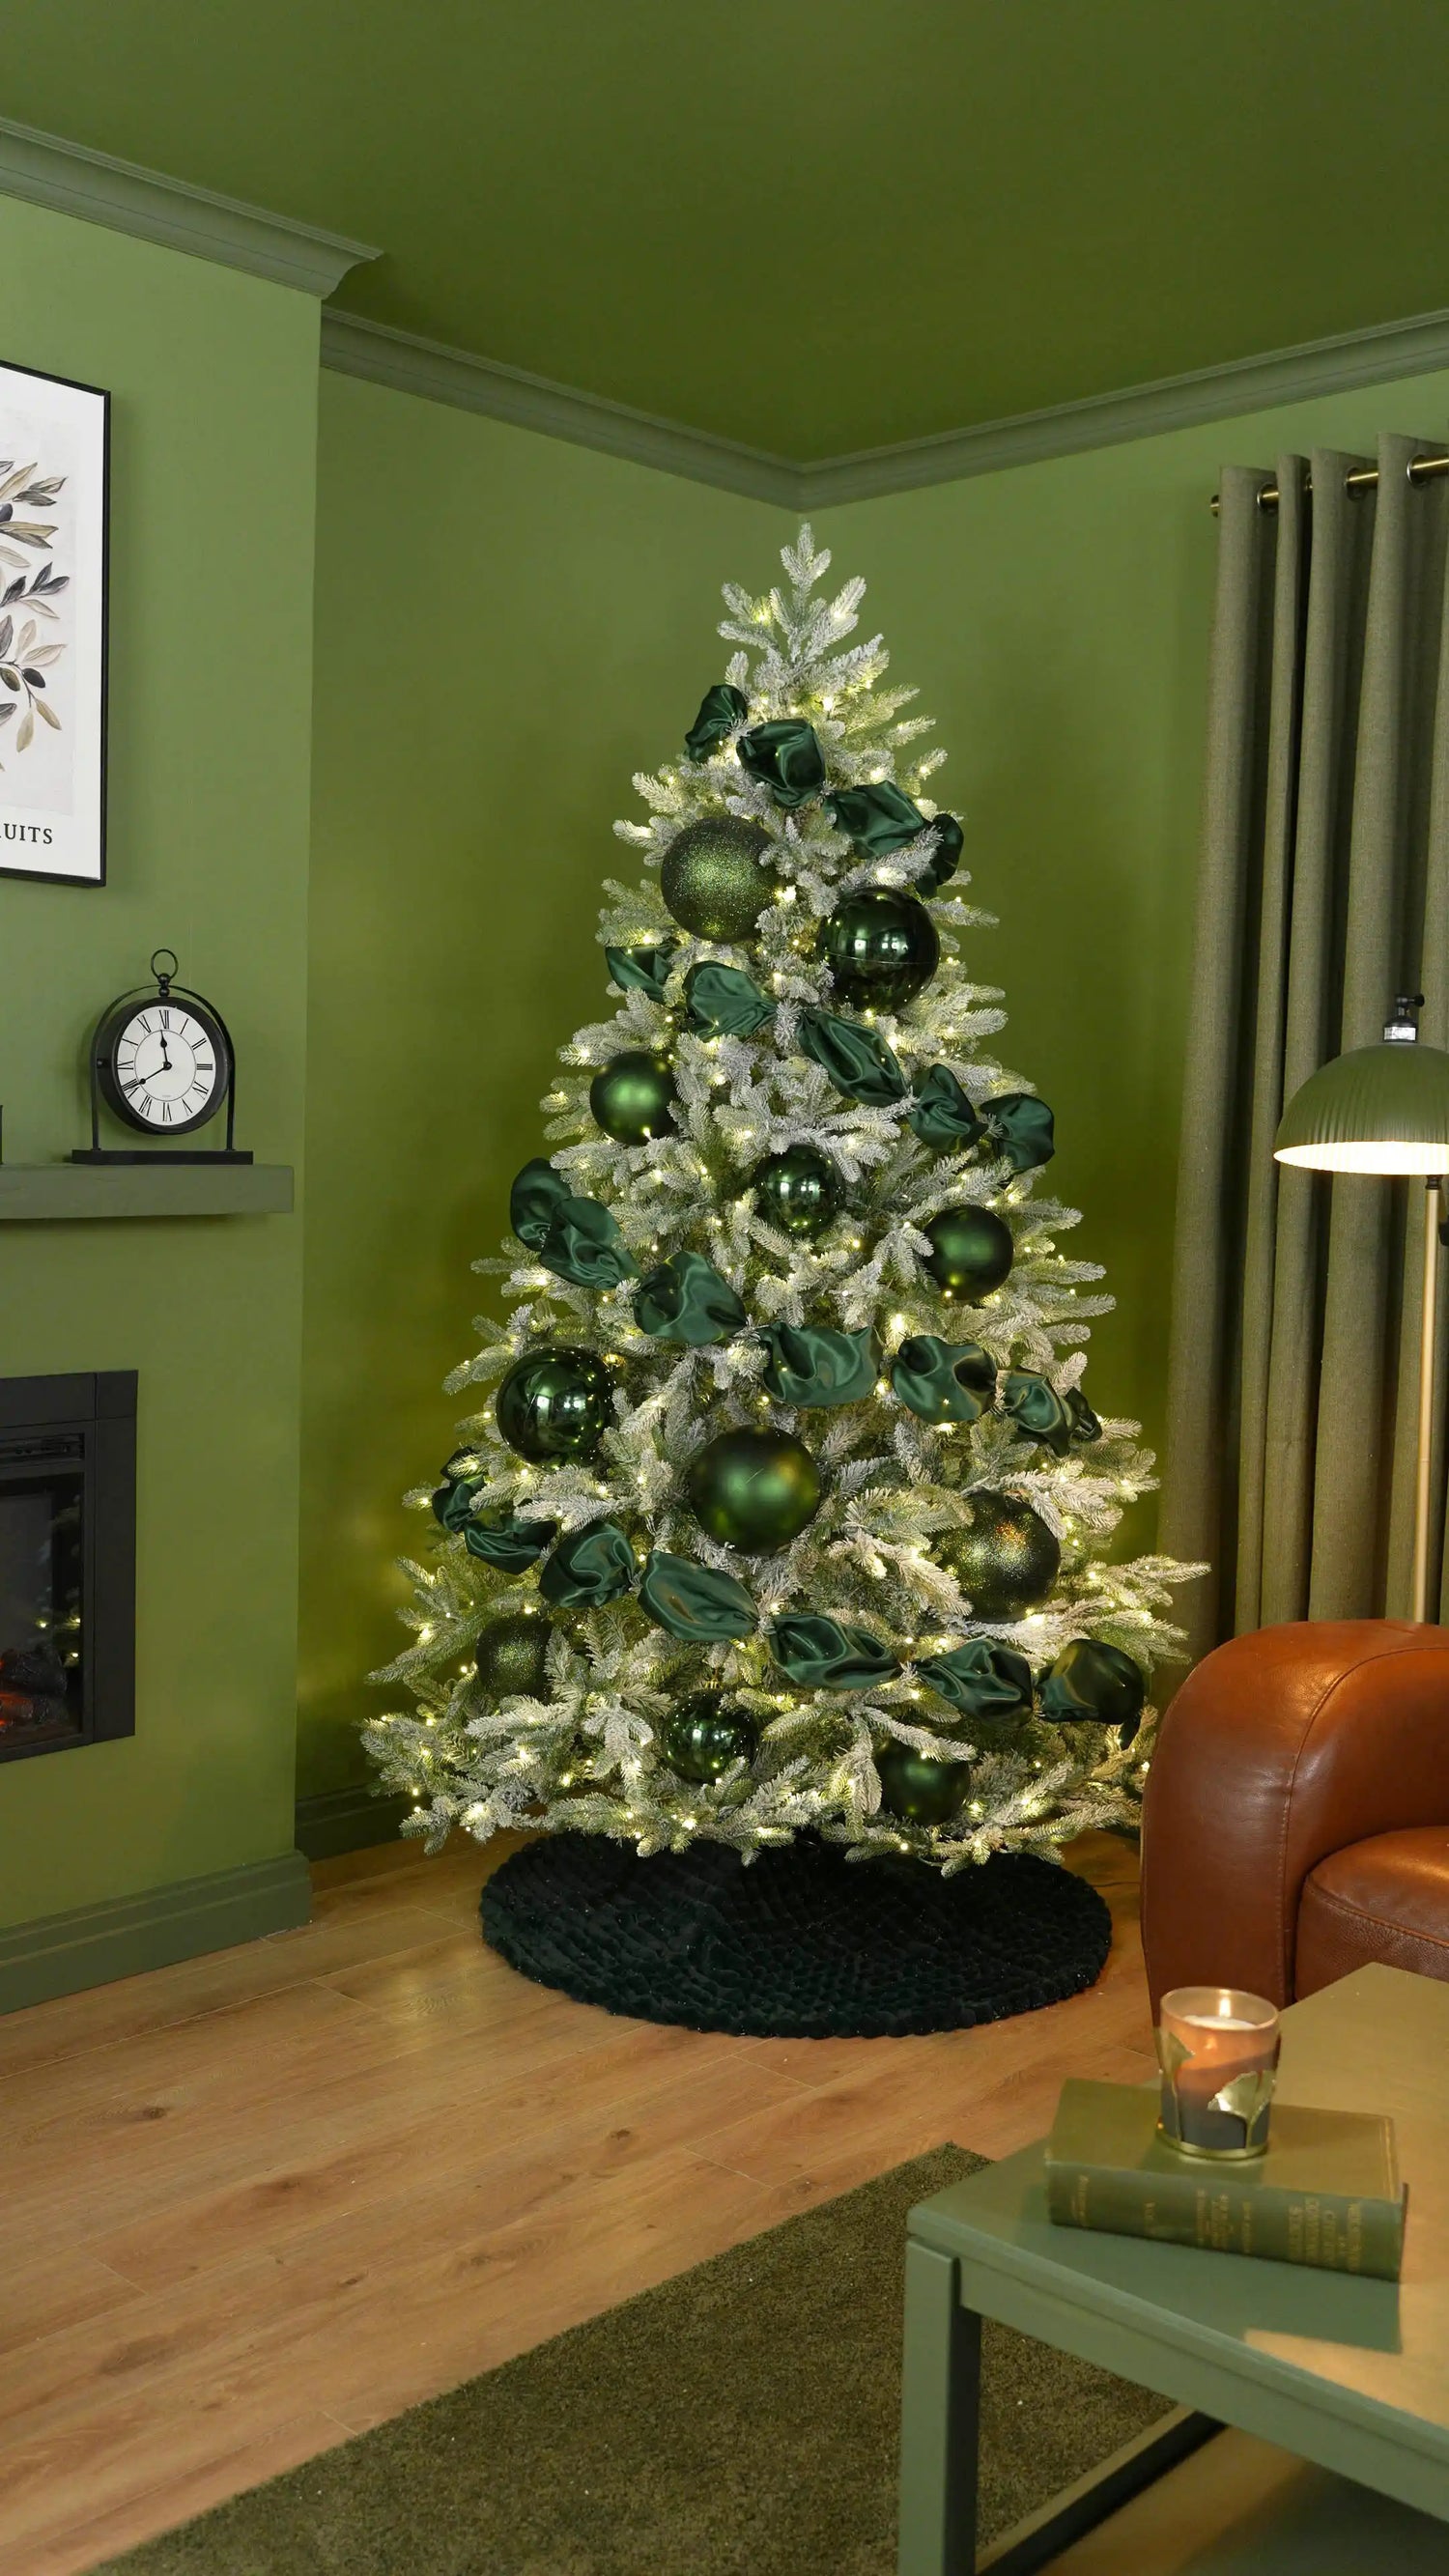
Before moving on to the next stage, place two 10cm Baubles at the very top of the tree, using one matt and one glitter finish.
Position them above the first layer of satin, nestling them naturally into the uppermost branches. These smaller baubles subtly introduce the colour palette right to the tip of the tree without overwhelming it, creating a refined finishing point before adding the remaining decorative elements.
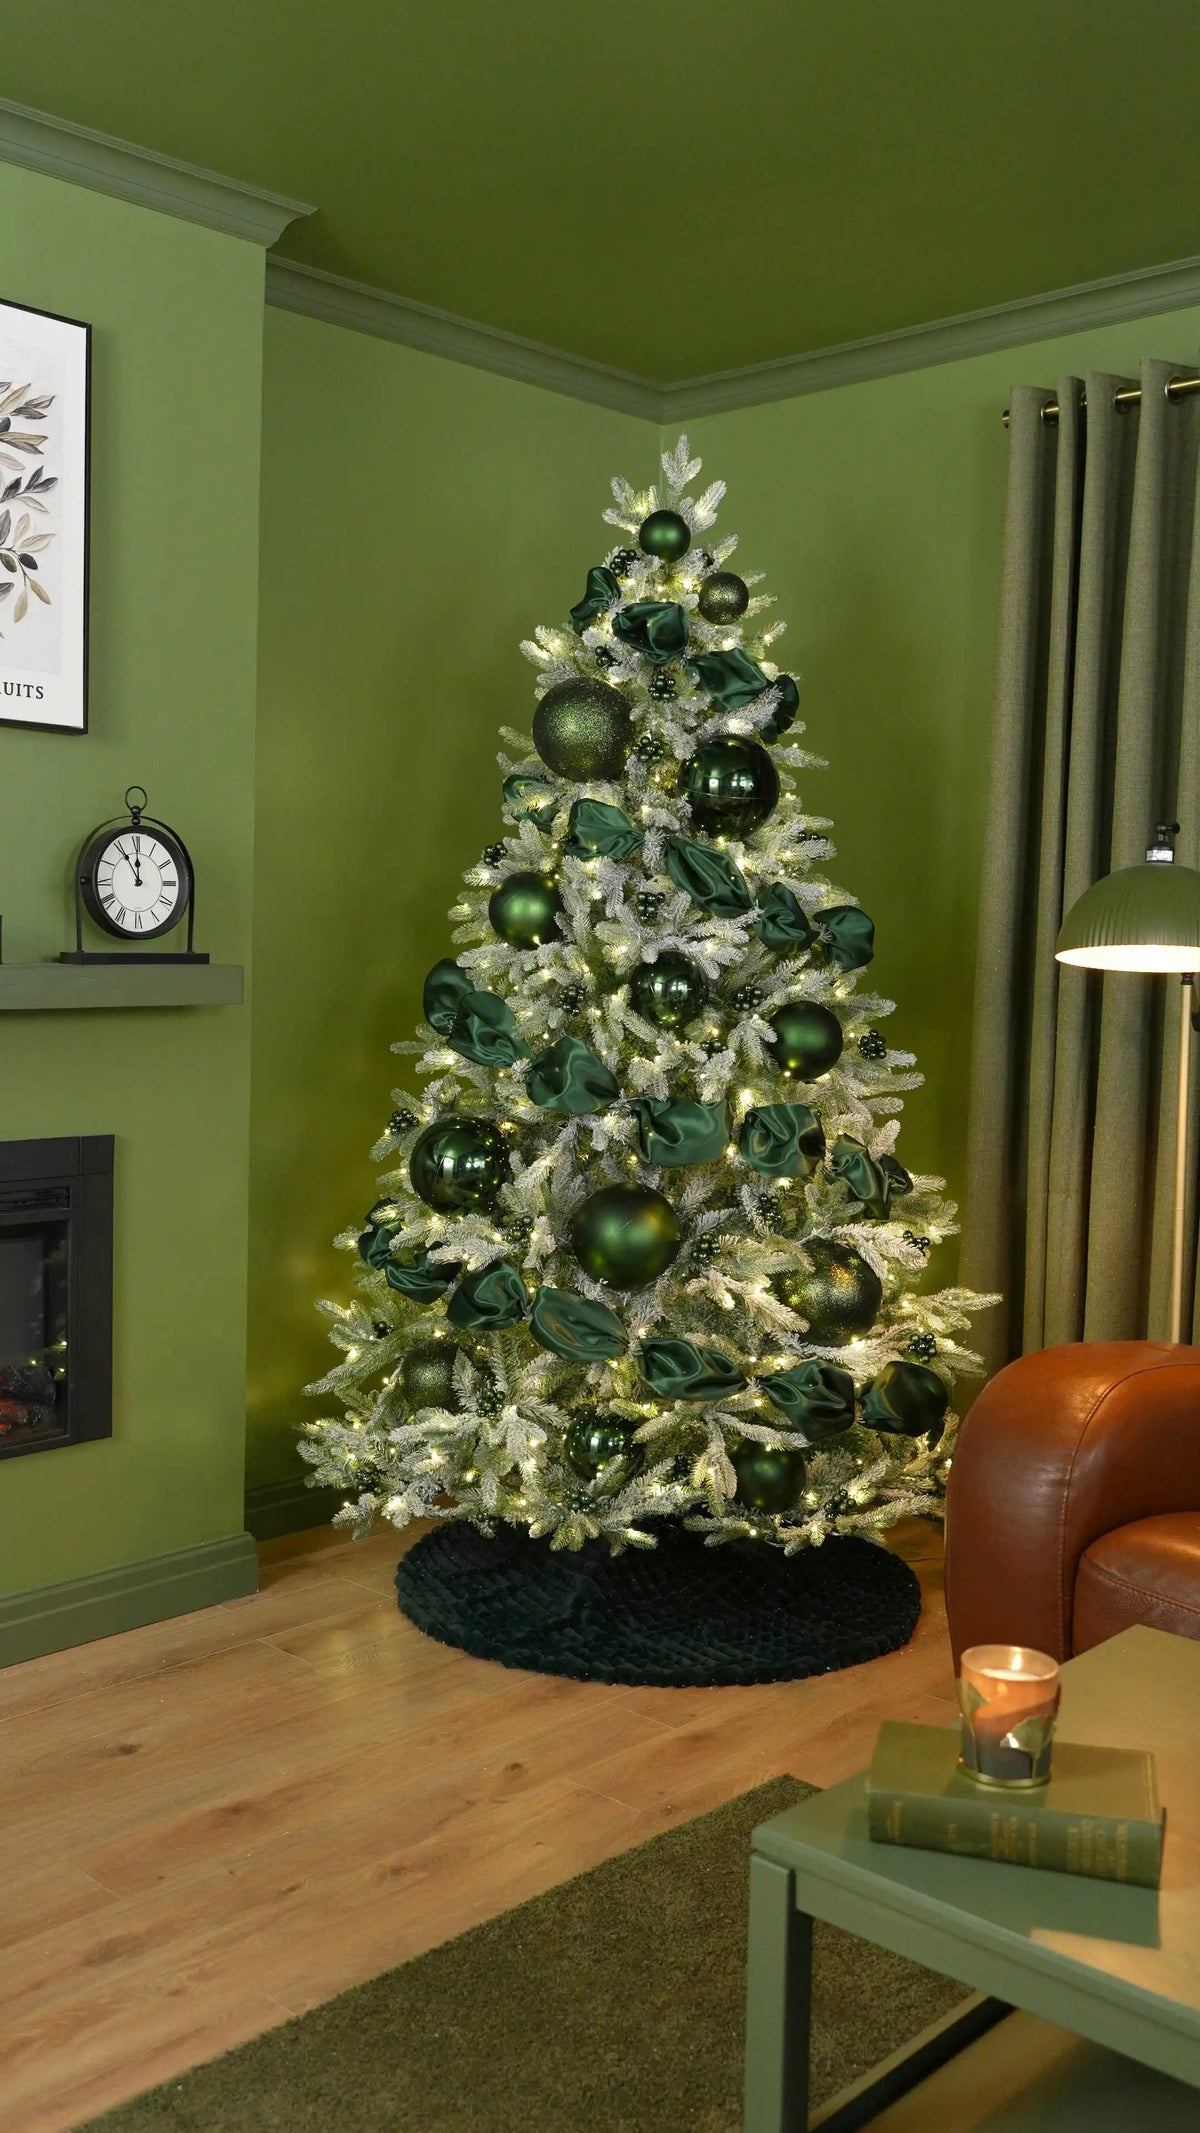
Now it's time to add the Sage Green Glass Berry Clusters, using them to fill the remaining spaces throughout the tree.
Work the clusters evenly between the satin and baubles, tucking them deep into the branches so they appear naturally nestled within the tree rather than sitting on the surface. Their smaller scale makes them perfect for filling the finer gaps, while the glossy glass finish adds another layer of texture and subtle sparkle throughout the design.
Once evenly distributed, the berry clusters help bring the whole look together, adding richness and depth without overpowering the larger decorations.
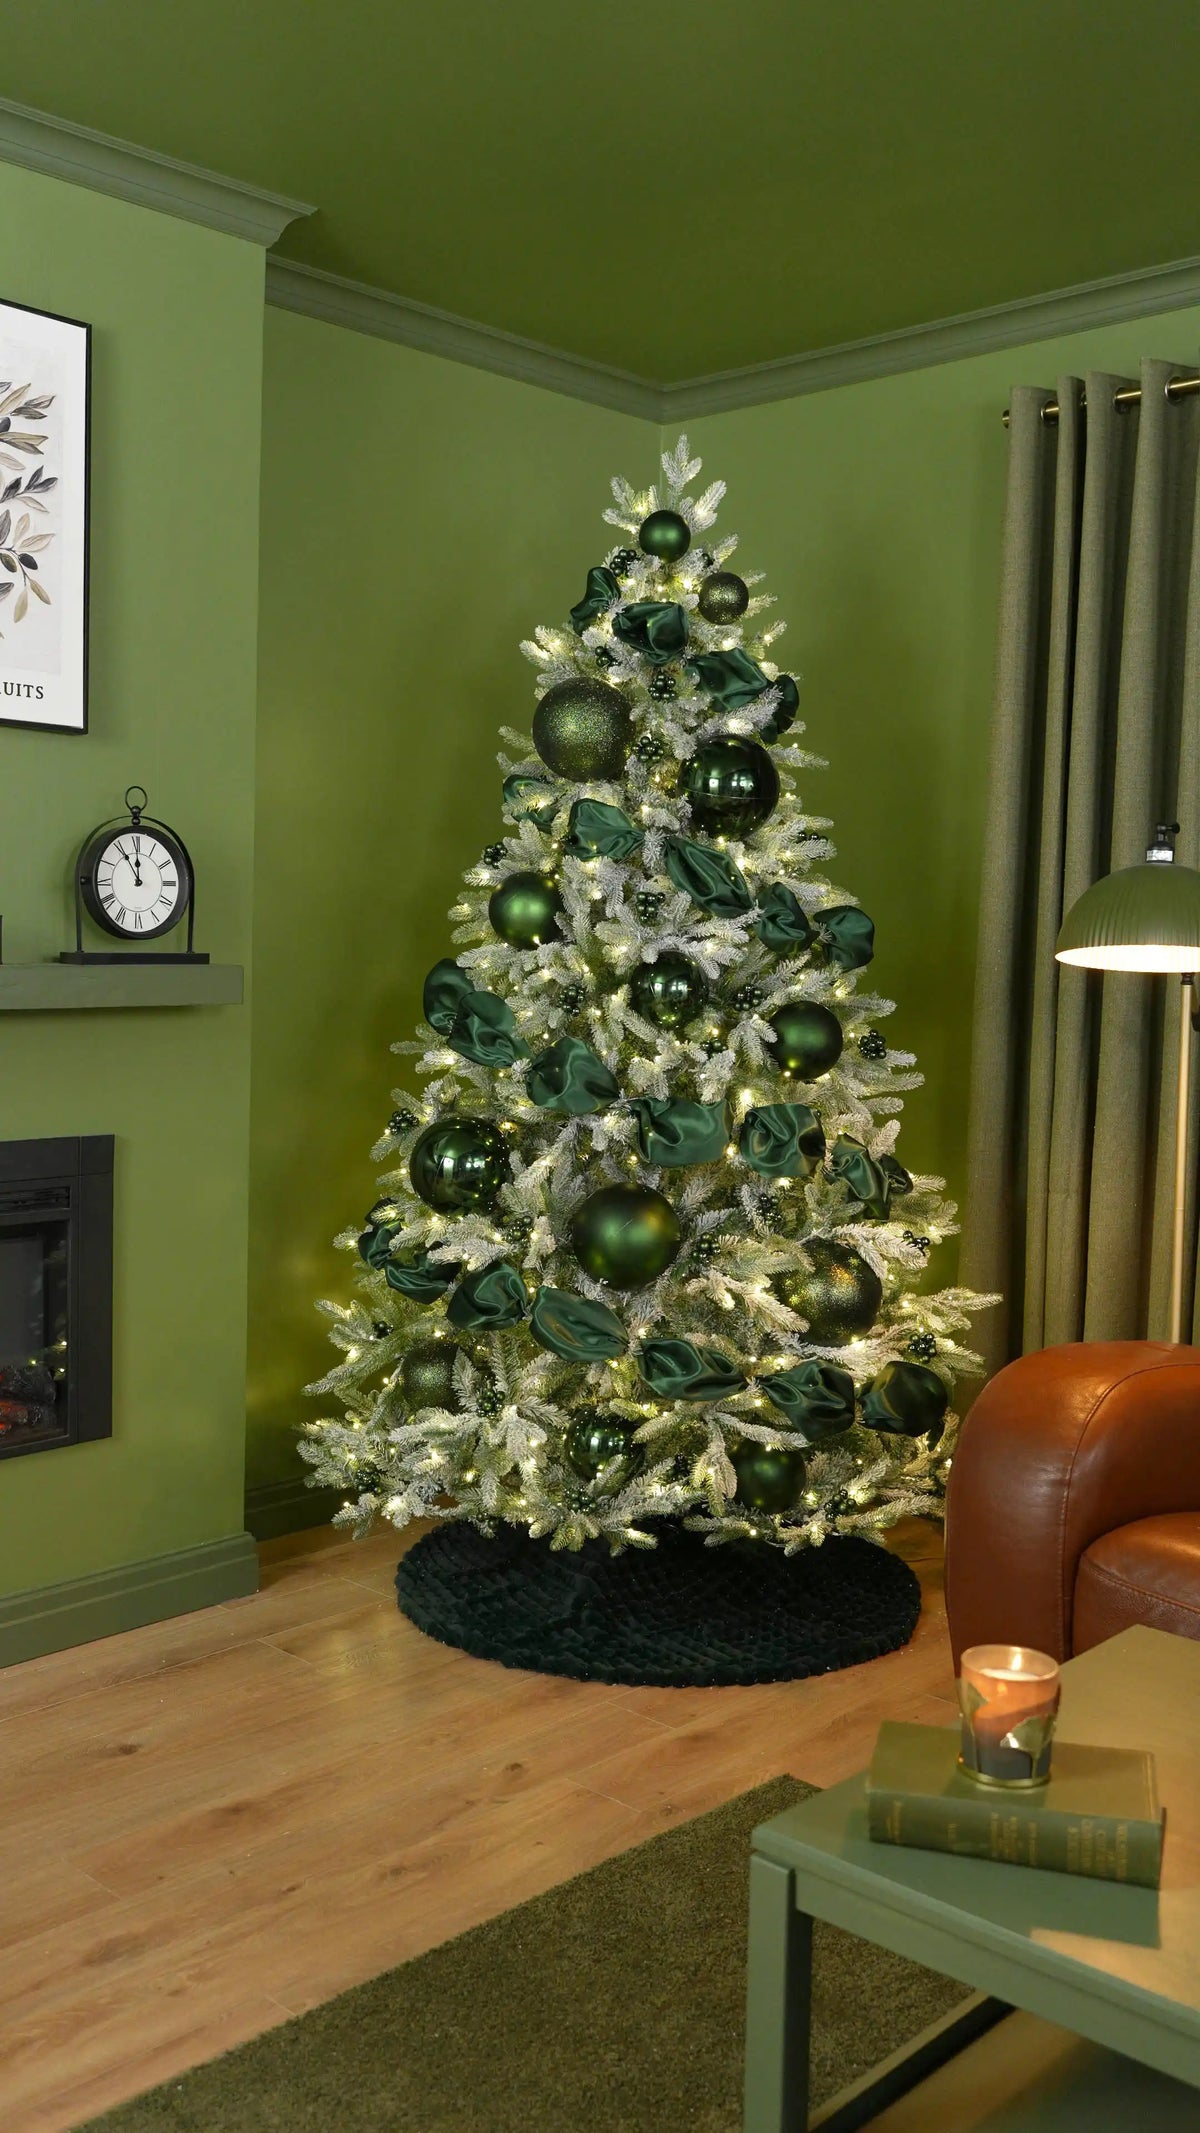
Next, take the Sage Green Firework Sprays and cut them into smaller sections before placing them throughout the tree.
Work them evenly between the satin, baubles and glass berry clusters, using them to fill the remaining spaces and create another layer of texture. Angle the sprays in different directions so they weave naturally through the branches, adding movement while maintaining the soft, organic feel of the design.
These delicate stems complete the layered effect, creating a fuller, more luxurious finish while tying all of the green elements together.
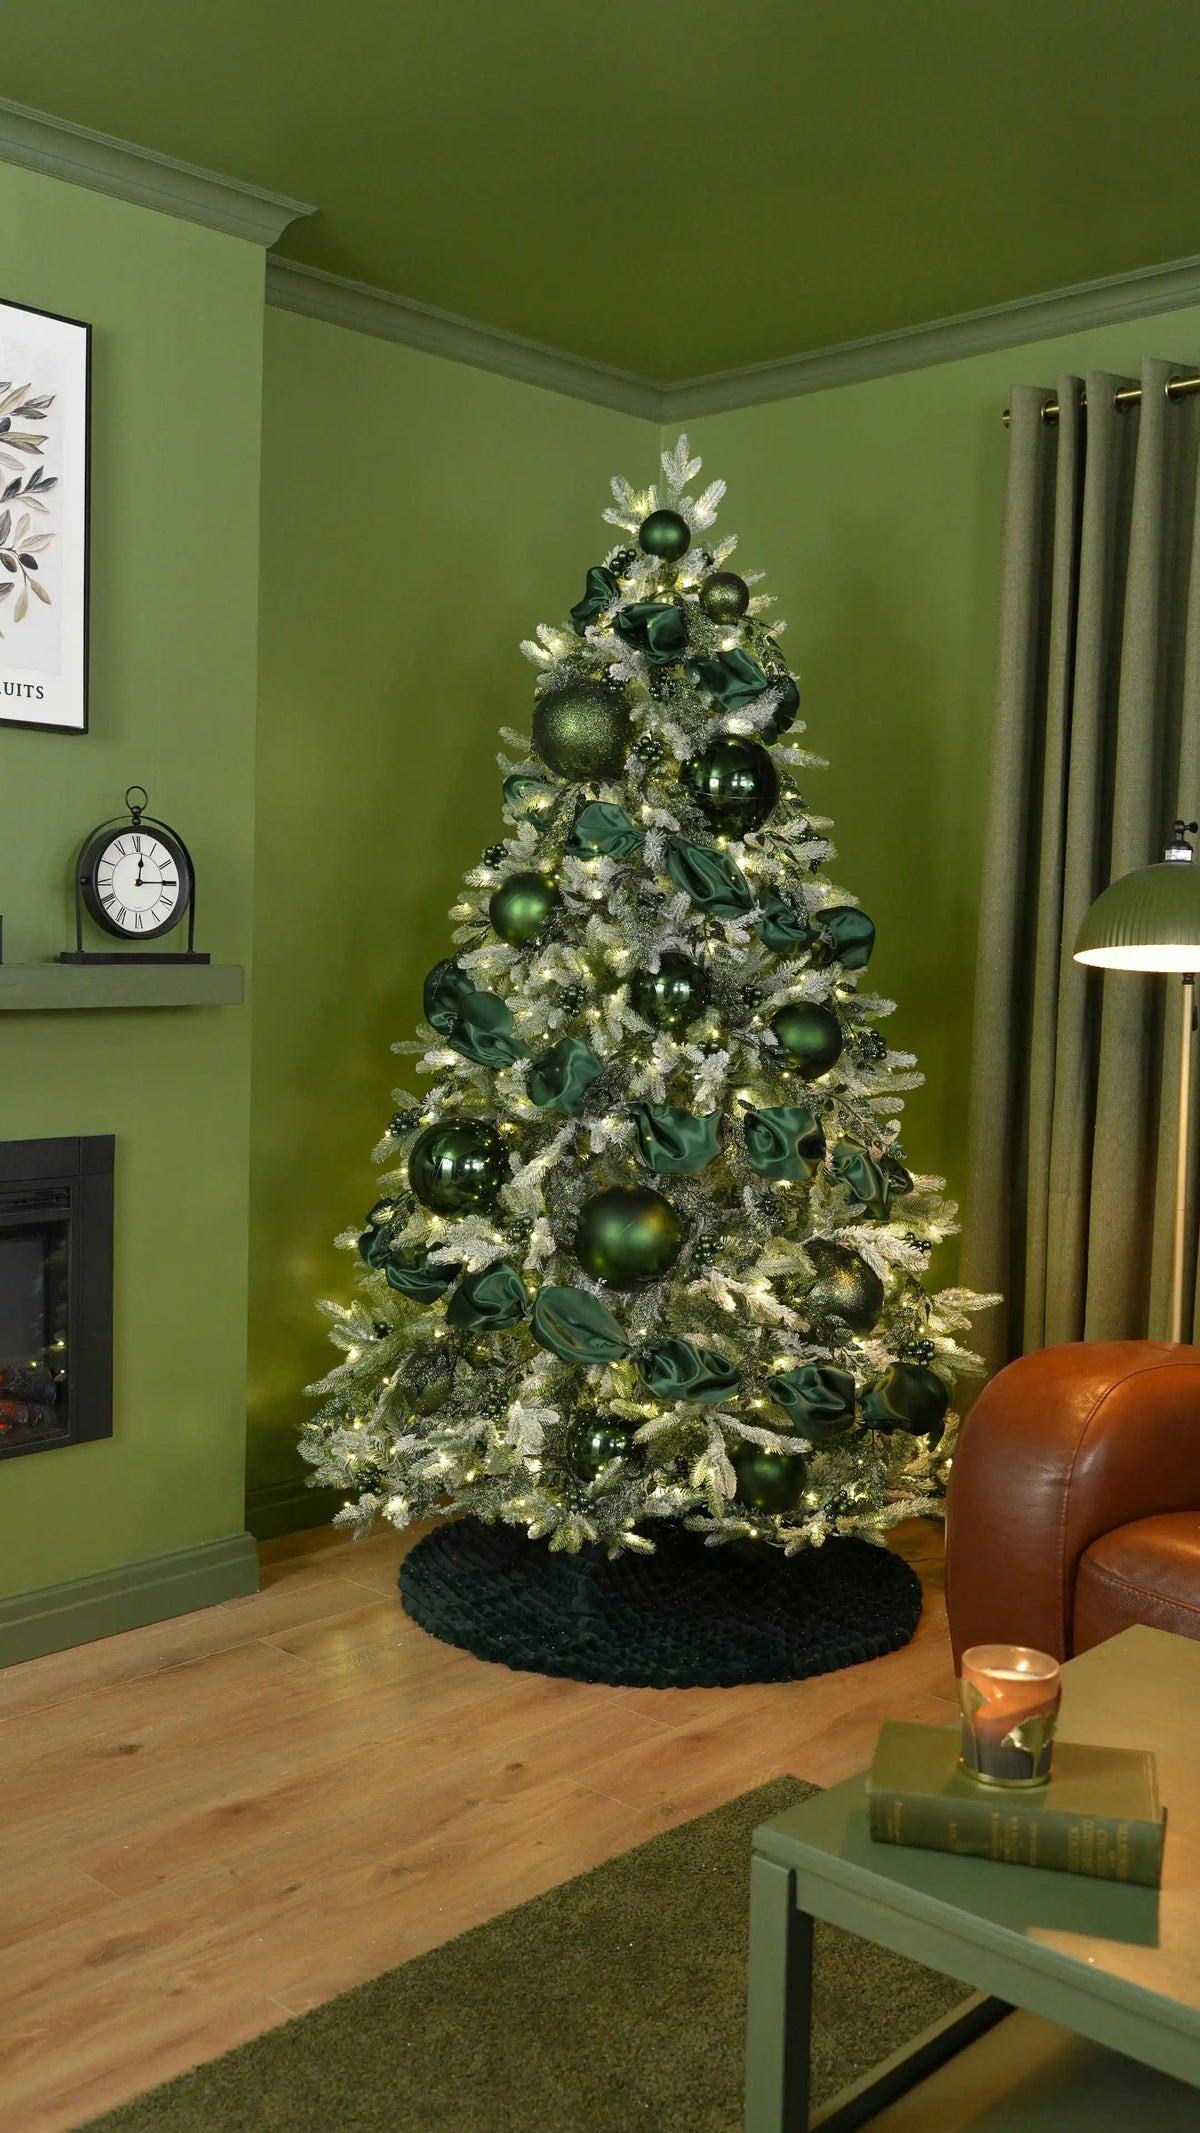
Complete the tree by hanging the Sage Green Glass Baubles throughout the branches, using a mixture of the different shapes and finishes to add the final layer of detail.
Space them evenly around the tree, tucking some deeper into the foliage while allowing others to hang slightly forward. Work them between the satin, oversized baubles, glass berry clusters and firework sprays to maintain the cohesive green colour palette while adding extra depth, texture and a delicate reflective finish.
These final glass decorations soften any remaining gaps and complete the design, creating an elegant Green Satin Snow Flocked Christmas Tree that's full of texture, movement and understated festive luxury.
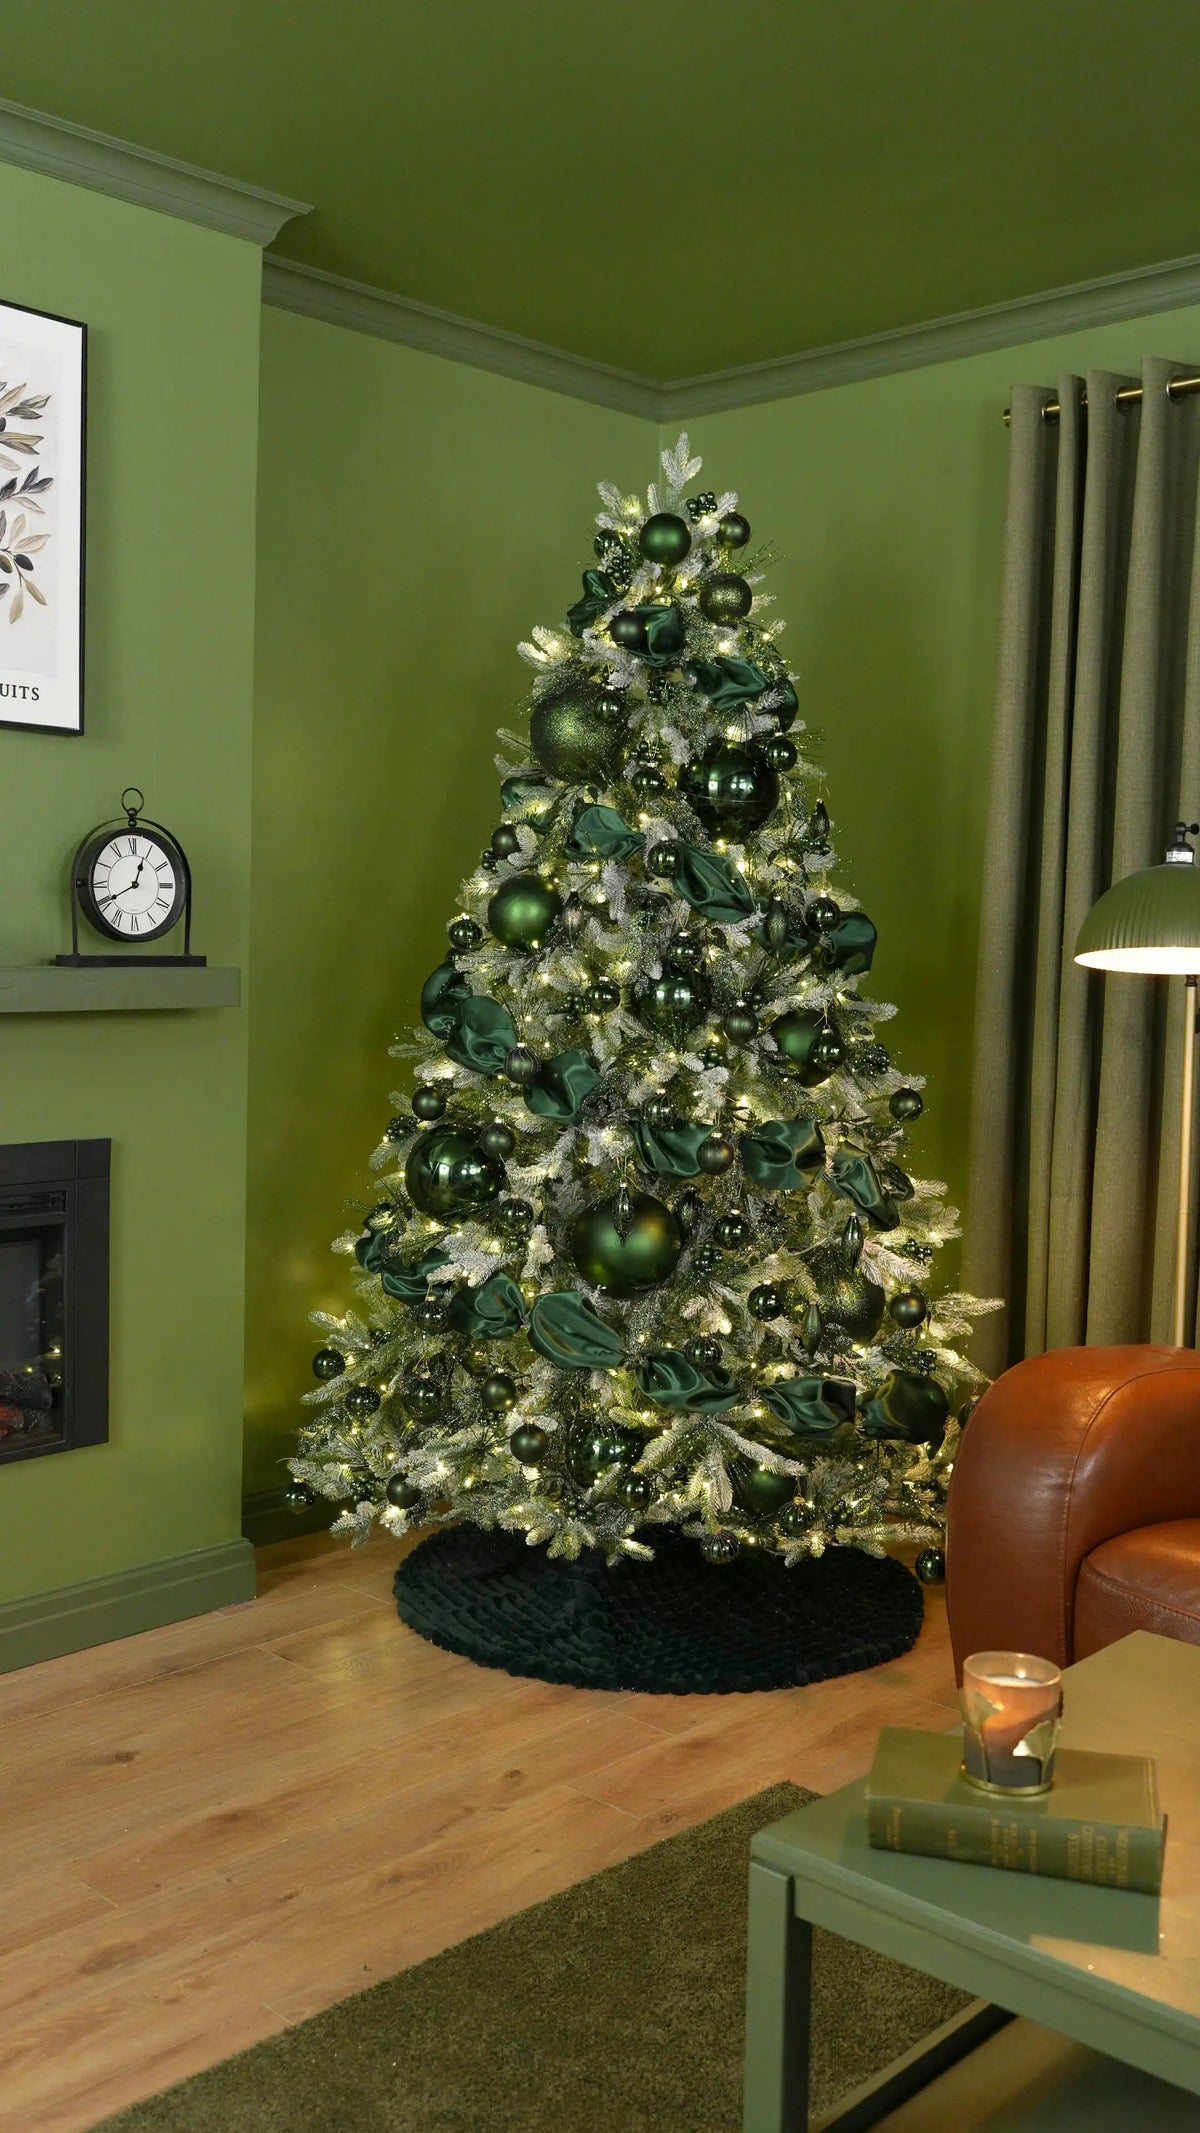
The Finished Look
This sage green satin Christmas tree combines cascading satin, oversized baubles, glass berry clusters, firework sprays and glass decorations to create a soft, elegant festive look.
The satin gives the wintry, snow-flocked tree a flowing structure, while the mix of matt, shiny, glitter and glass finishes adds depth, texture and subtle sparkle. Whether you’re styling a living room, hallway or statement festive display, this green satin snow-flocked Christmas tree theme brings a contemporary finish to your home while still feeling soft, timeless and easy to recreate.
Shop the look highlights


Choose your option


Choose your option


Choose your option


Choose your option


Choose your option


Choose your option


Choose your option


Choose your option


