

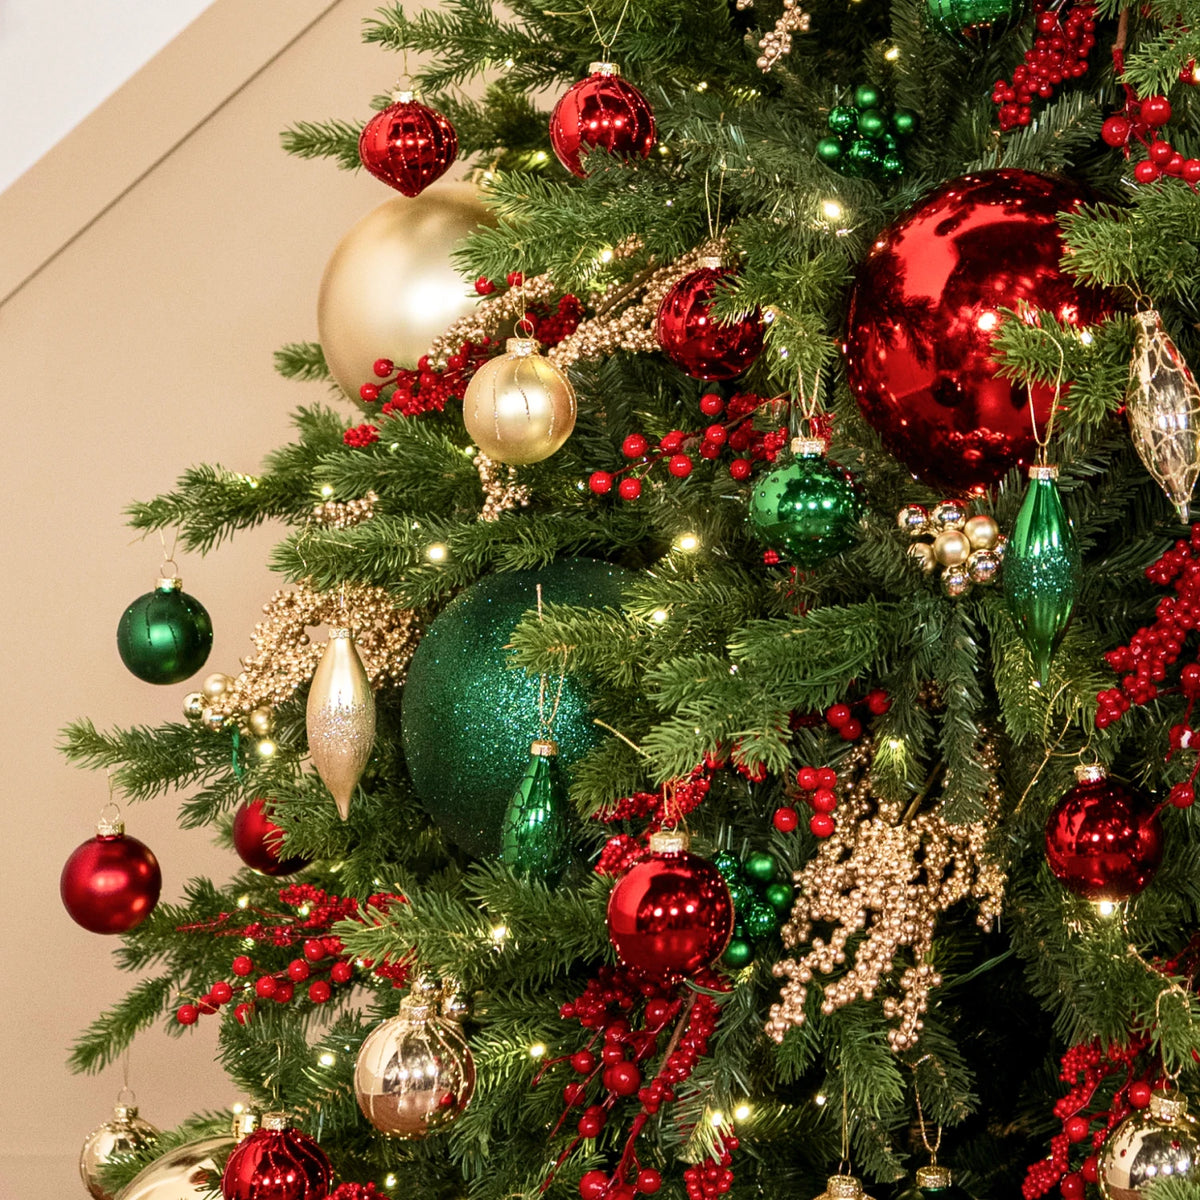
The Red, Gold
& Green Look
& Green Look

Classic Festive Styling
Follow our simple step-by-step guide to style the timeless look with foliage, baubles and texture. Watch the video below for the full look.
Watch The look
Come to life
Come to life
Watch our video to see how red, gold and green decorations create a warm Christmas look filled with colour, texture and traditional festive charm.

Step-by-step
Superbly decorated Christmas trees start with careful preparation. Make sure every branch has been carefully fluffed before you begin adding any decorations. Properly shaping your tree at the beginning creates a fuller silhouette and gives every decoration somewhere to sit naturally.
To help, you can stand back every few minutes while fluffing to check how the tree looks from a distance. This makes it a lot easier to spot any uneven areas that remain.
Once you’re happy with the shape, position your Red Faux Fur Diamond Tree Skirt around the base before the rest of the decorating. Adding your tree skirt first makes it much easier to place neatly around the stand, rather than trying to fit it underneath a fully decorated tree later.
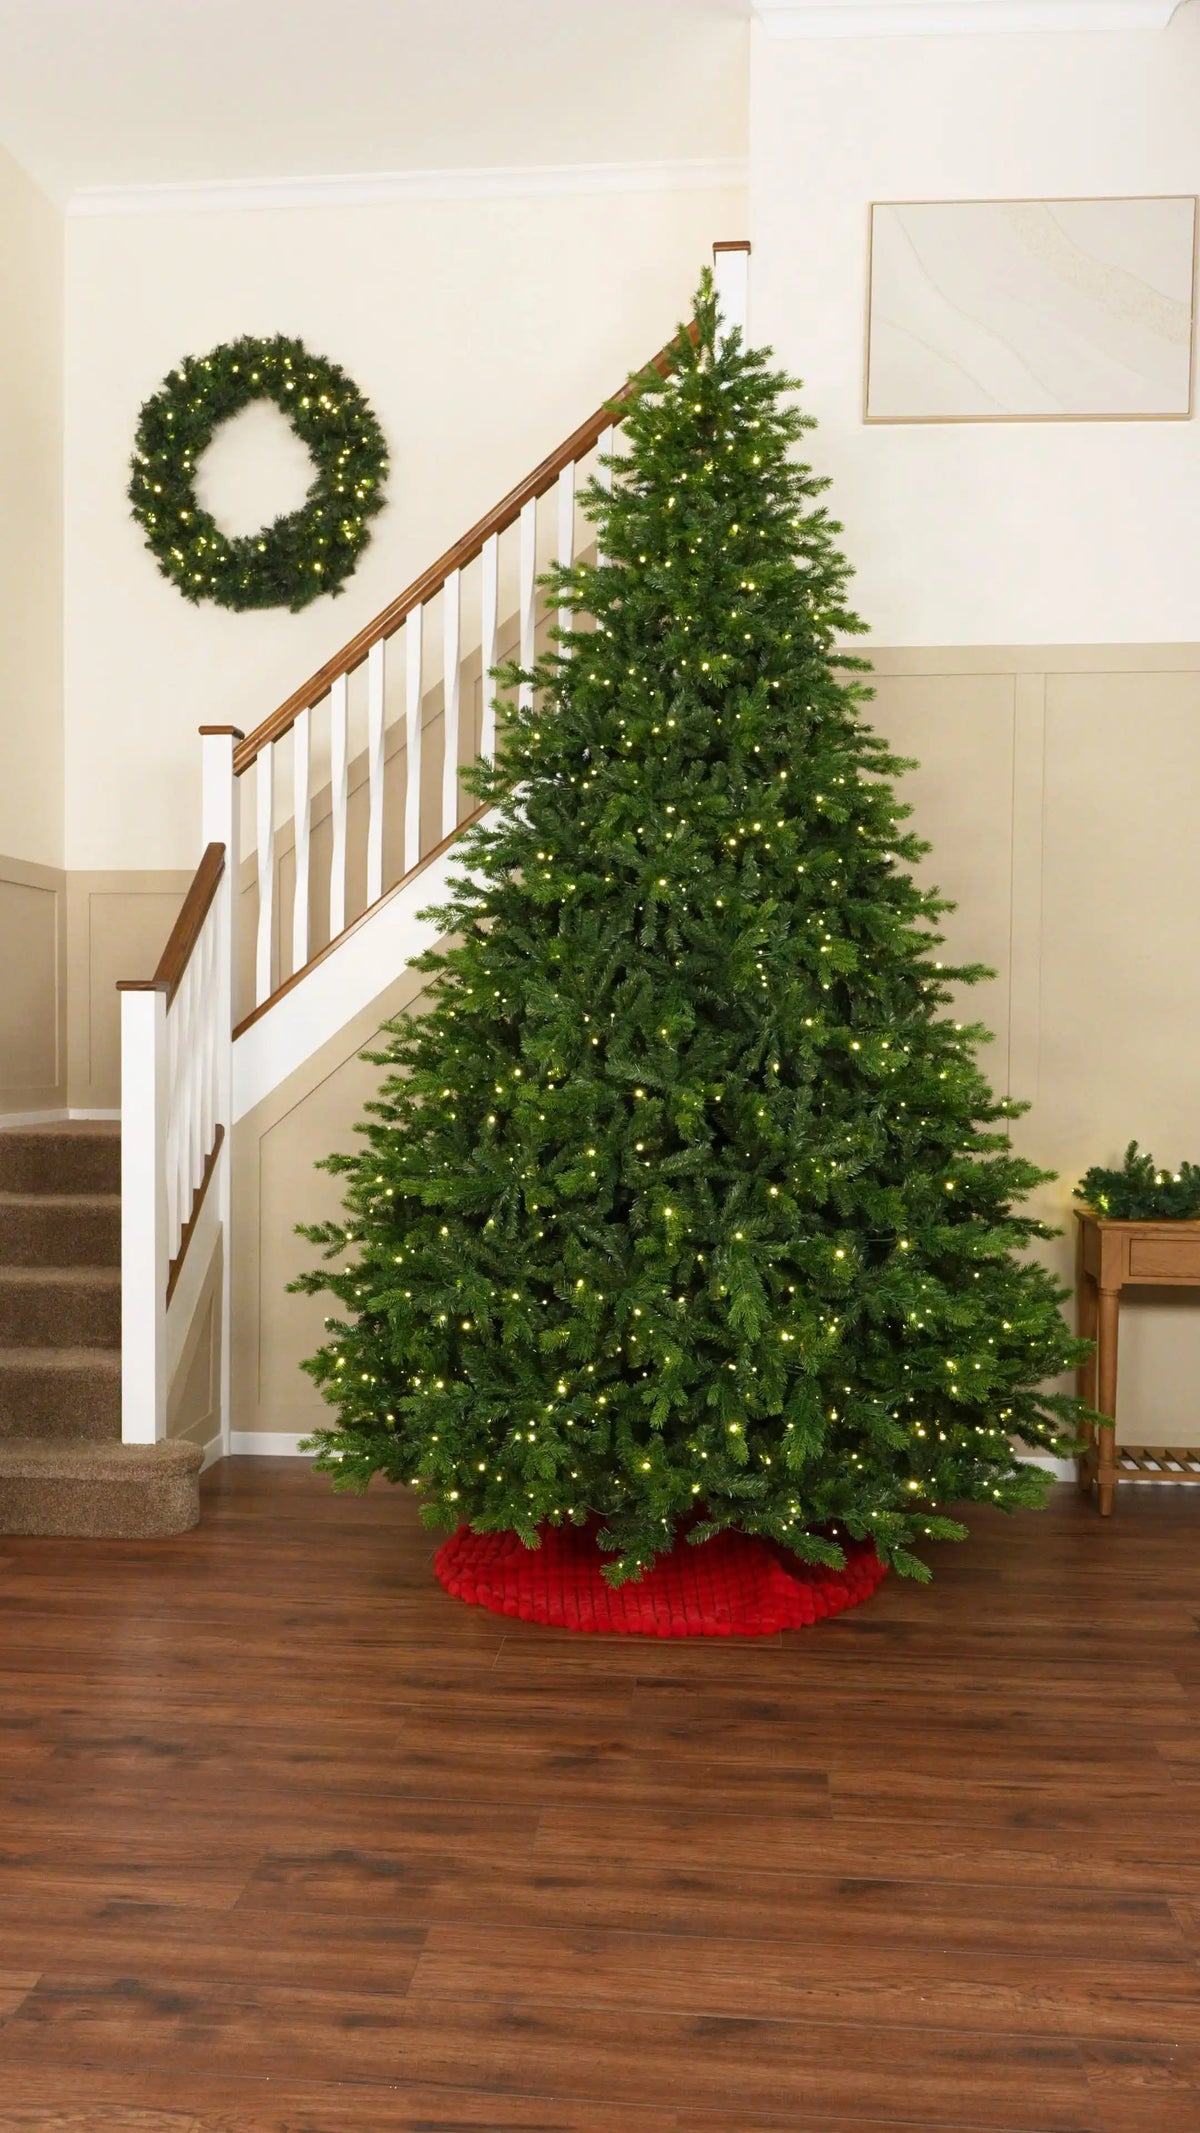
The largest decorations should usually be added to your tree first. So for this red, green and good look, begin with your oversized 20cm Matt, Shiny and Glitter Baubles in Red, Green and Gold colours.
Using baubles in all three colours helps establish the traditional colour palette from the beginning, while the mix of matt, shiny and glitter finishes adds depth across the tree. The matt baubles soften the overall look, the shiny baubles reflect the warm white lights and the glitter baubles add subtle sparkle throughout the design.
While adding the oversized baubles, space them evenly around the lower half of the tree. Because the bottom of the Christmas tree is its widest point, it suits the largest decorations. Starting here also creates a strong foundation for everything you’ll add later.
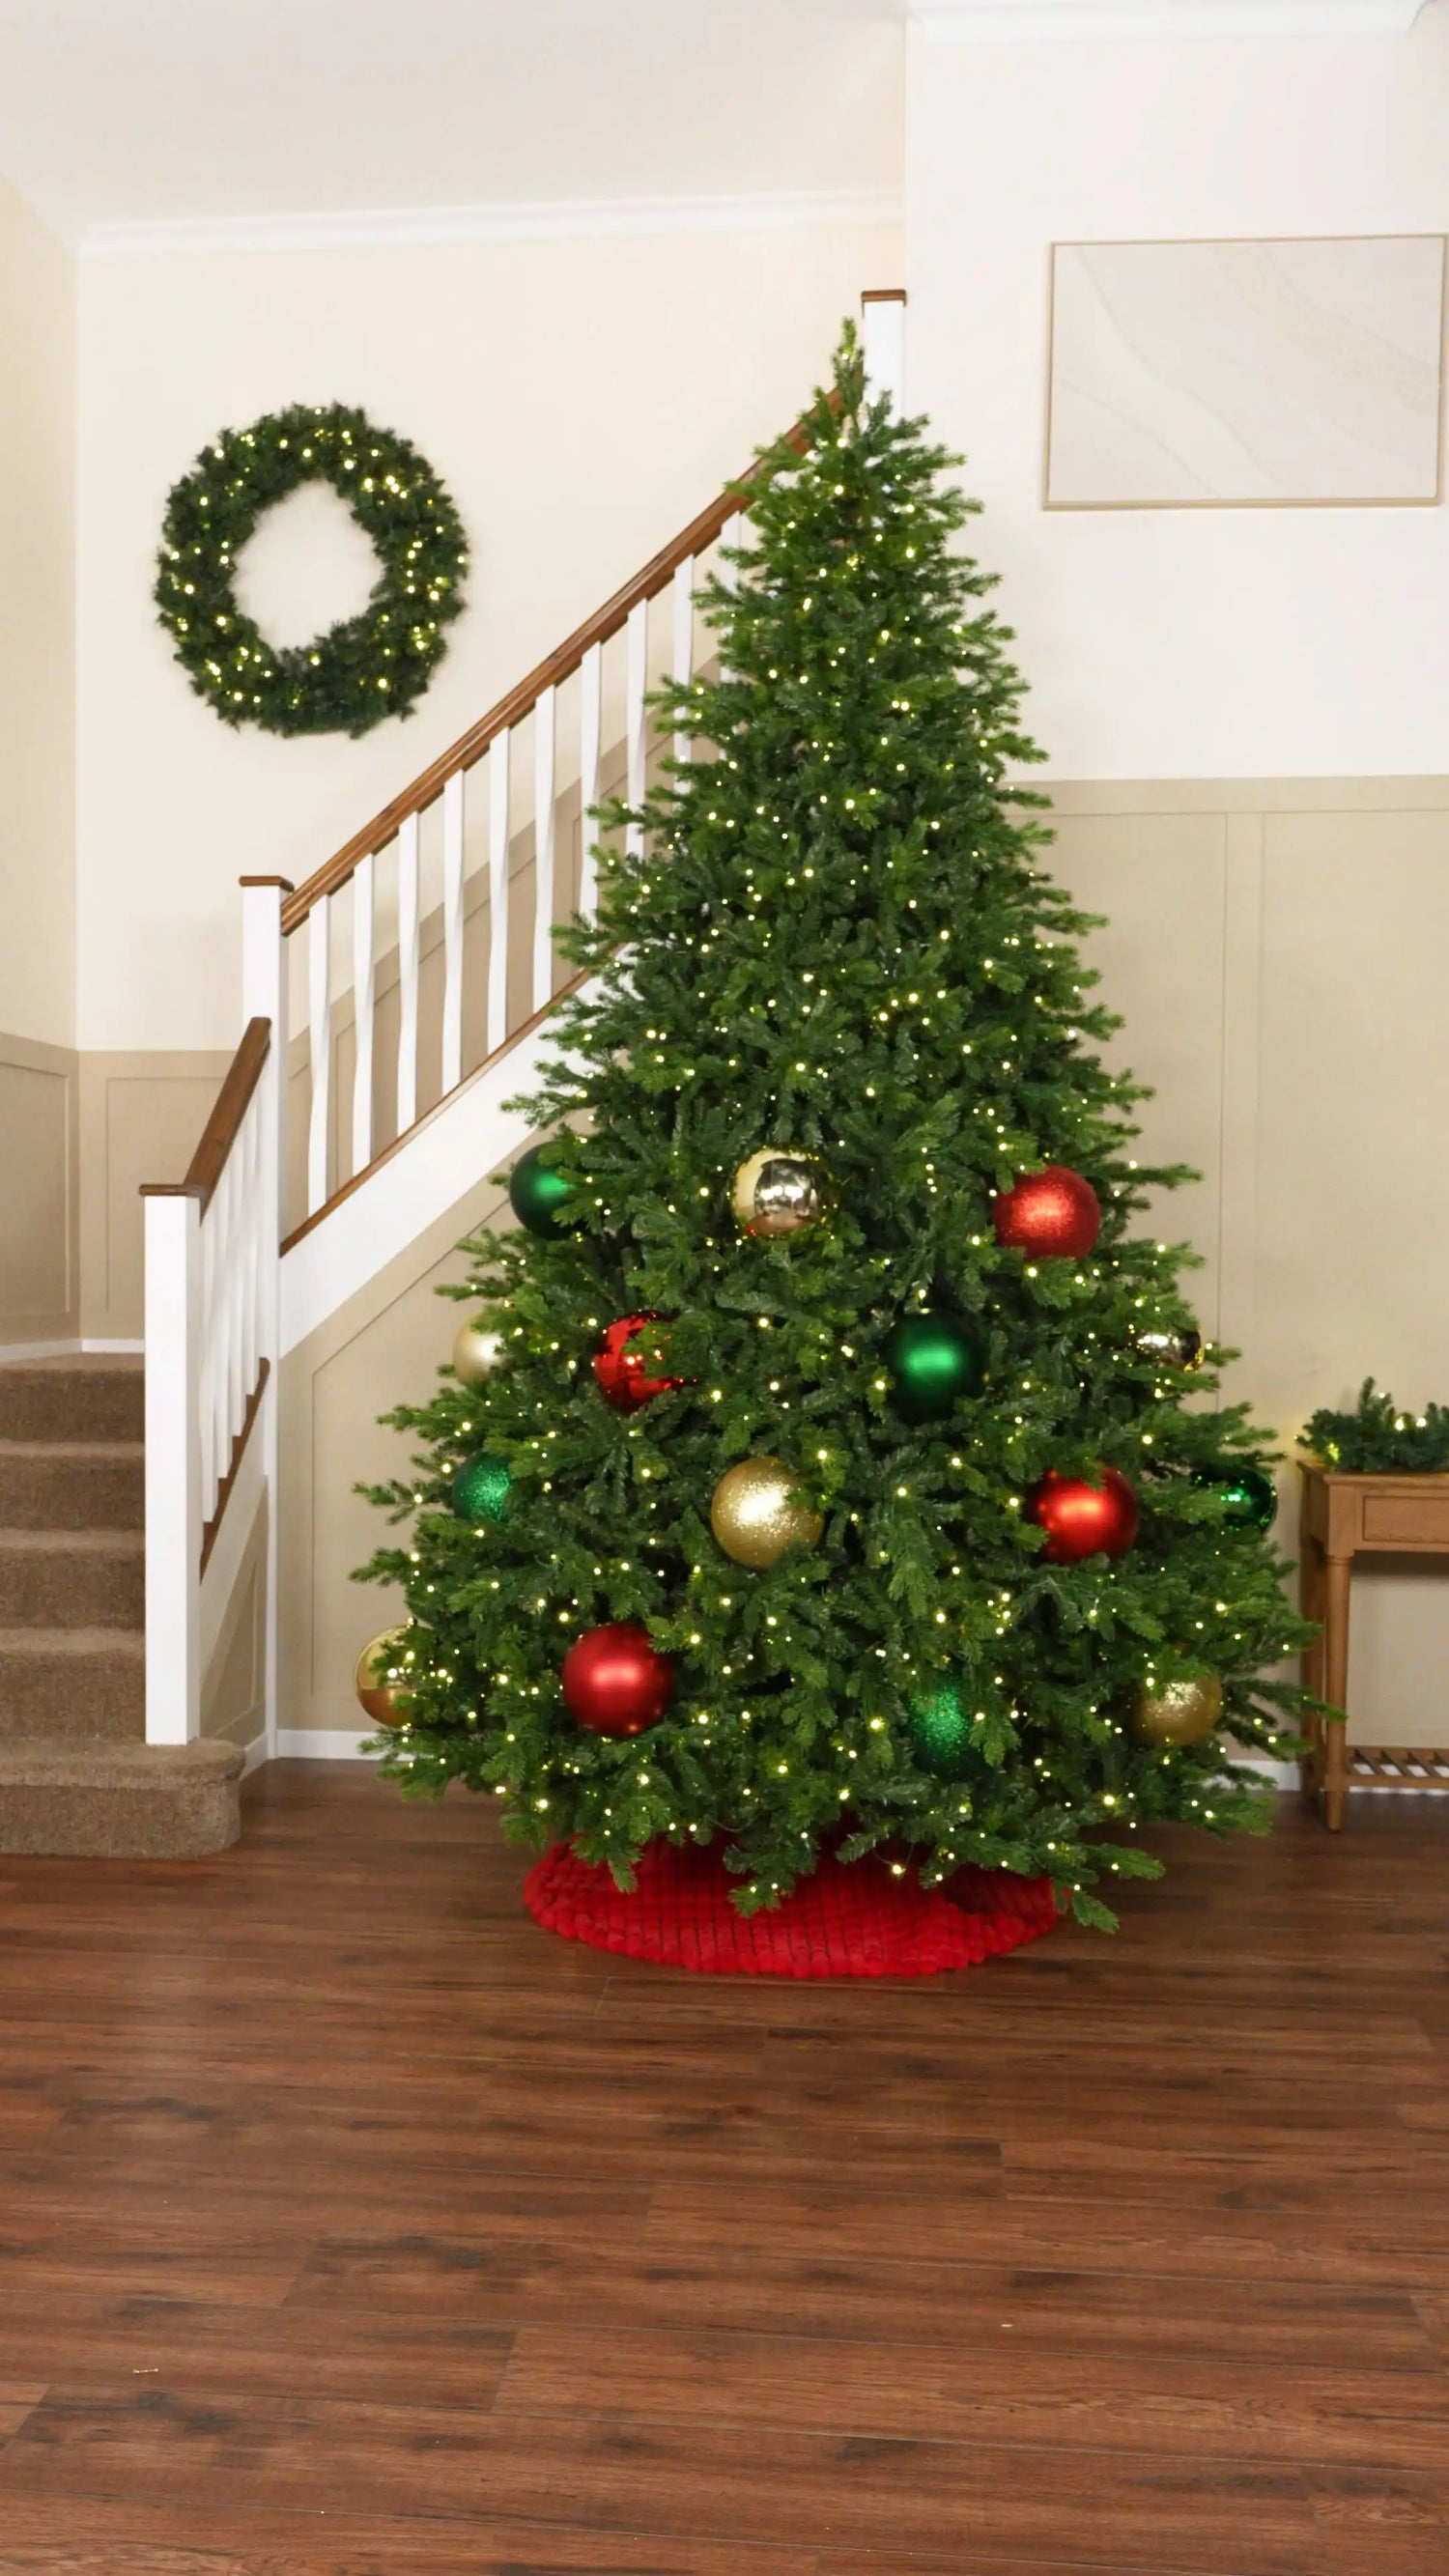
Now repeat the same process using both the 10cm and oversized 15cm baubles in red, green and gold.
Work gradually from the bottom towards the top, filling the spaces between the larger decorations rather than placing them randomly. Try to alternate the colours as evenly as possible so one section does not feel heavier than another.
This layering technique is one of the easiest ways to make a Christmas tree look fuller, while still keeping the design graceful and balanced. By the end of this stage, the tree should have a clear structure, with the different bauble sizes and finishes spread evenly before any picks or decorative sprays are added.
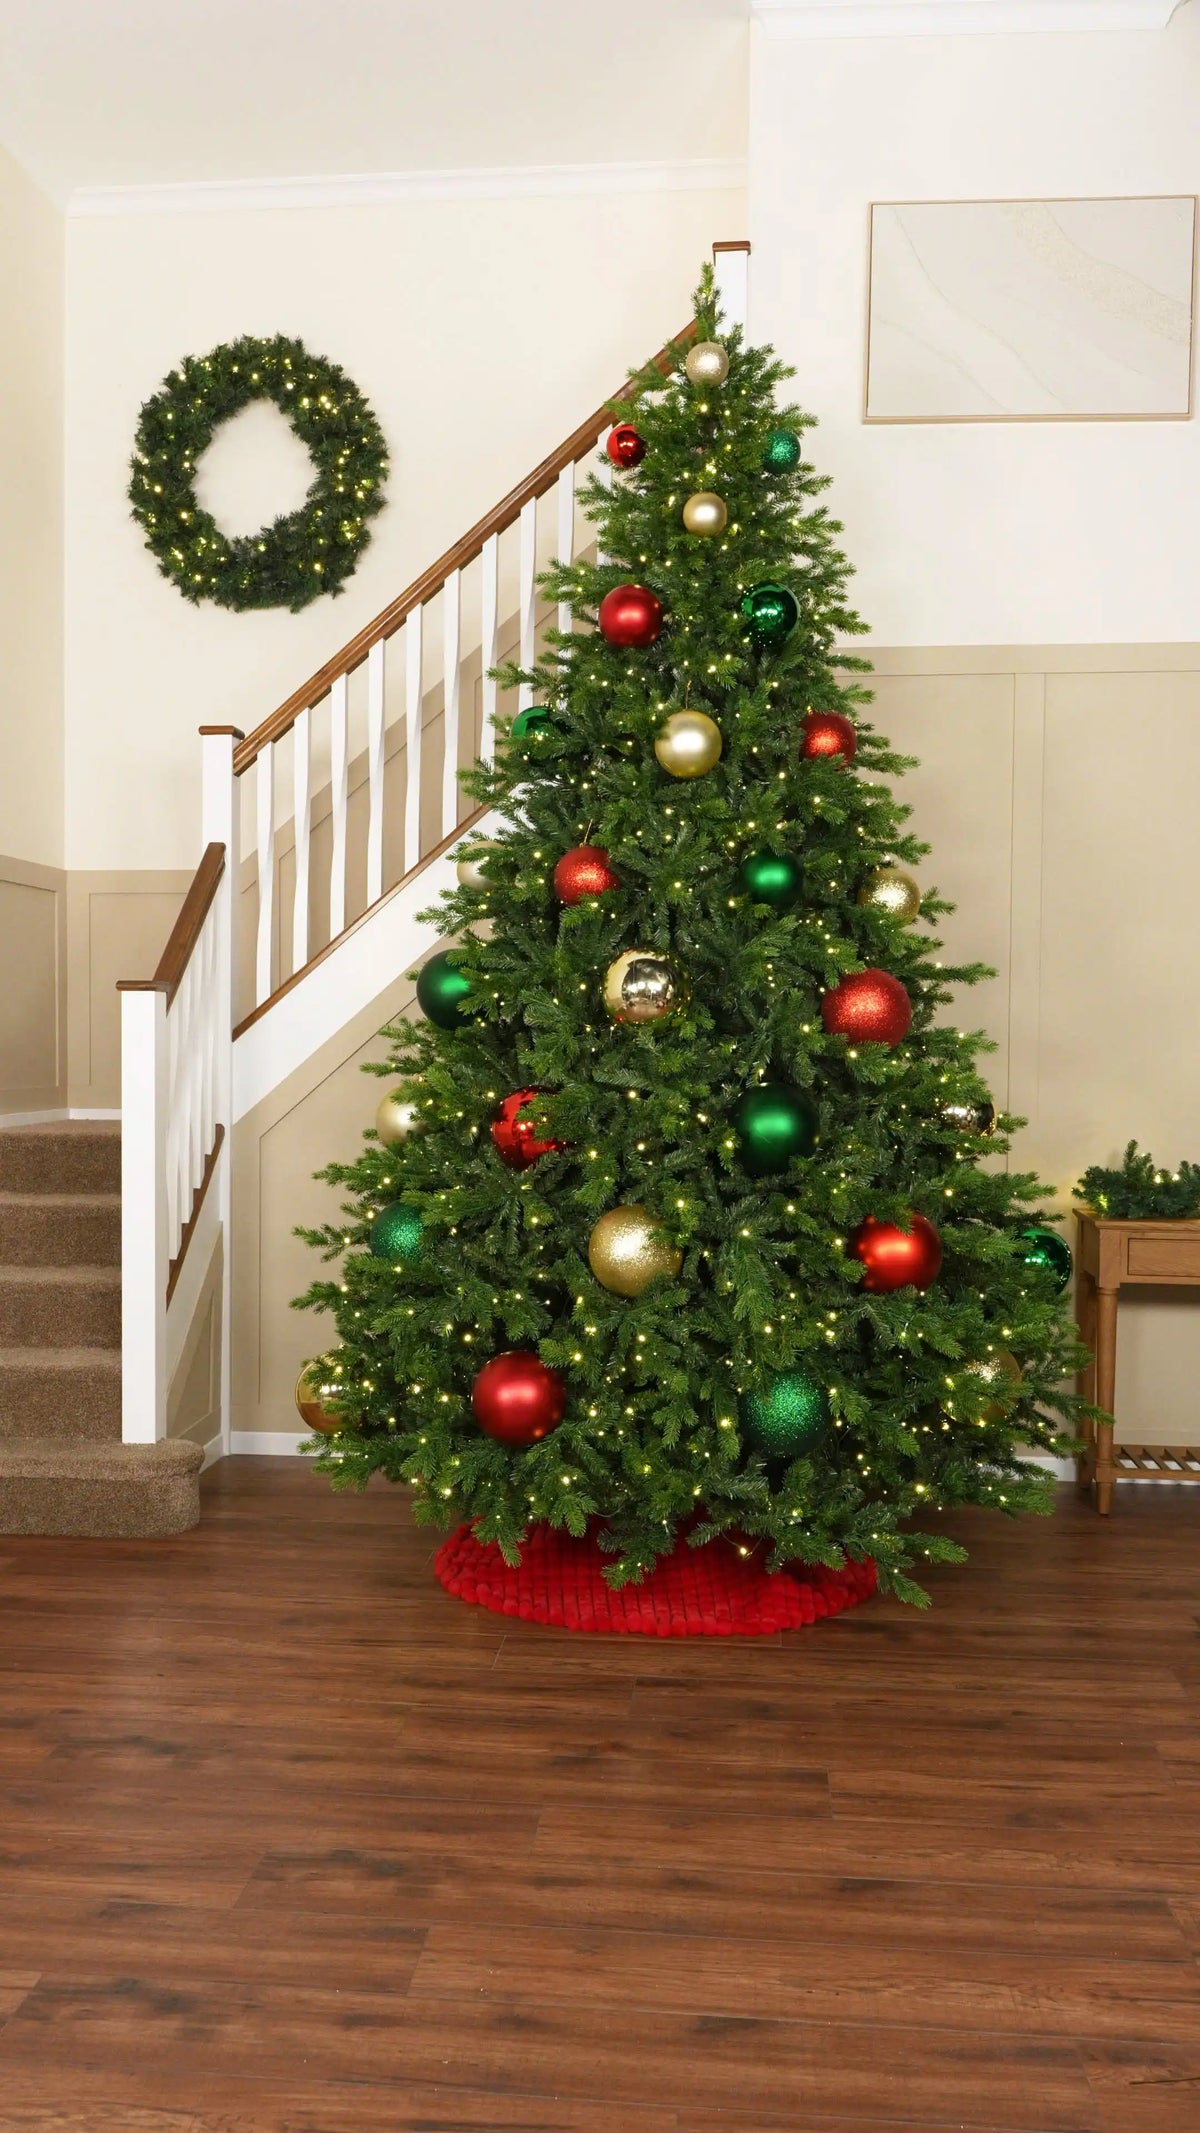
With the baubles in place, it’s time to introduce more movement by adding Red Berry Picks and Gold Berry Picks throughout the tree.
Position each pick slightly into the branches rather than placing it flat on the surface. Angle the stems upwards and outwards so the berry clusters sit naturally amongst the foliage and feel like part of the tree itself.
Distribute the red and gold berry picks evenly, focusing on the larger gaps between the baubles. These decorative picks help carry the colour palette through the tree while adding texture, shape and a softer festive finish.
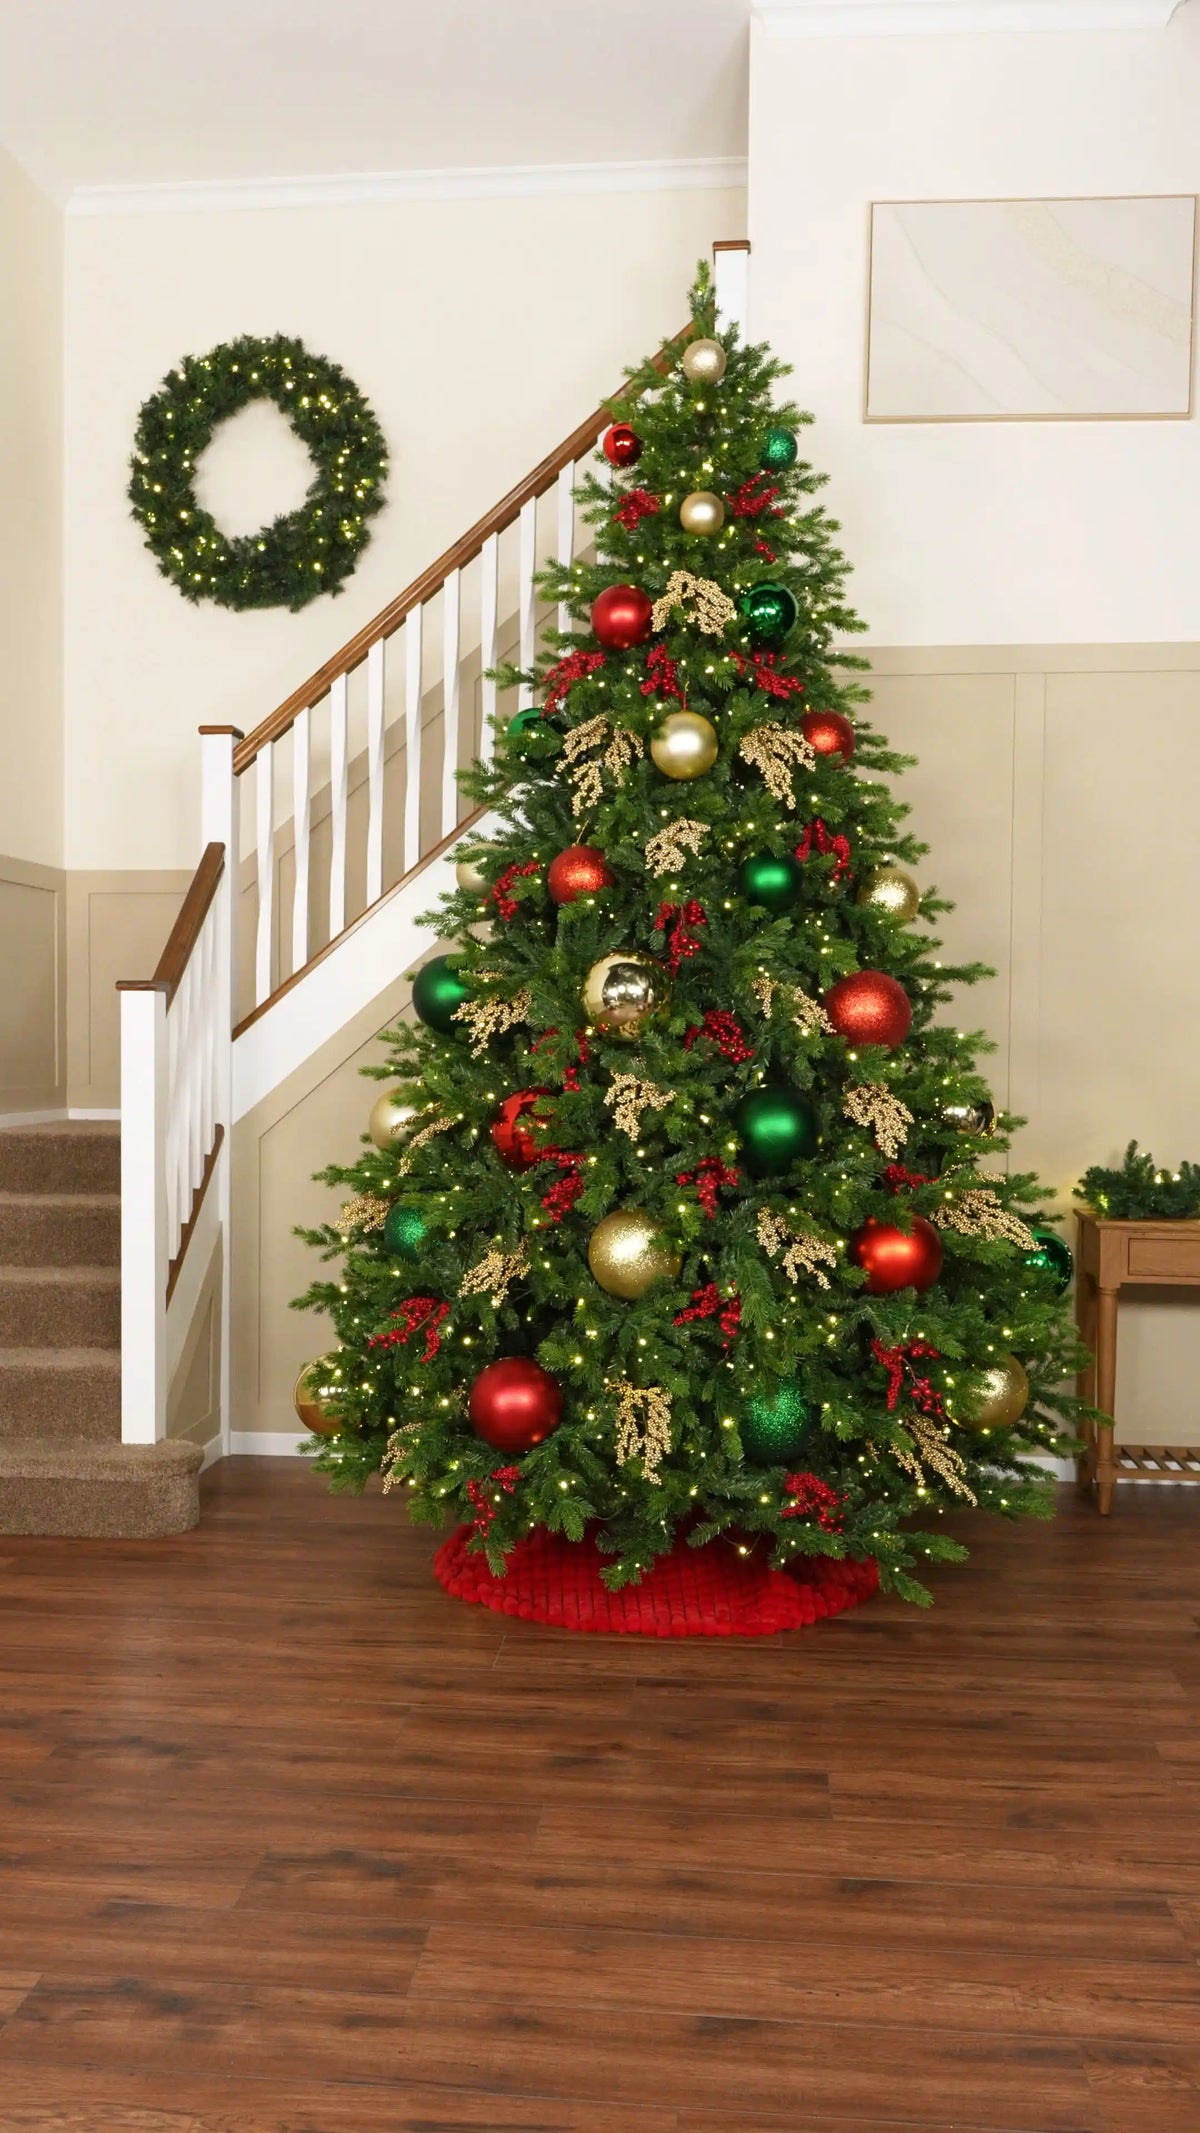
Once the first layer of berry picks is in place, build more interest by adding different styles of berry picks and decorative Christmas tree sprays.
Work each pick into the tree amongst the existing decorations, varying the direction and position of each stem to avoid a repeated pattern. Mixing fuller berry clusters with finer decorative sprays helps create contrast and makes the tree feel more naturally styled.
This step is especially important for a traditional red, green and gold Christmas tree, as it helps soften the spaces between the baubles and adds richness throughout the design.
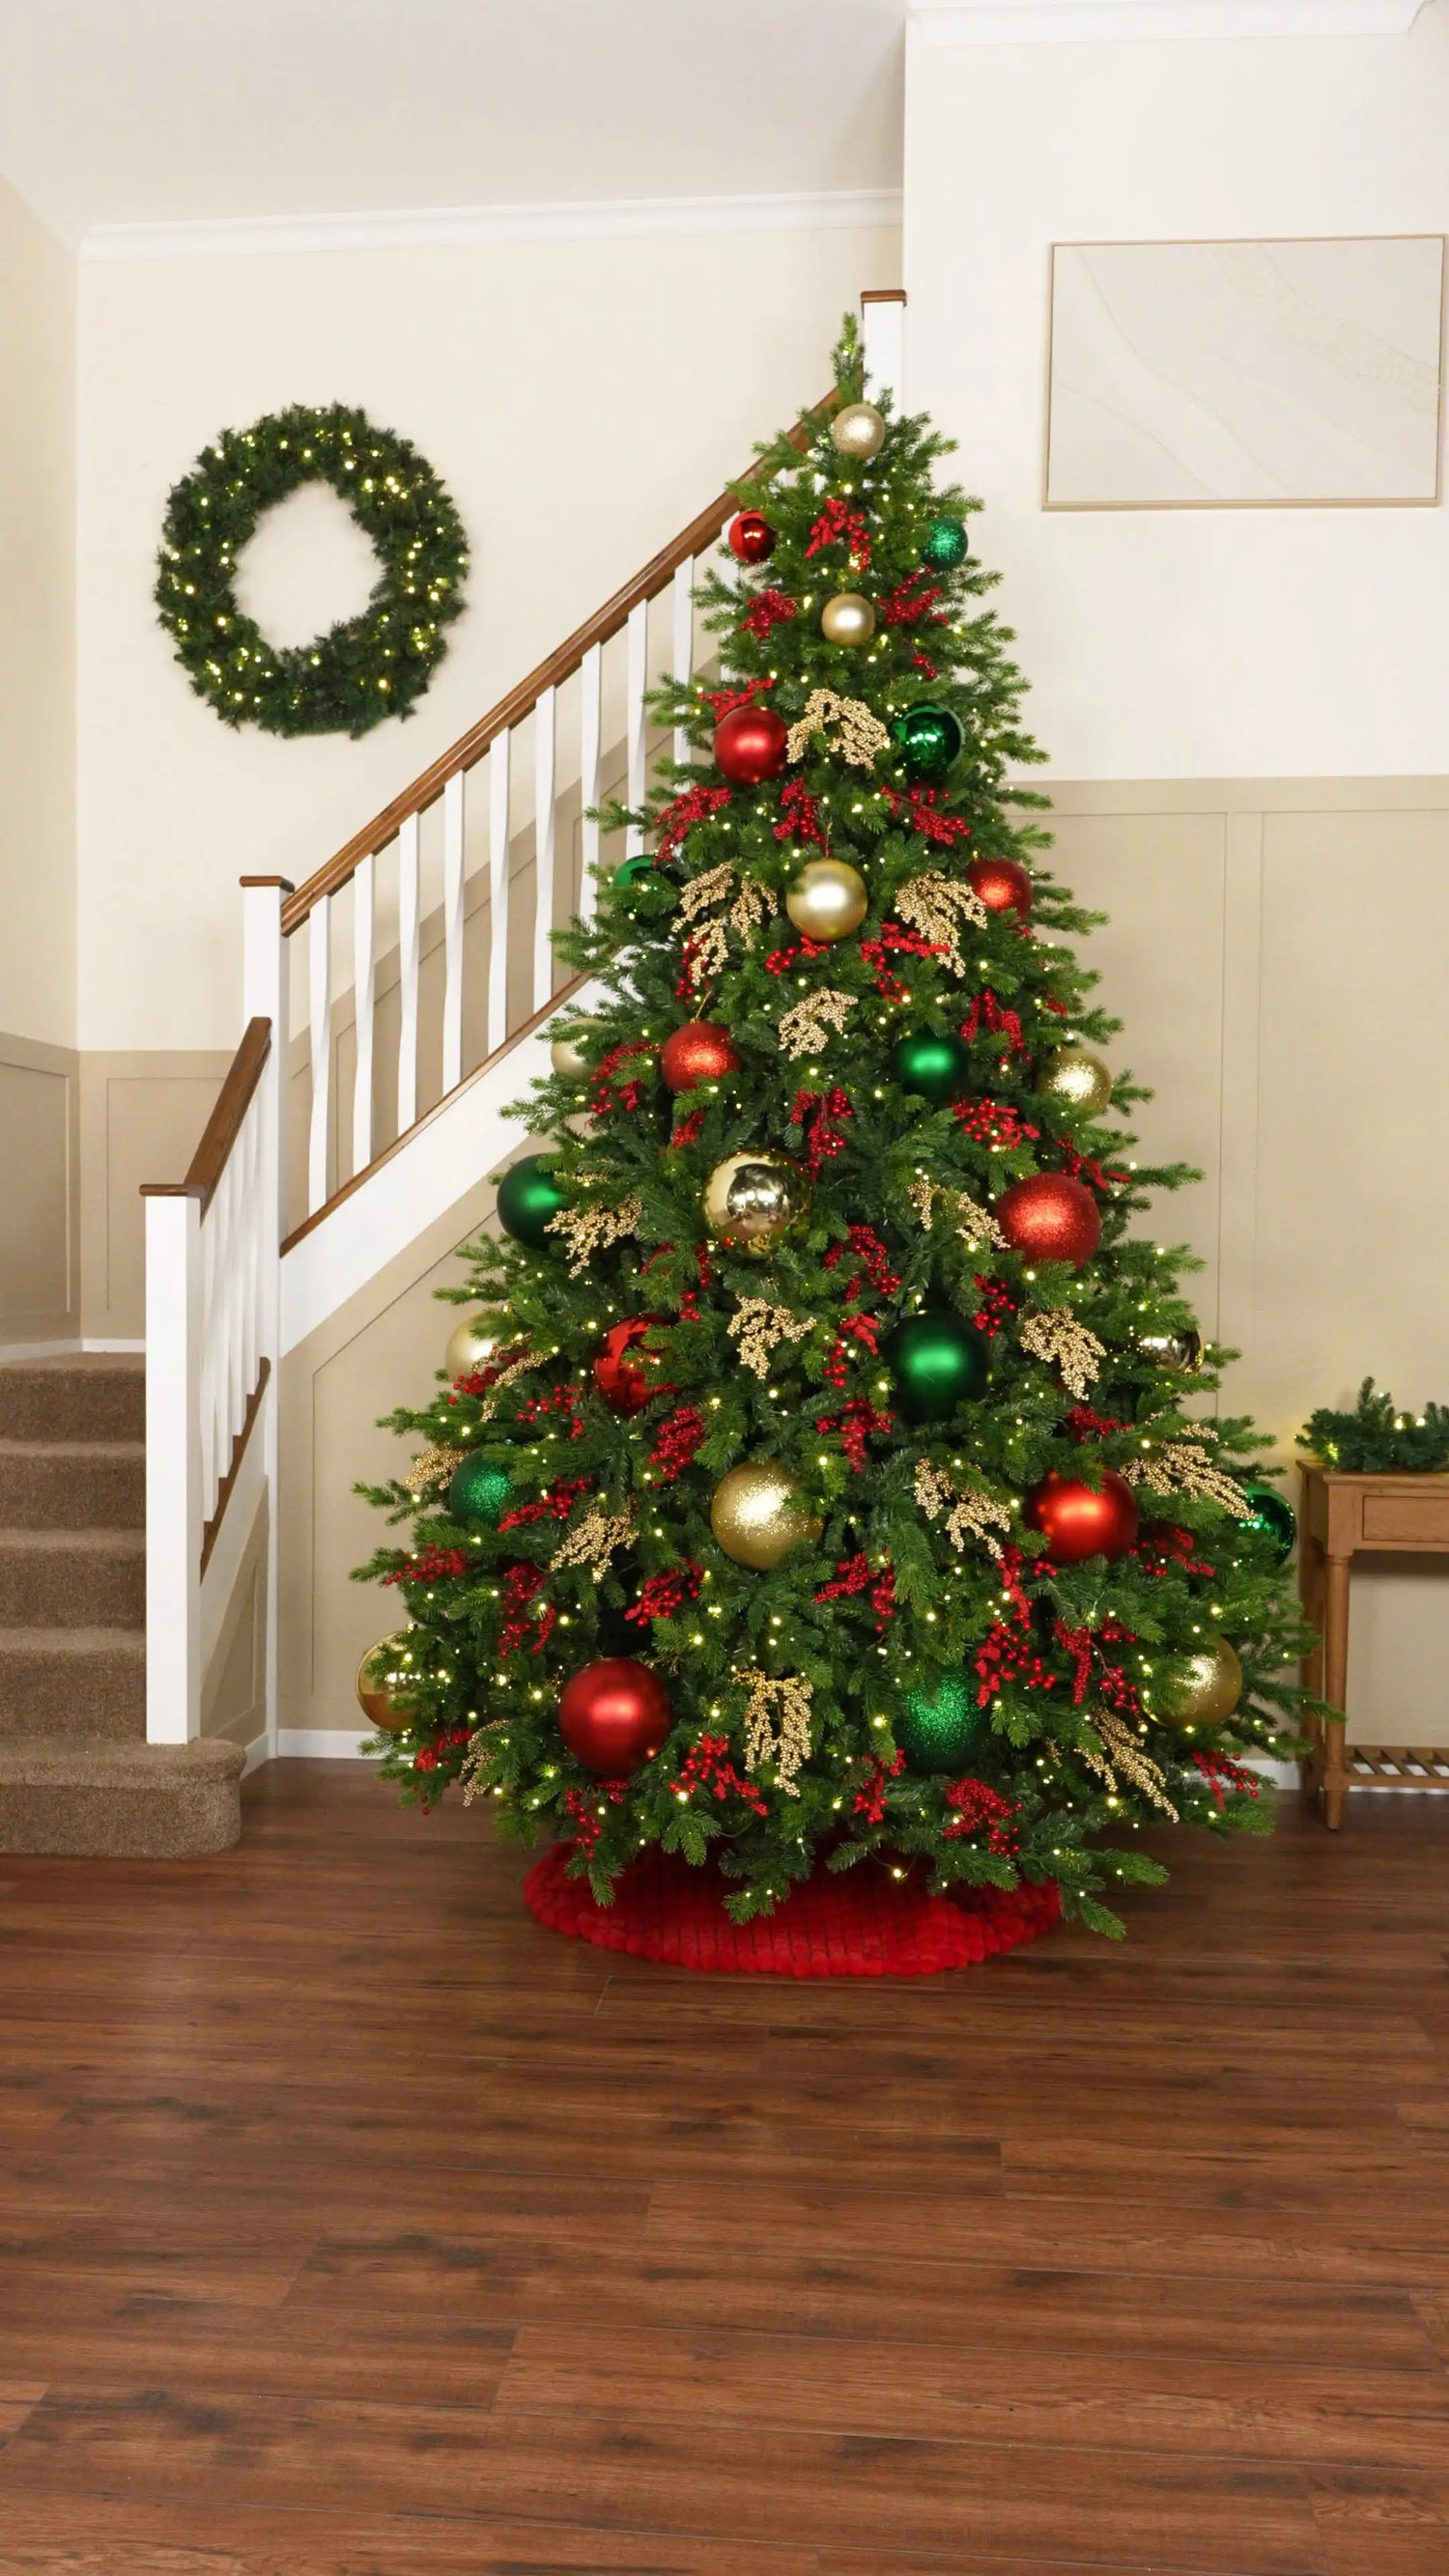
To complete the main foliage layer, add Red, Green and Gold Glass Berry Clusters throughout the branches.
Because they are smaller than the picks and sprays, glass berry clusters are ideal for filling the spaces between larger decorations without overwhelming the design. Place them into any remaining gaps where the tree needs extra colour, texture or sparkle.
Their reflective glass finish catches the warm white lights beautifully, helping to soften the transitions between the baubles, picks and sprays. At this point, your Christmas tree should look well layered from every angle, with each decoration working together as one complete design.
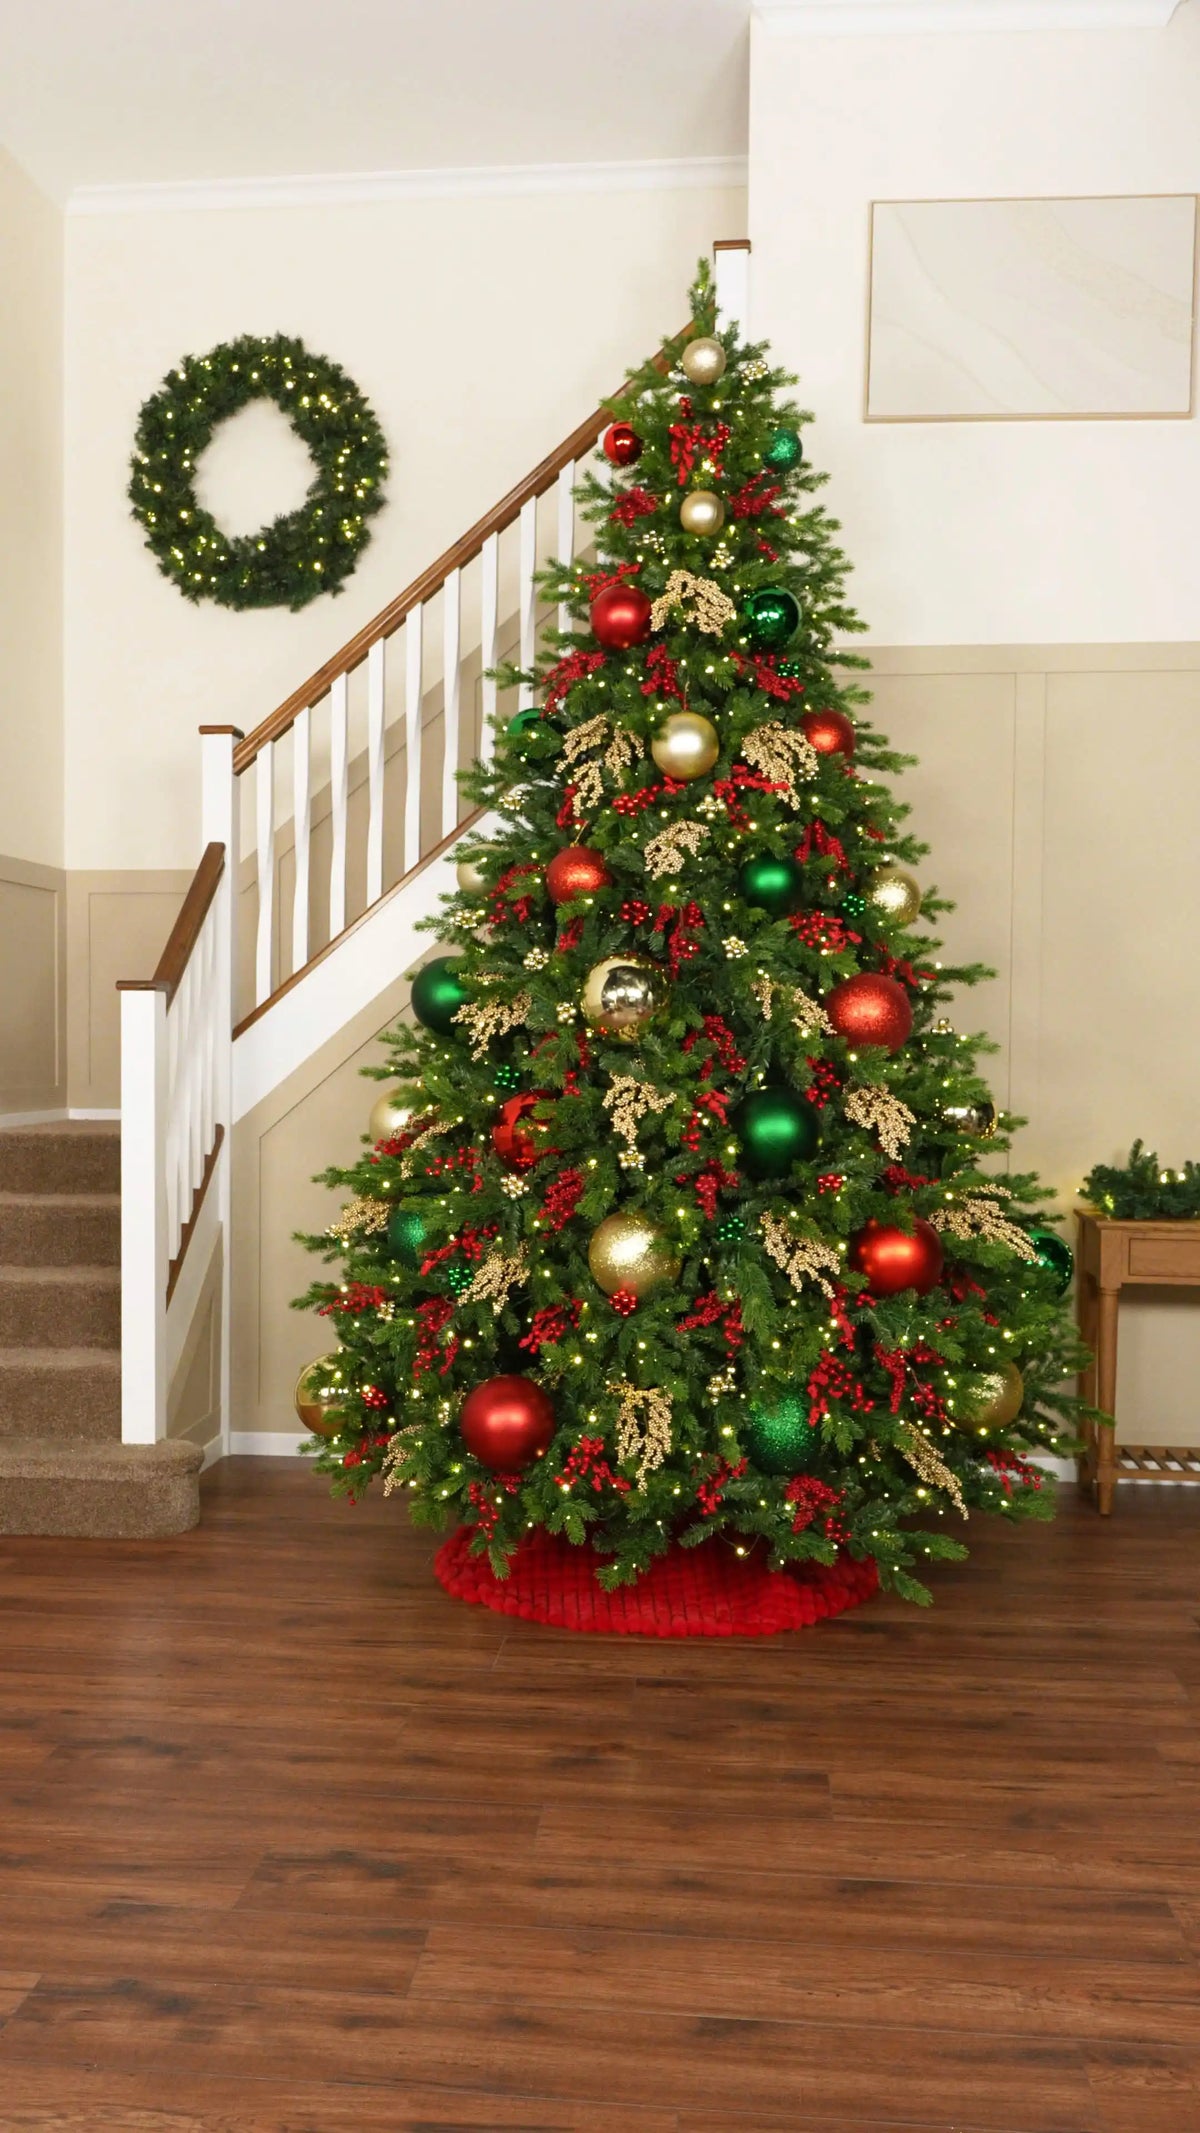
To help tie the whole look together, add Red, Green and Gold Glass Baubles throughout the tree.
Rather than hanging every glass bauble deep inside the branches, position some closer to the outer tips. This simple technique gives the tree a fuller appearance, creates more sparkle and adds another level of visual interest.
Alternate the red, green and gold glass baubles evenly across the tree, allowing them to complement the oversized baubles rather than compete with them. Once these finishing baubles are in place, the main body of your traditional Christmas tree is complete.
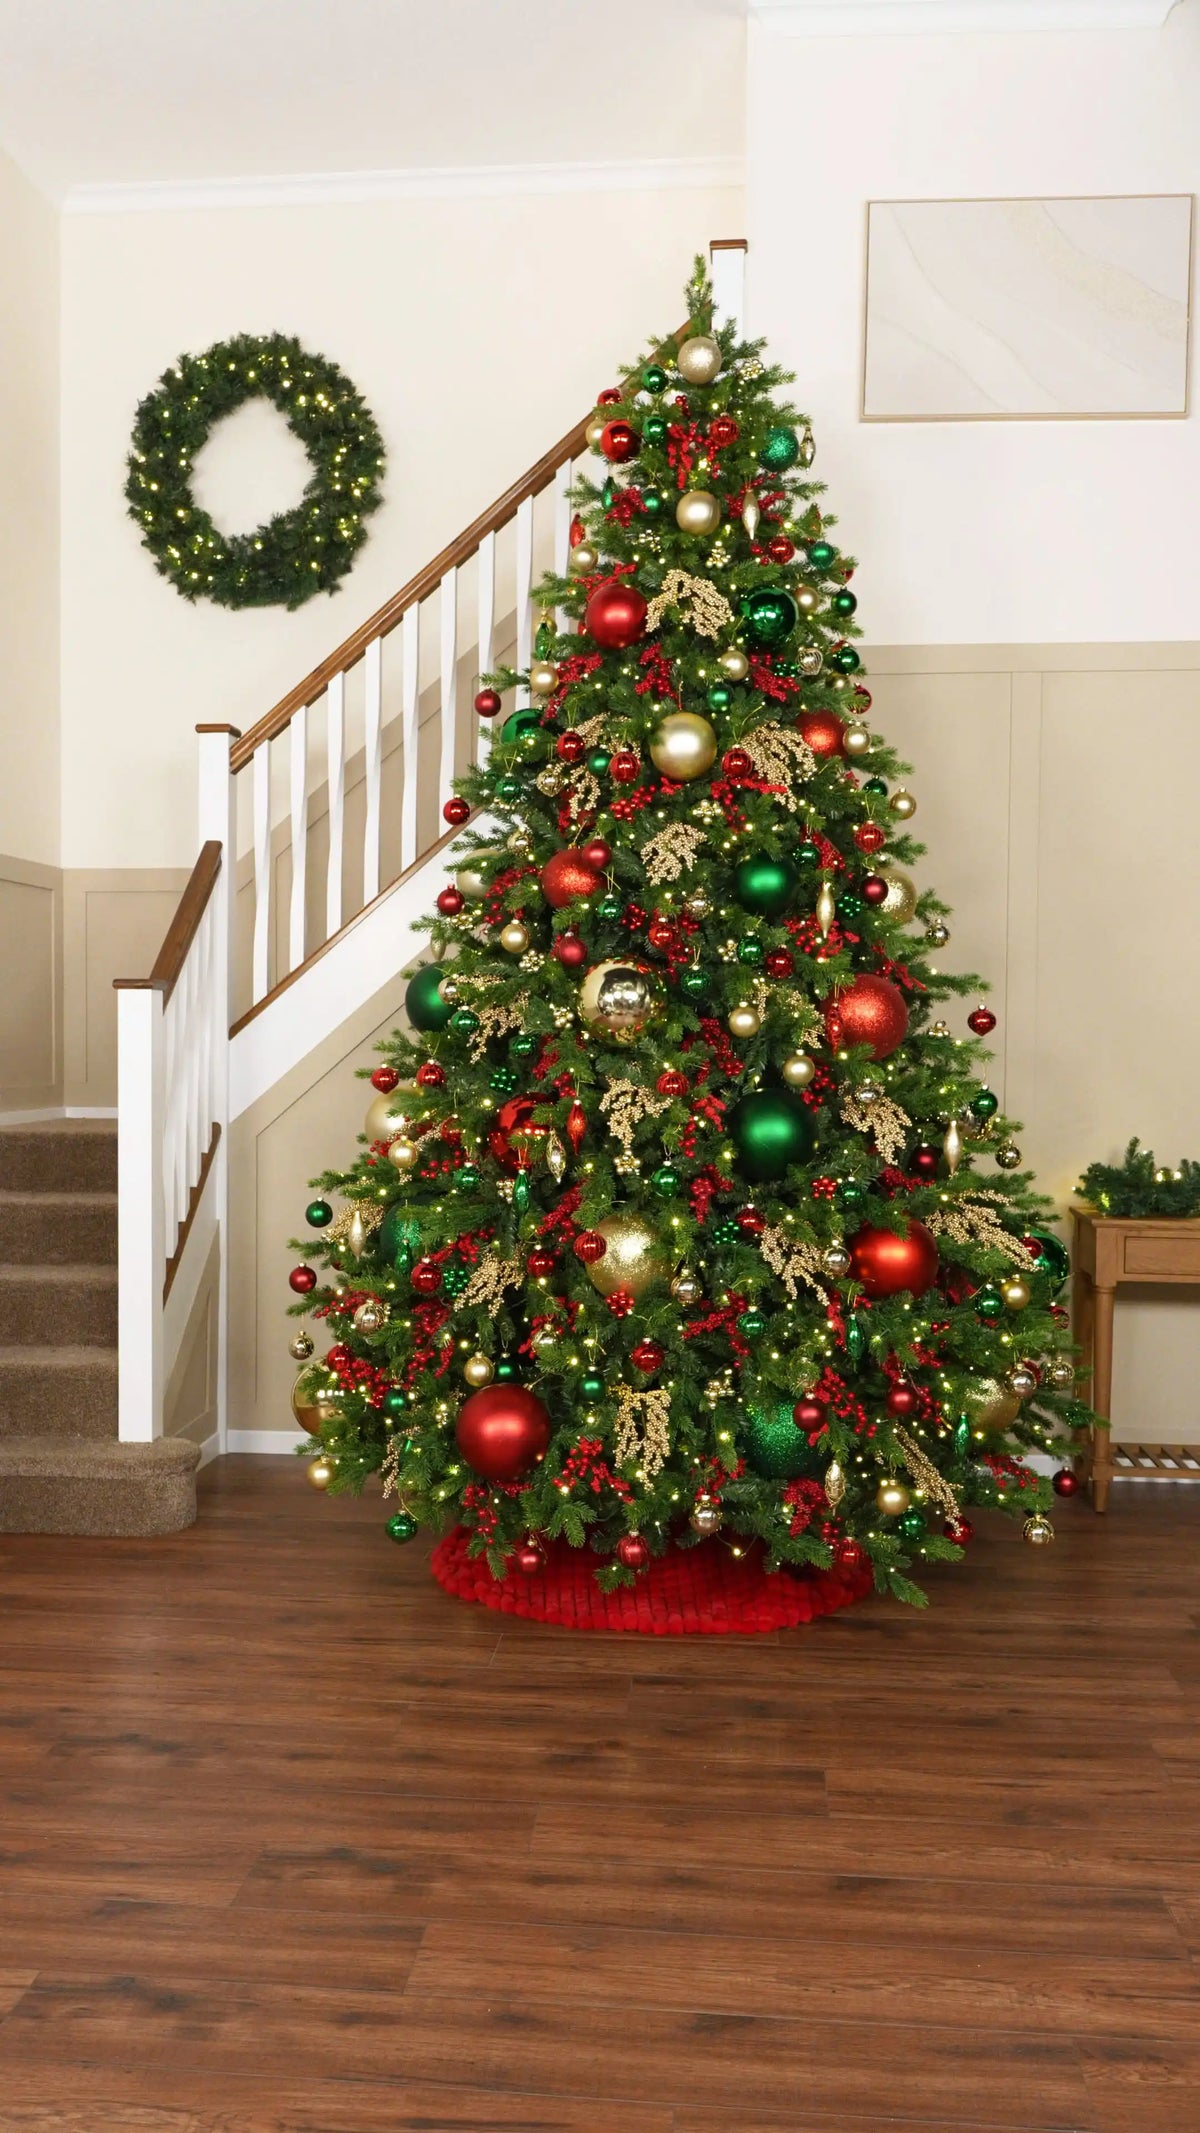
Finish the tree with an Oversized Red Berry Tree Topper to create a striking focal point at the top of the tree.
Position the topper securely at the crown, allowing the berry stems to fan out naturally while keeping the overall shape of the tree balanced.
A red berry tree topper works beautifully with this look because it reflects the berry picks and sprays used throughout the rest of the design. This creates a sense of continuity from top to bottom and gives the finished tree a coordinated, thoughtfully styled appearance.
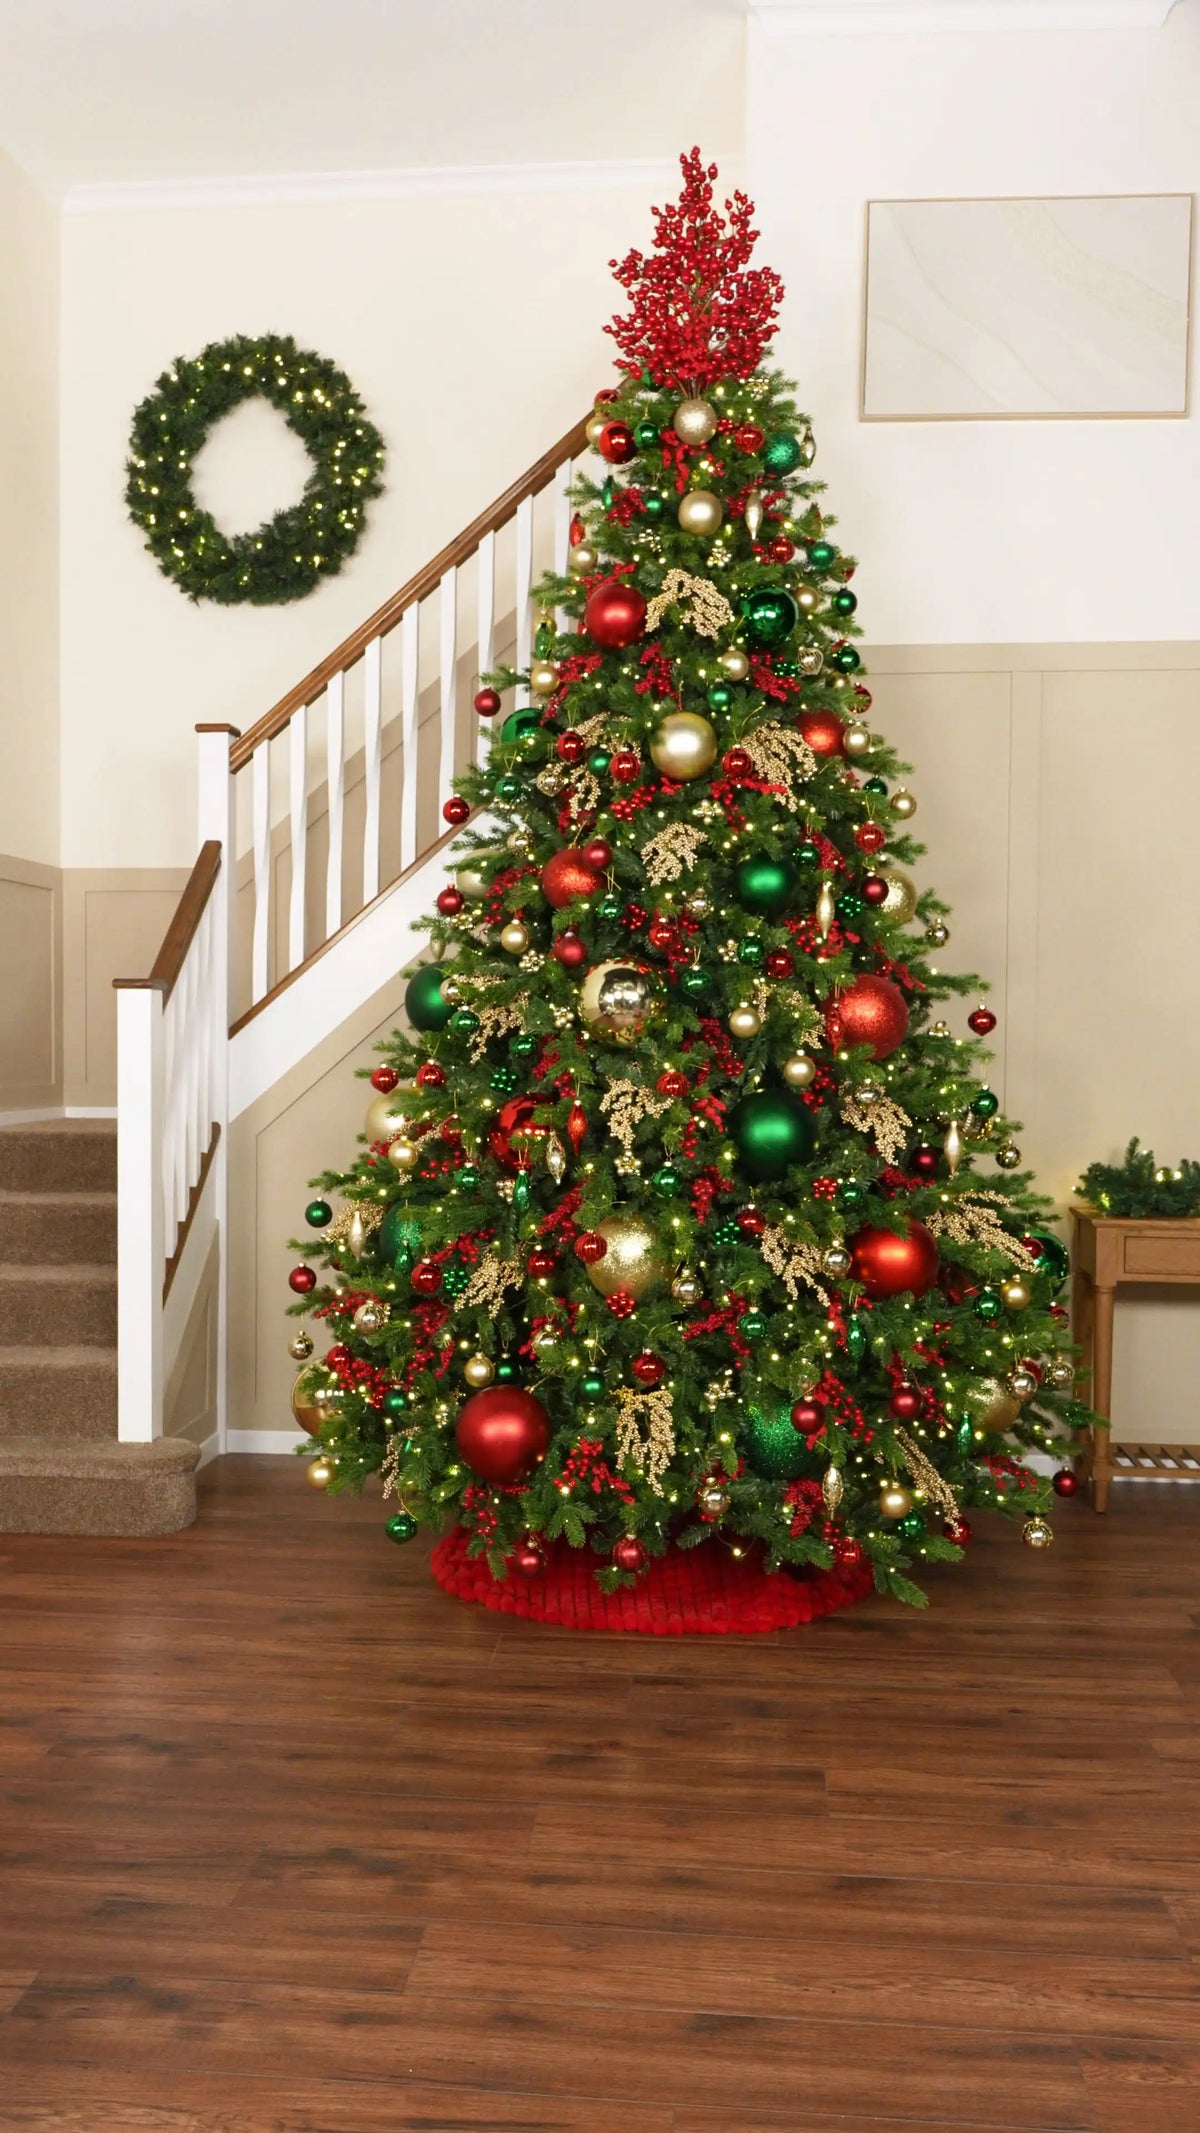
Once your Christmas tree is complete, you can carry the same red, green and gold theme into the rest of your room using coordinating festive decorations.
For this look, we styled the wreath using the same glass baubles, berry picks and glass berry clusters featured on the tree. Repeating the same decorations helps the wreath feel connected to the tree and creates a more cohesive display.
To frame the staircase, we also added Pre-Lit Red Stair Garlands, bringing the same festive colours and warm lighting beyond the tree itself. Using similar colours, textures and decorative details throughout your home helps the Christmas tree feel like the centrepiece of a beautifully styled festive space.
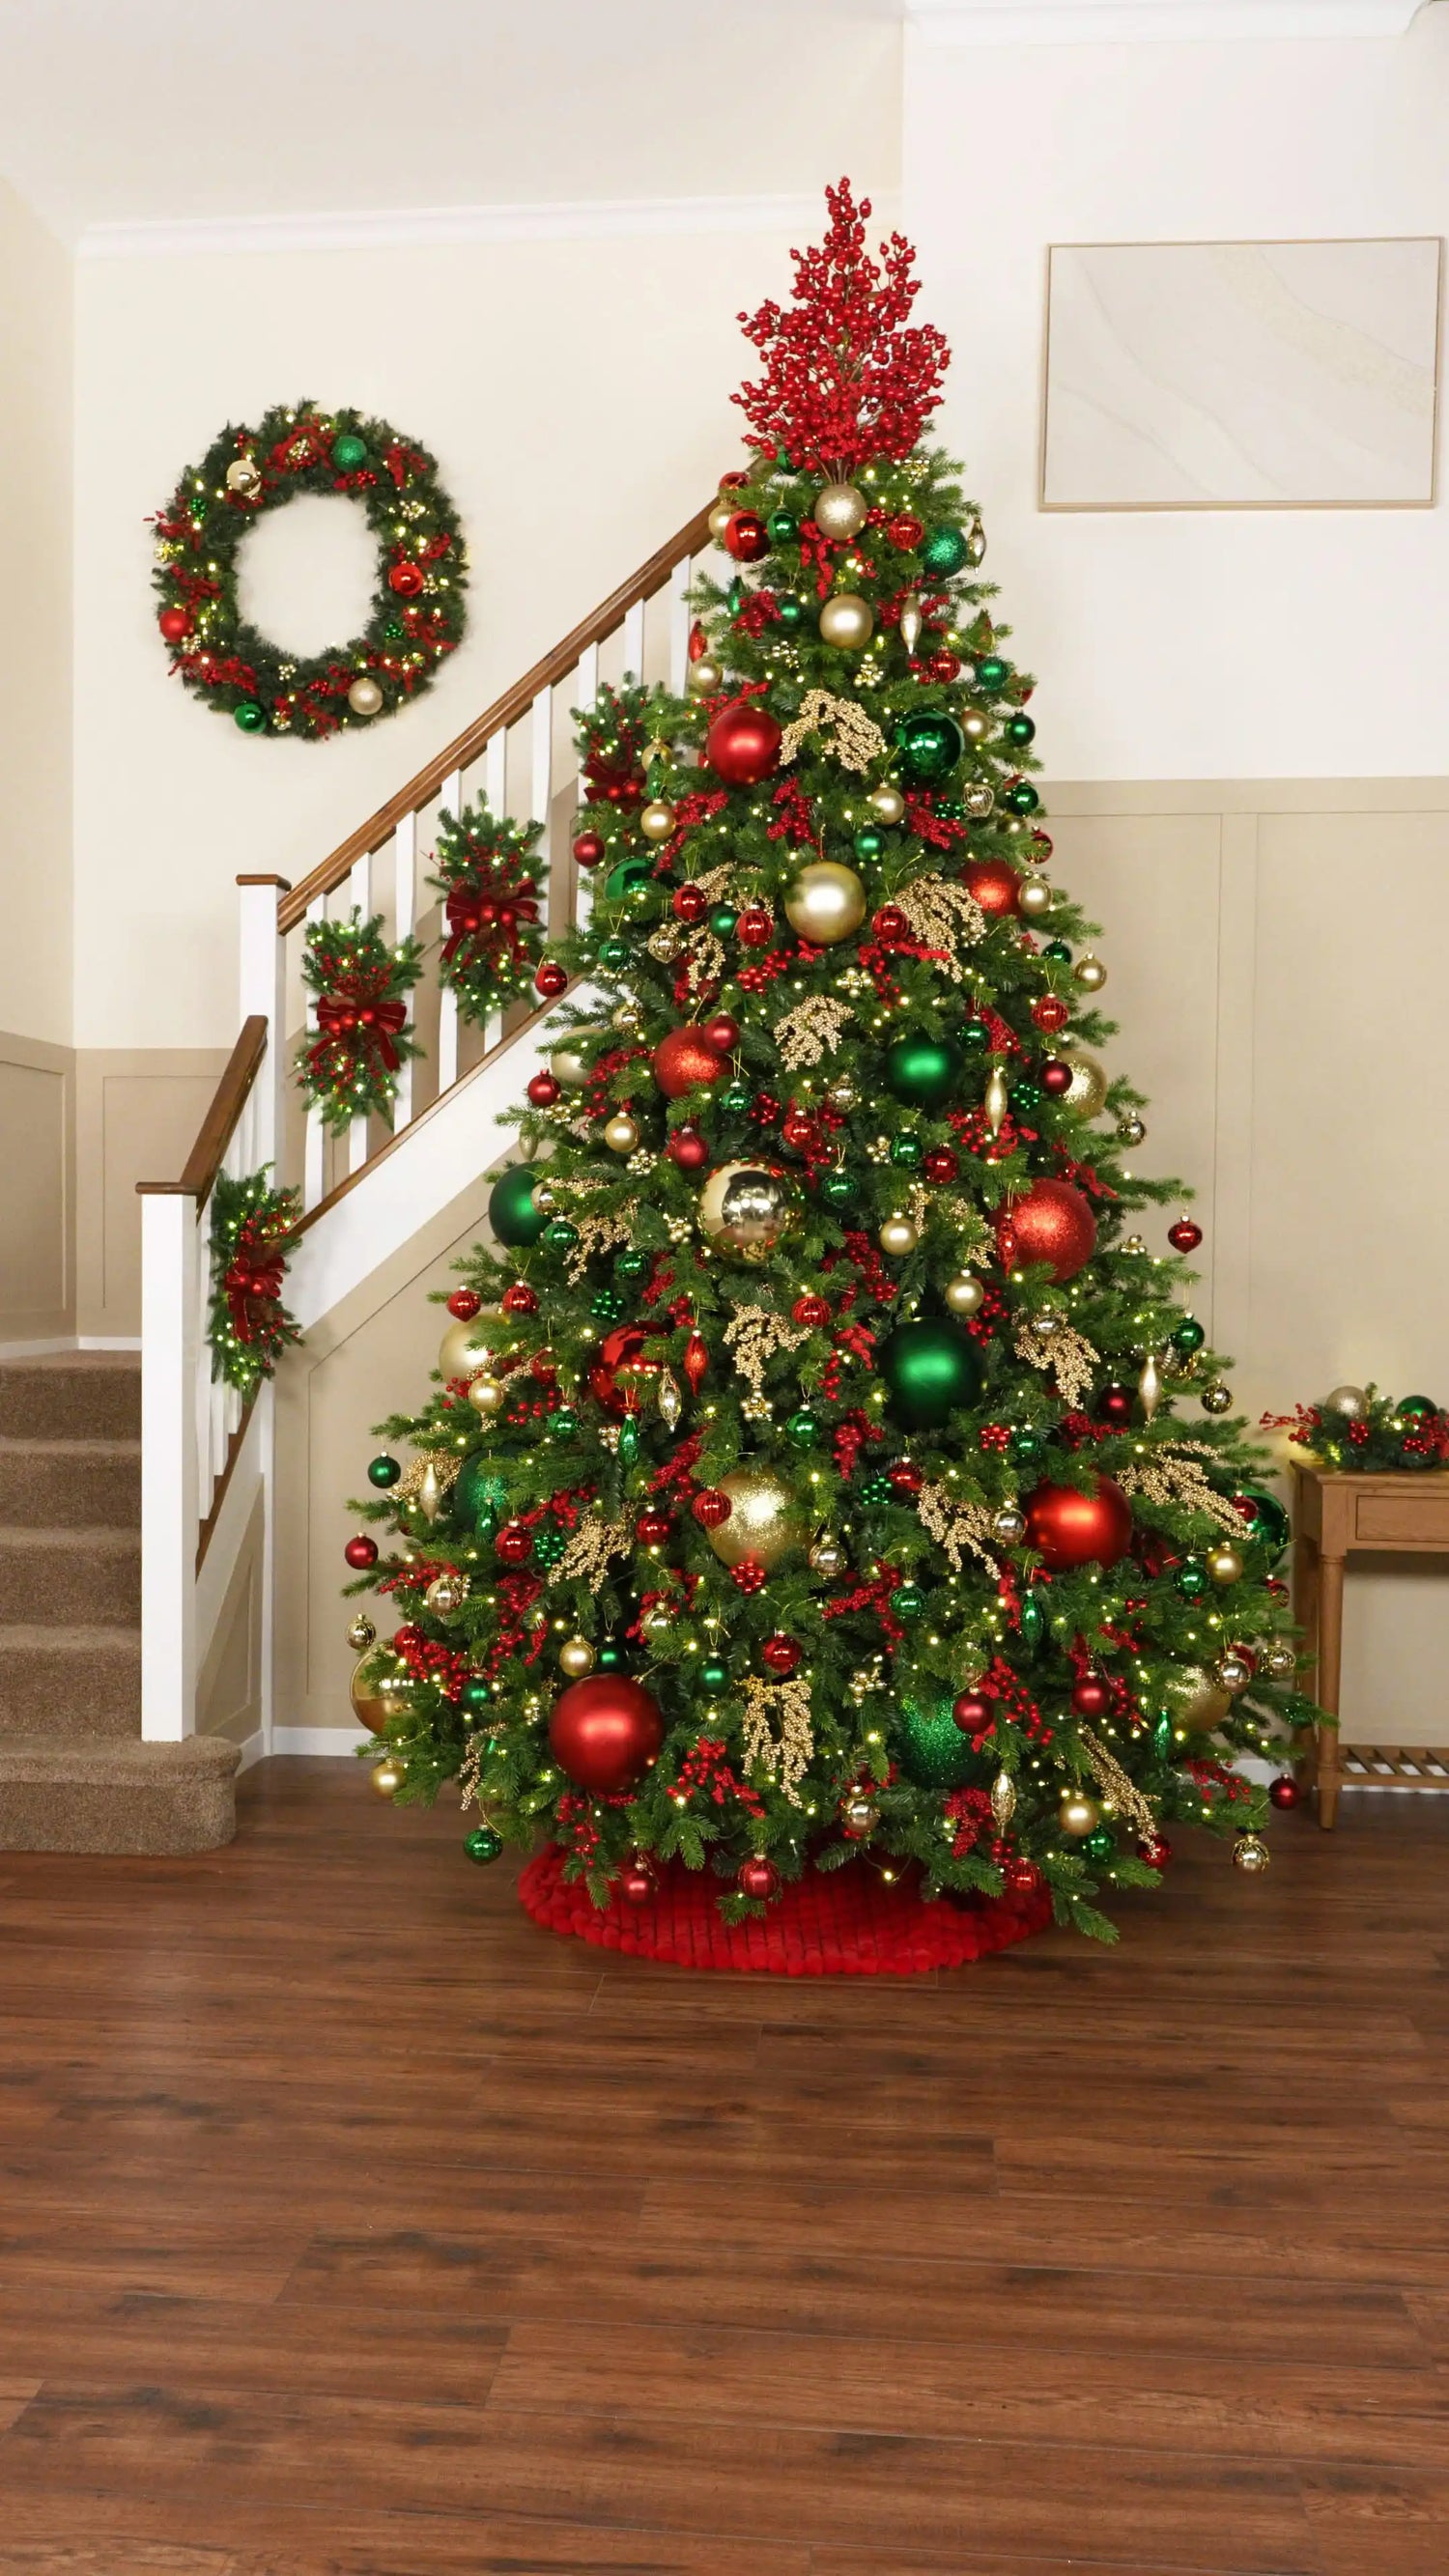
The Finished Look
This red, green and gold Christmas tree combines oversized baubles, berry picks, decorative sprays, glass berry clusters and glass baubles to create a rich, traditional festive look that’s full of warmth and colour.
Whether you’re decorating a grand entrance hall, staircase or family living room, this classic Christmas tree theme brings together timeless colours and layered textures to create a welcoming festive centrepiece you’ll enjoy year after year.
Shop the look highlights


Choose your option


Choose your option


Choose your option


Choose your option


Choose your option


Choose your option


Choose your option


Choose your option

Alternative Styles


