

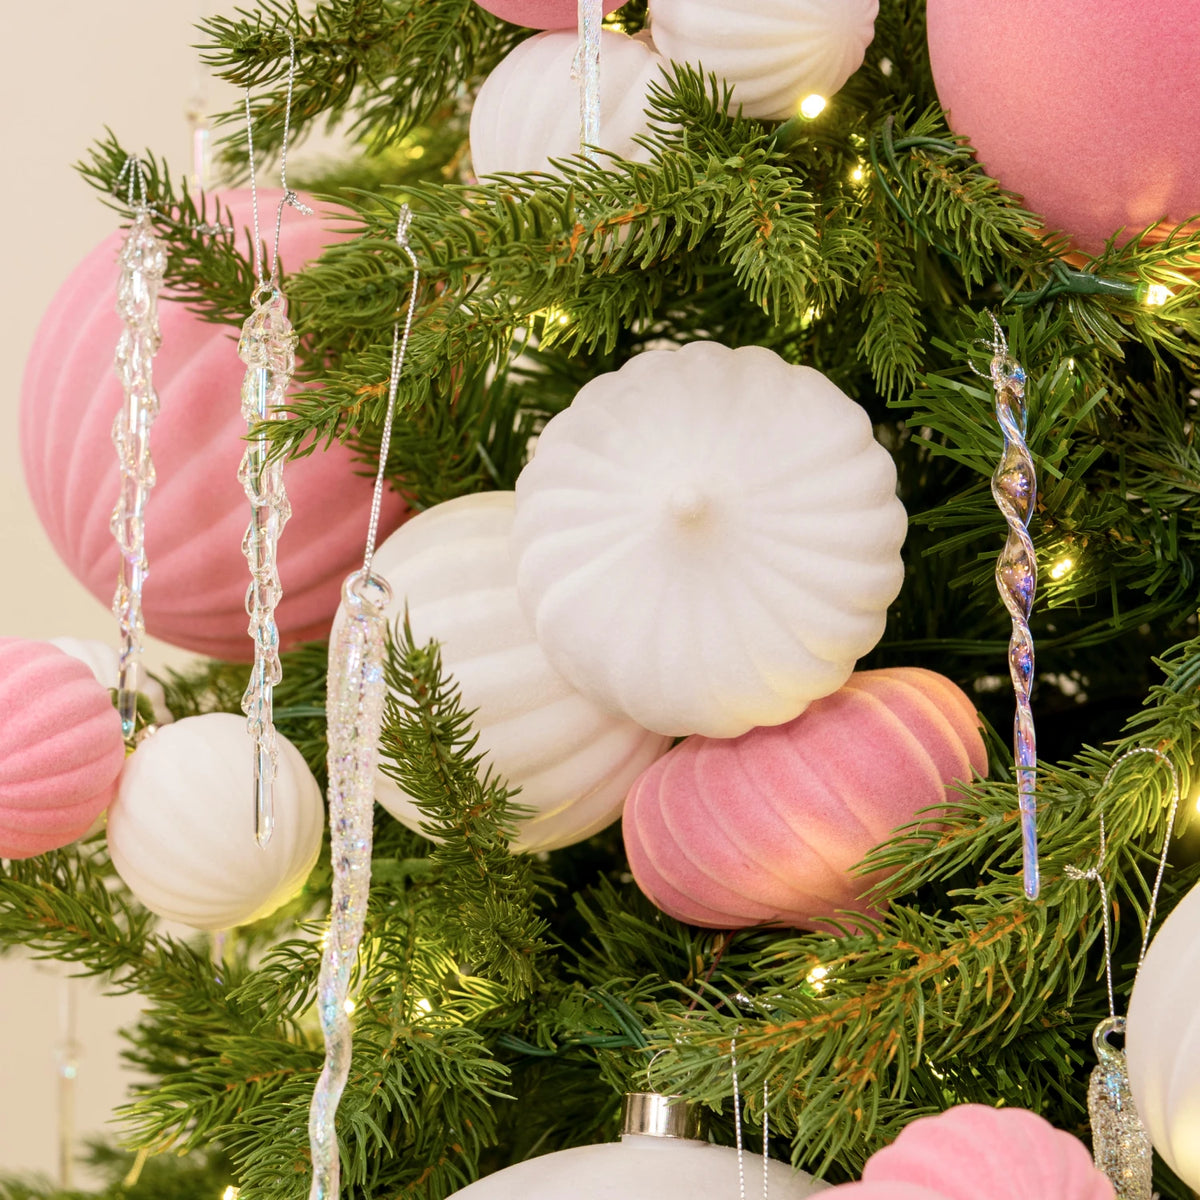
The Pink & White Look

Soft Velvet Styling
Follow our simple step-by-step guide to style the timeless look with foliage, baubles and texture. Watch the video below for the full look.
Watch The look
Come to life
Come to life
Discover in our video how to style your Christmas tree in a pink and white velvet theme, featuring handmade clusters, iridescent sparkle and delicate festive texture.

Step-by-step
Make sure every branch of your 7 ft Pre-Lit Windsor Fir Christmas Tree has been carefully fluffed before you begin adding any decorations. Properly shaping your tree at the beginning creates a fuller silhouette and gives every bauble, cluster and icicle somewhere to sit naturally.
To help, you can stand back every few minutes while fluffing to check how the tree is looking from a distance. This makes it much easier to spot any uneven areas that remain.
Once you’re happy with the shape, position your Pink Velvet Tree Collar around the base before the rest of the decorating. The soft pink velvet introduces the first colour and texture of the look, creating a gentle foundation for the pink and white decorations to come.
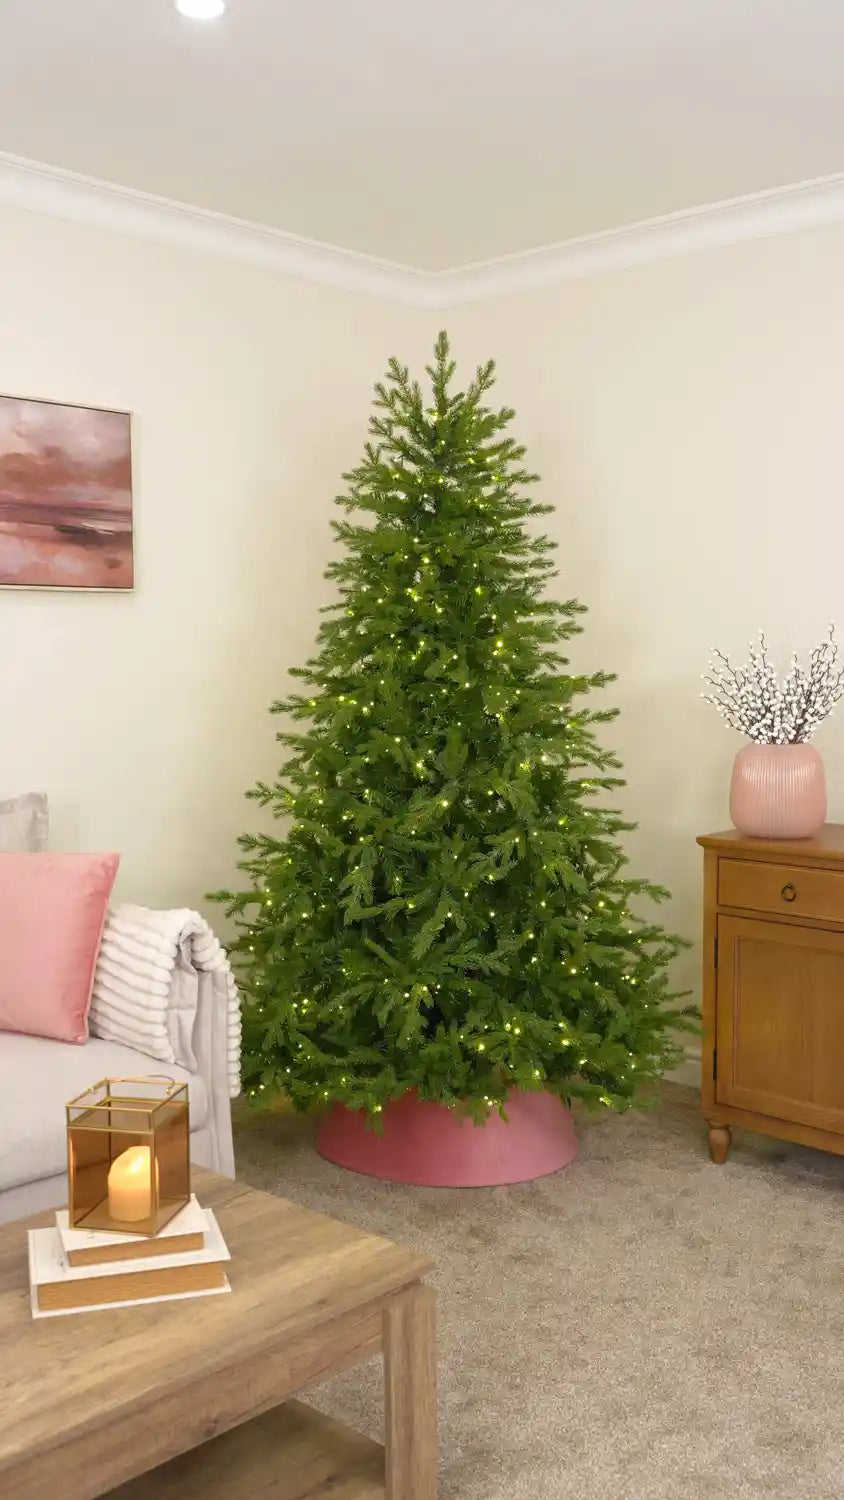
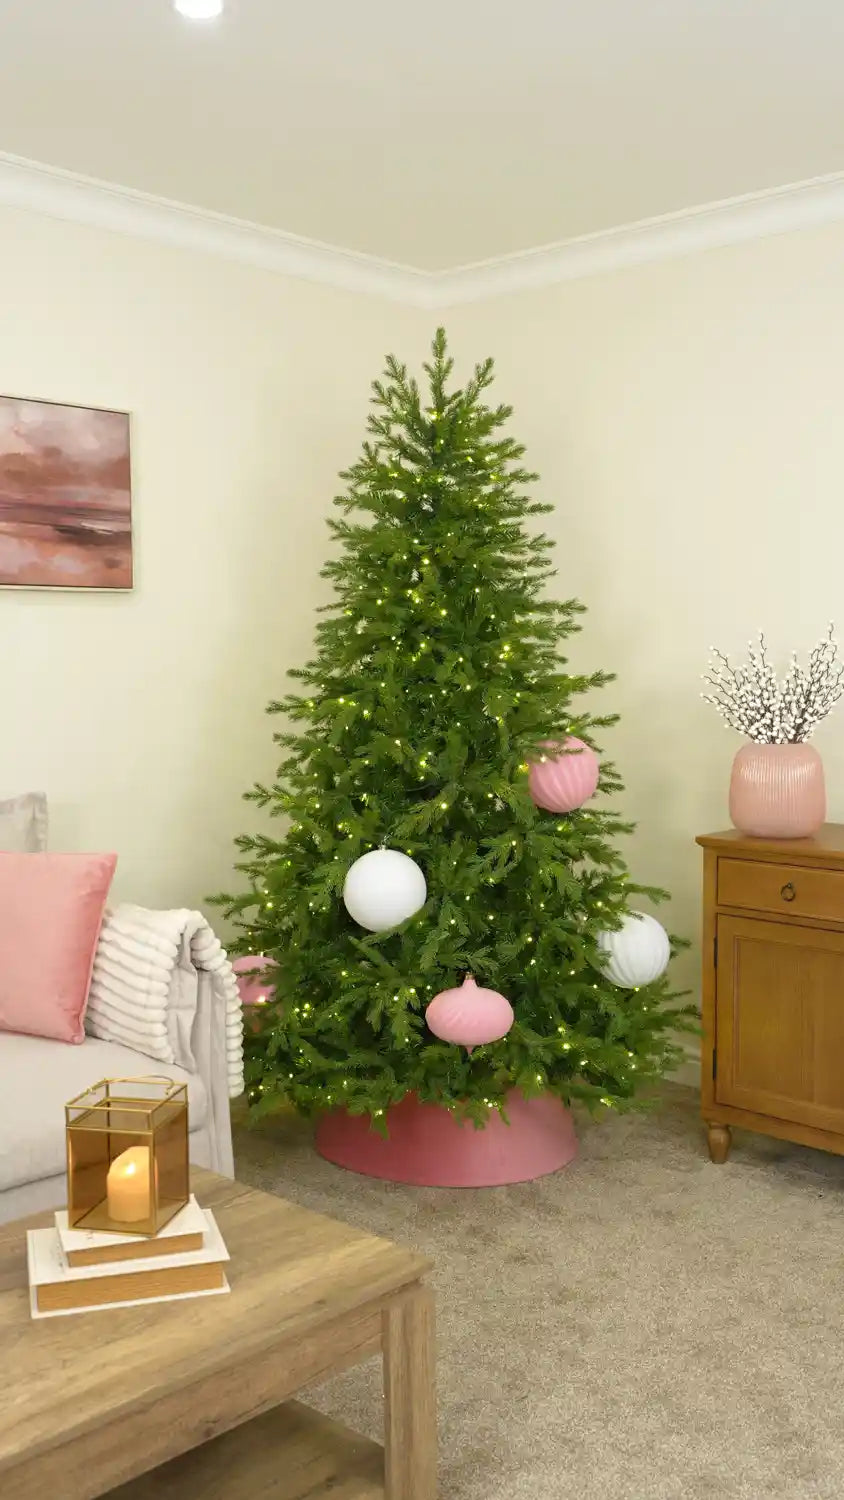
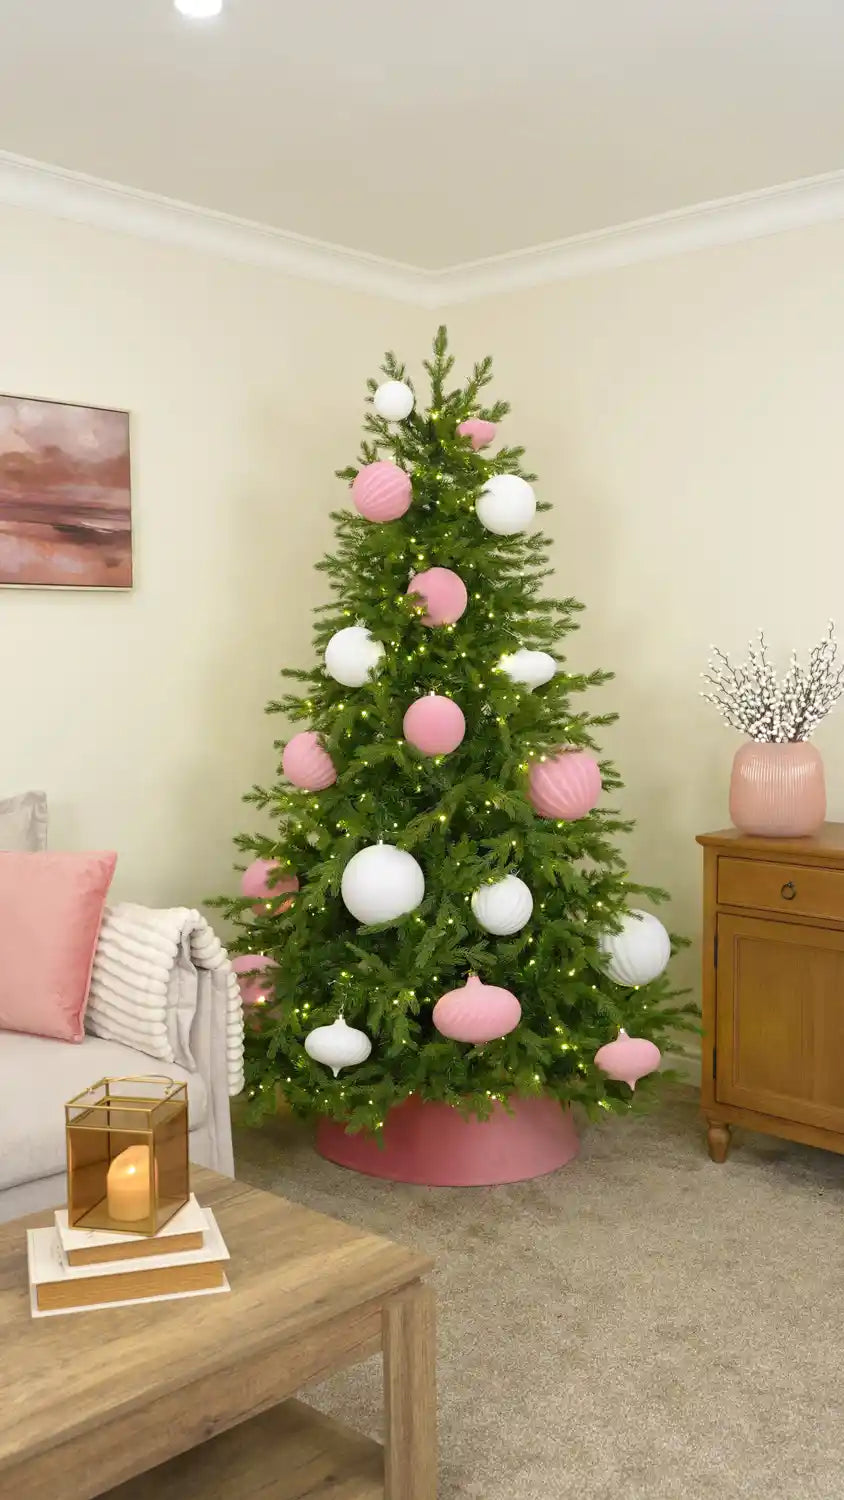
The largest decorations should usually be added to your tree first. So for this pink and white velvet look, begin with your 20cm velvet baubles in pink and white.
Use a mixture of traditional, ribbed and spiral shapes, spreading the different styles and colours throughout the lower half of the tree. Keeping most of the largest baubles lower down helps them sit more naturally and gives the design a strong foundation.
Position some baubles slightly deeper within the branches and others close to the outer tips. Avoid creating a perfectly even pattern; varying the height, depth, colour and shape will help the finished tree feel soft, balanced and less uniform.
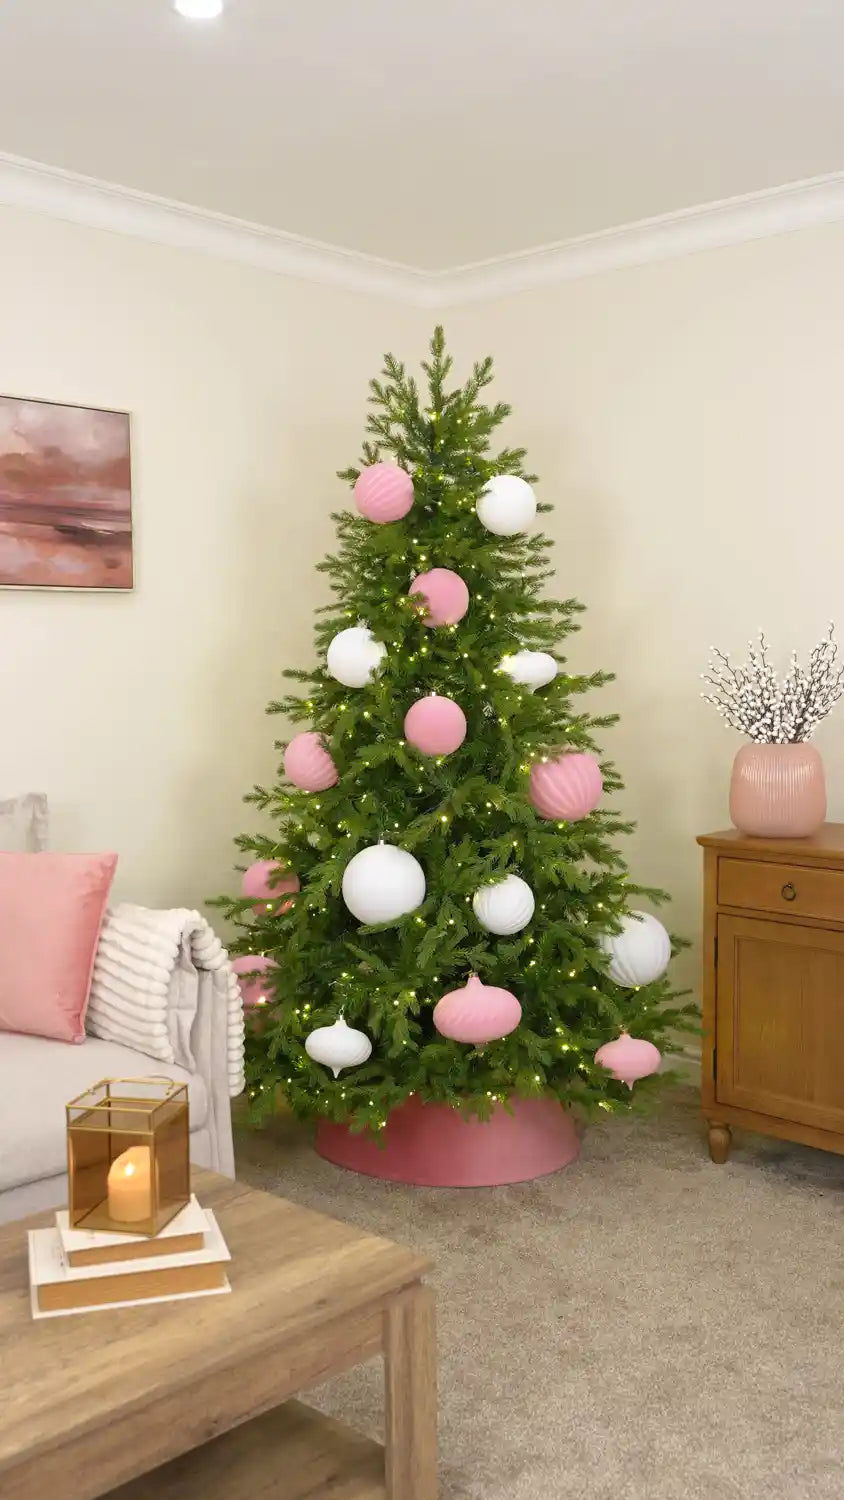
Next, add your 15cm and 10cm velvet baubles in pink and white, continuing to mix the different shapes throughout the tree.
Use the 15cm baubles to fill some of the larger spaces between the 20cm decorations, then scatter the 10cm baubles into the smaller gaps and towards the upper sections of the tree.
Continue alternating between pink and white as you work, varying the sizes, shapes and positions so the colours flow naturally across the tree. By the end of this step, you should have a balanced foundation of velvet baubles ready for the smaller decorative layers.
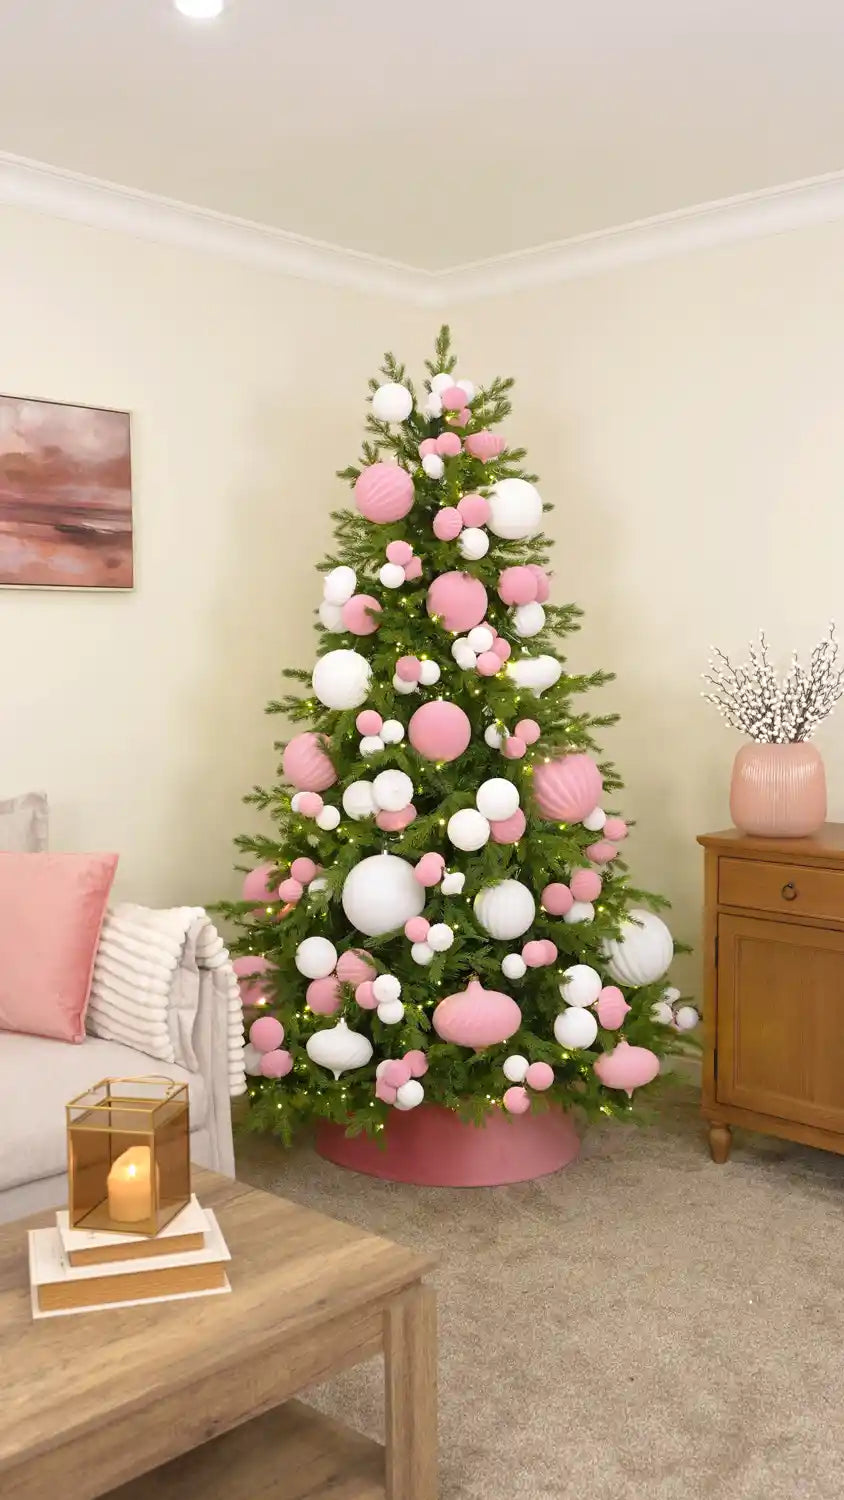
Next, use your pink and white velvet bauble sets to create smaller bauble clusters.
To make each cluster, thread your chosen baubles onto a pipe cleaner, then twist the pipe cleaner to secure them together. Combine different sizes, shapes and colours as you work, making each cluster slightly different.
Odd numbers usually work best when creating bauble clusters, so try grouping three or five baubles together. Some clusters can feature more pink, others more white, while others can include an even mix of both colours.
Once your pink and white velvet bauble clusters are ready, begin adding them throughout the tree.
Use the pipe cleaner to secure each cluster onto a branch, then gently position the baubles so they sit naturally among the greenery. Scatter the clusters across the tree, using them to fill the spaces between the larger 10cm, 15cm and 20cm baubles.
Vary the placement as you work, with some clusters sitting close to the larger decorations and others filling their own spaces. Step back regularly to check the overall balance, making sure the pink and white tones are evenly distributed from the bottom of the tree to the top.
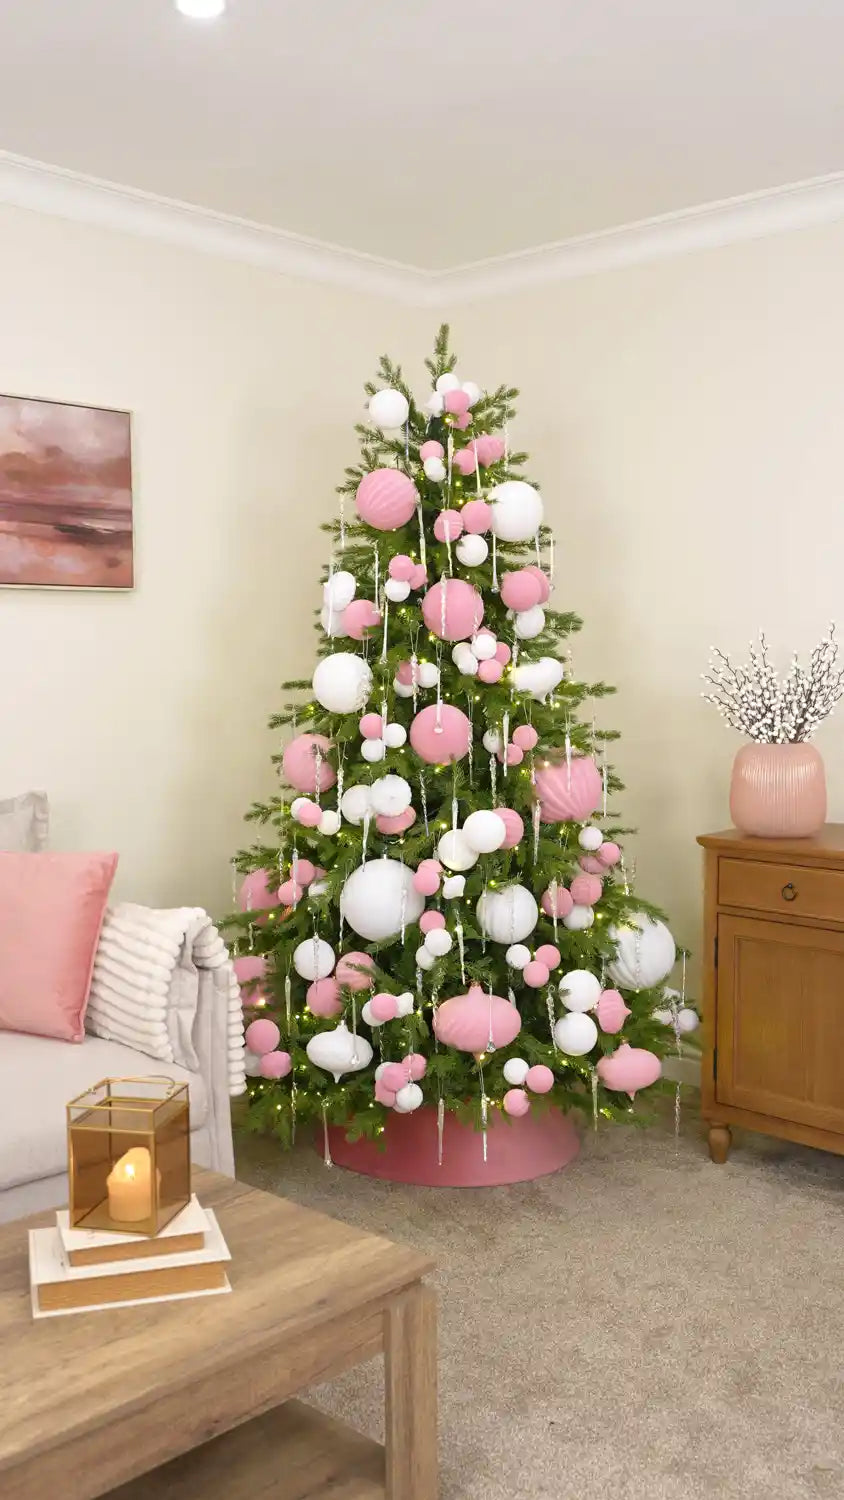
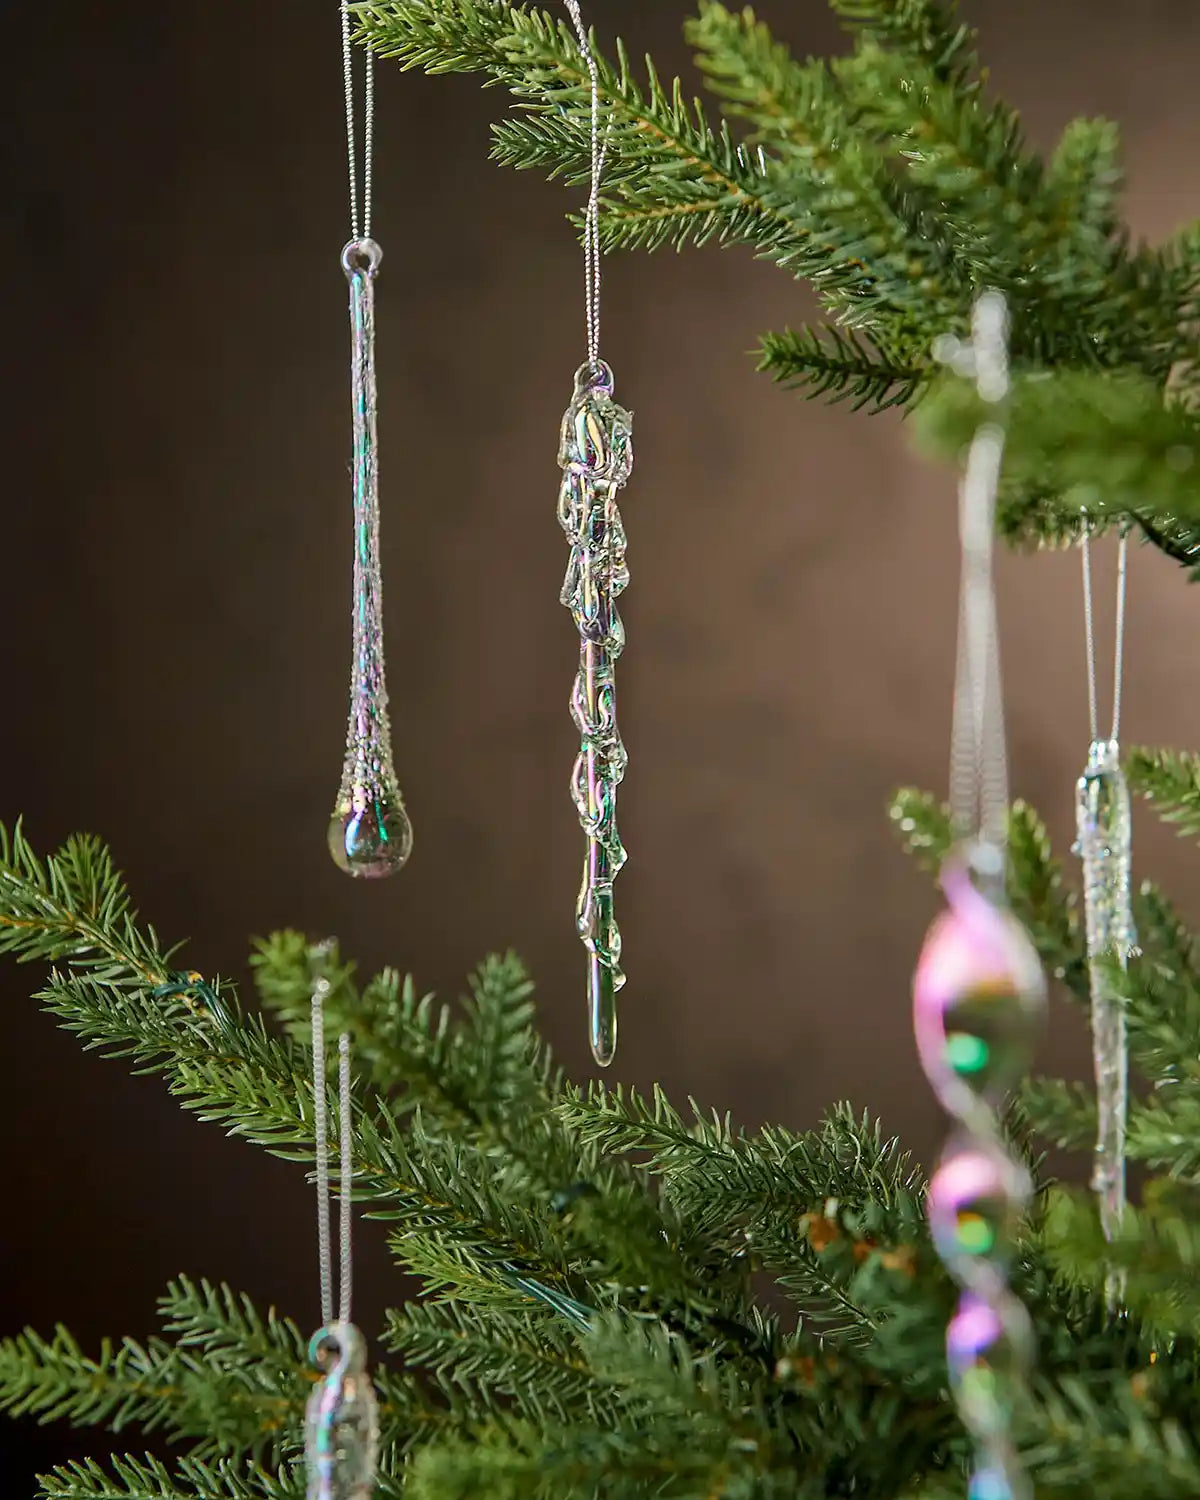
Once all of the velvet baubles and clusters are in place, add Iridescent Icicles throughout the remaining spaces.
Hang the icicles in mixed sizes around the tree, varying the lengths as you go to create a delicate cascading effect between the pink and white velvet decorations. Allow some to hang from the outer branch tips, while others can sit slightly further into the tree to add depth.
Pay particular attention to any larger areas of visible greenery, using the different icicle sizes to fill these spaces without covering too much of the tree. Their iridescent finish catches the warm lights of the Windsor Fir, adding subtle sparkle and contrast against the soft velvet baubles.
The Finished Look
This pink and white velvet Christmas tree combines oversized baubles, handmade bauble clusters and iridescent icicles to create a soft, elegant festive look with gentle sparkle and texture.
Layering the 10cm, 15cm and 20cm velvet baubles first creates the main structure, while the smaller handmade clusters fill the spaces between them and carry the pink and white tones evenly throughout the tree. The iridescent icicles add the final layer, catching the warm lights and bringing a delicate shimmer to the soft velvet finishes.
Paired with the Pink Velvet Tree Collar, this pink and white velvet Christmas tree theme creates a beautifully coordinated festive centrepiece that feels soft, luxurious and full without hiding the natural shape of the tree.
Shop the look highlights


Choose your option

Choose your option


Choose your option


Choose your option


Choose your option


Choose your option


Choose your option


Choose your option


