

The Pink
Look
Look

Charming Pink Velvet Styling
Follow our simple step-by-step guide to style the timeless look with foliage, baubles and texture. Watch the video below for the full look.
Watch The look
Come to life
Come to life
Discover in our video how to style a Christmas tree with pink velvet decorations, creating a beautifully layered look with flowing ribbon, delicate sparkle and soft festive elegance.
Step-by-step
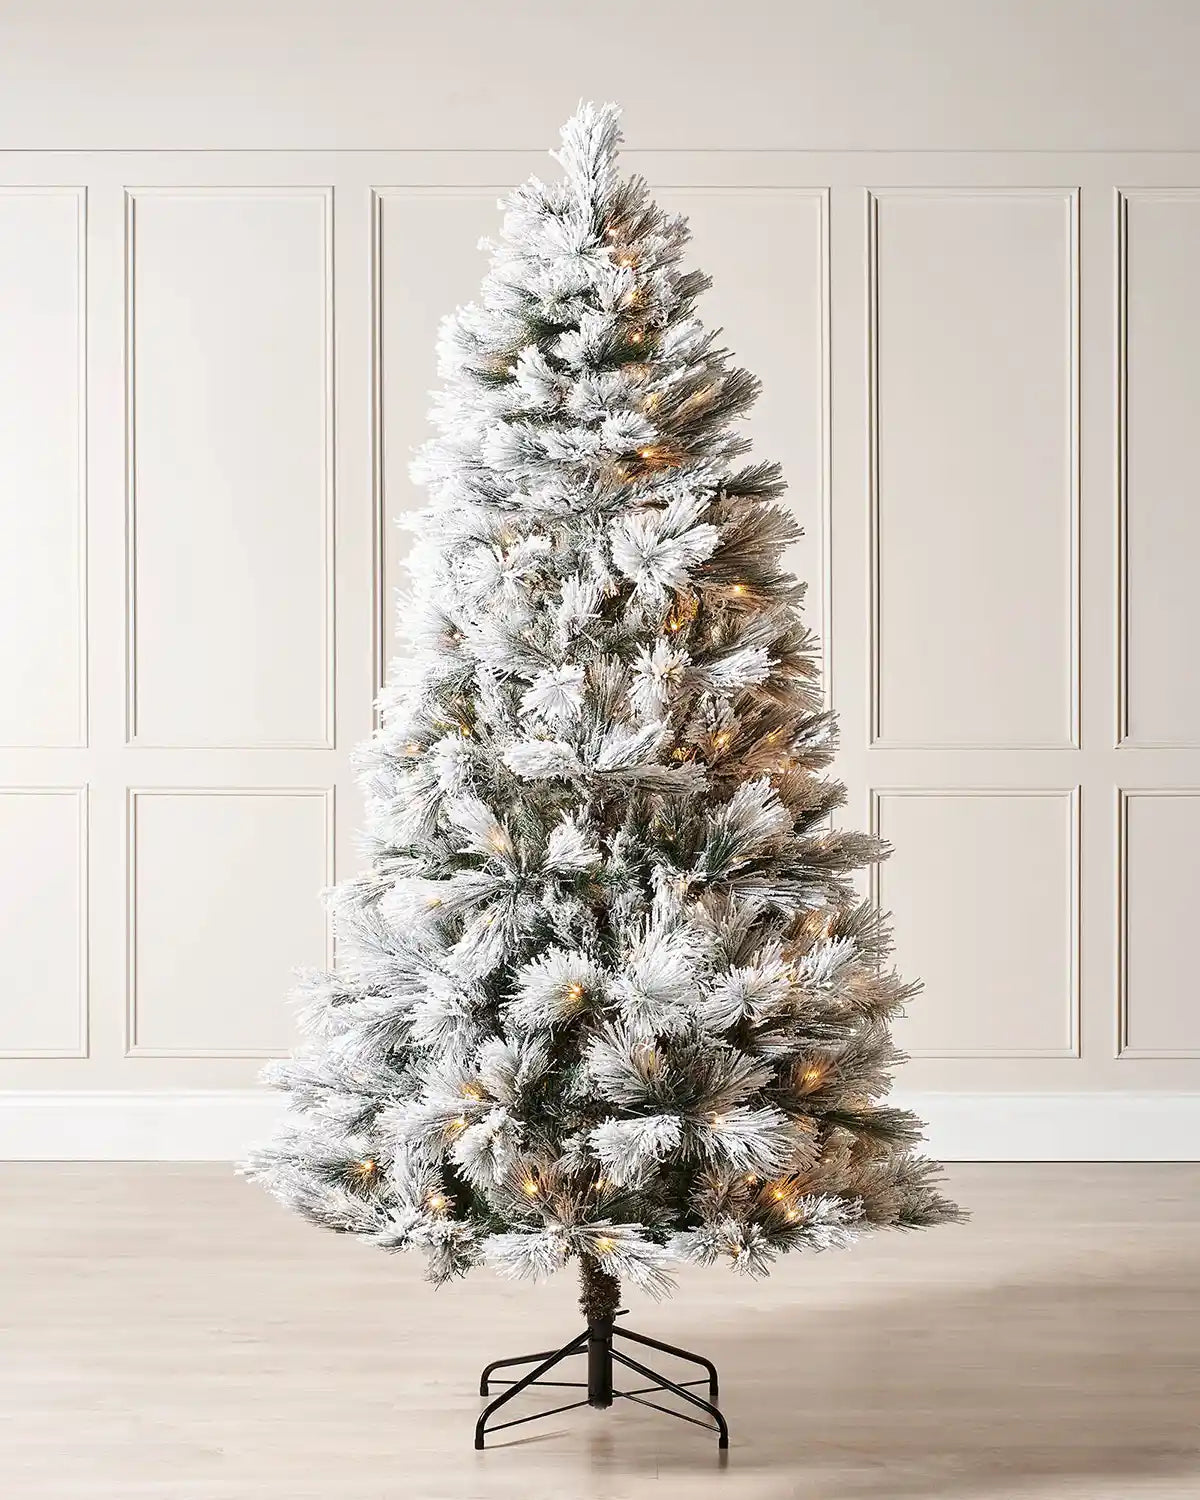
Make sure every branch of your 7 ft Pre-Lit Snow Flocked Pine Needle Christmas Tree has been carefully fluffed before you begin adding any decorations. Properly shaping your tree at the beginning creates a fuller silhouette and gives every ribbon section, bauble and pick somewhere to sit naturally.
When working with a snow-flocked tree, gently separate the branches rather than handling them too heavily. This helps keep the snowy finish looking its best while still creating a full, even shape.
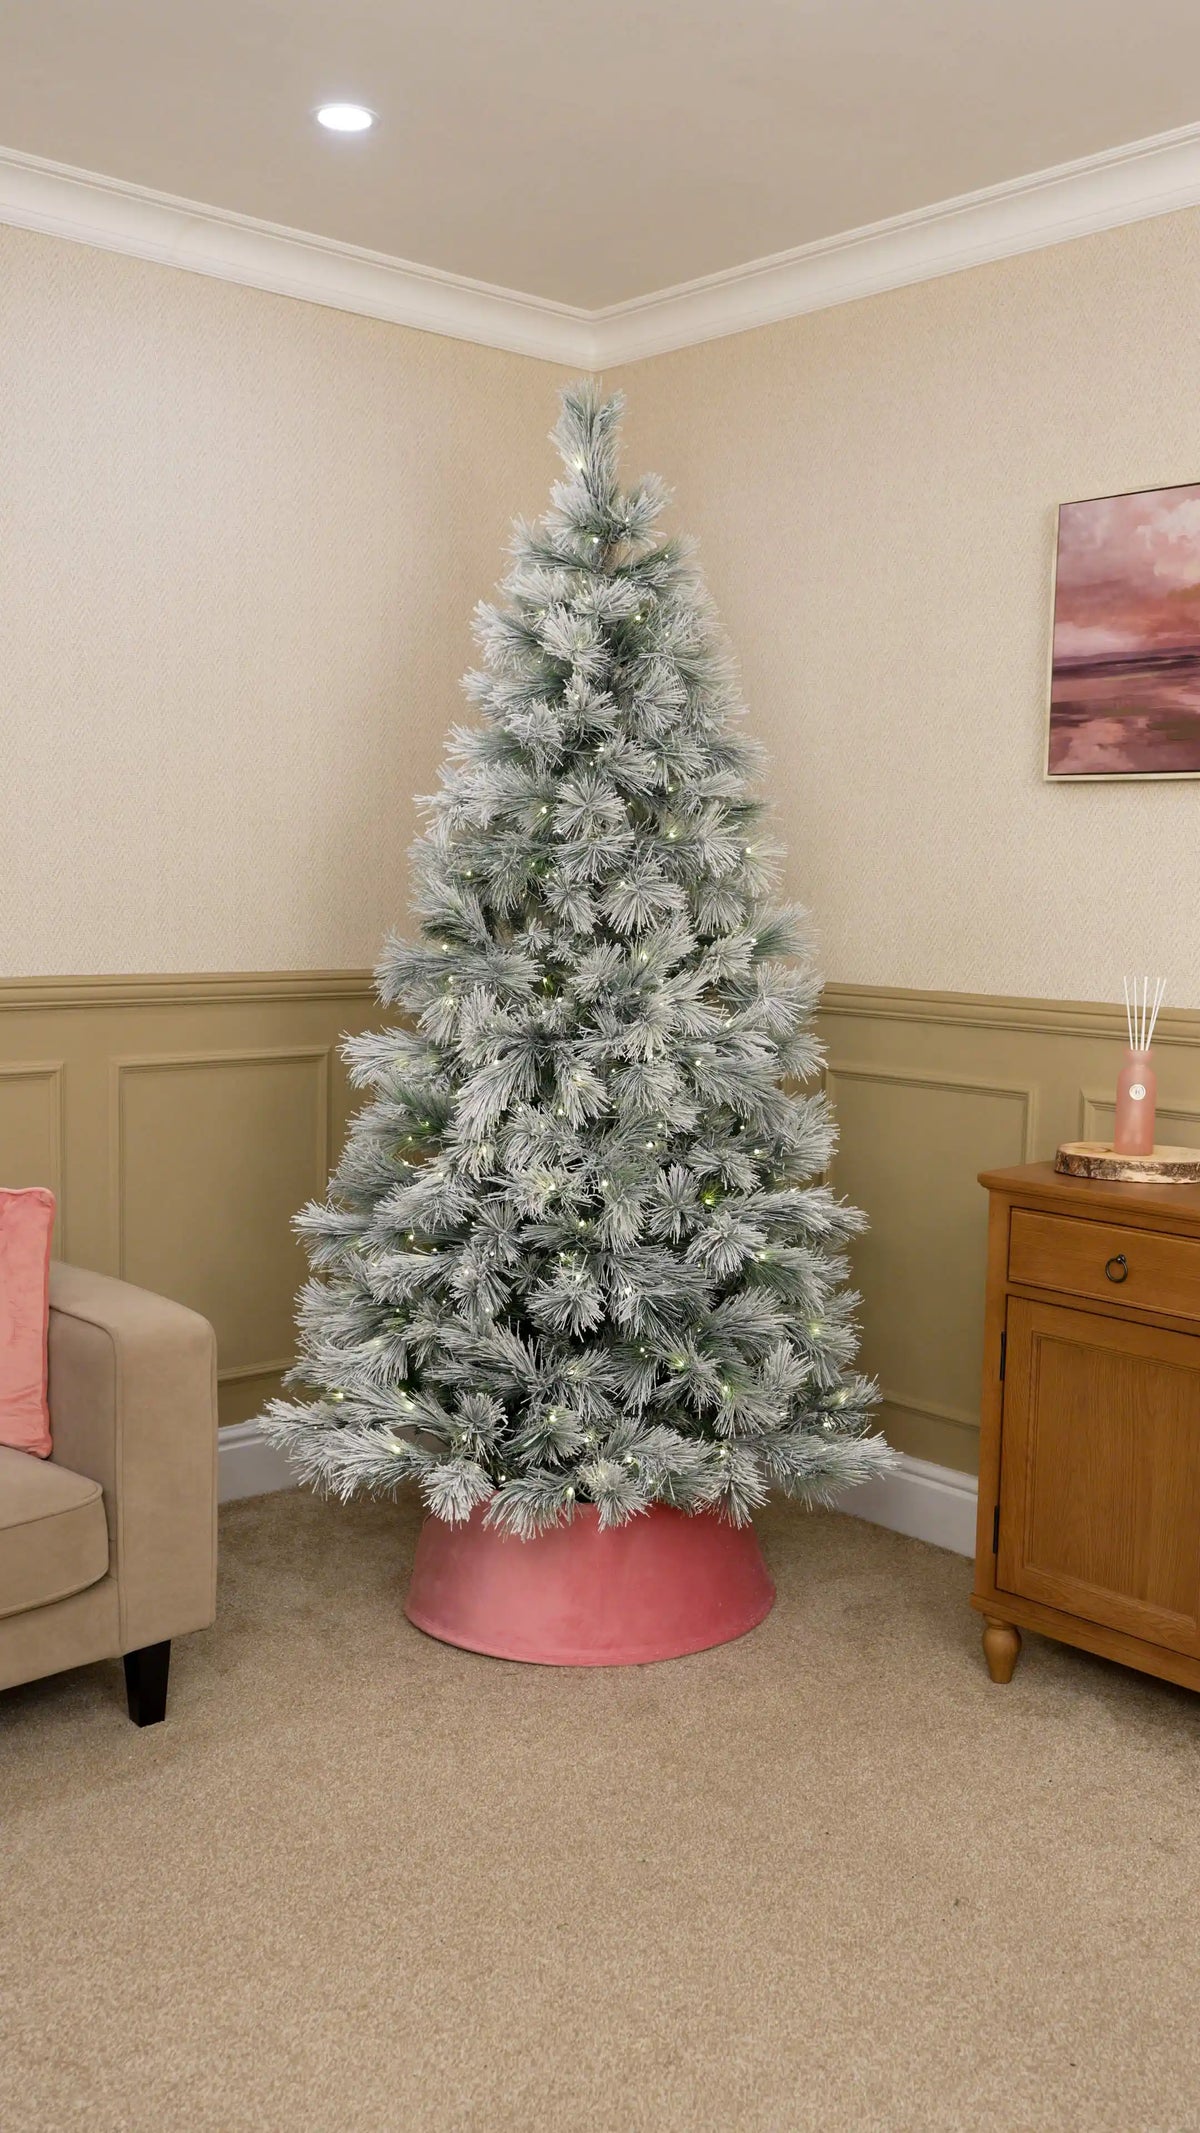
Once you’re happy with the tree, position your Pink Velvet Tree Collar around the base before the rest of the decorating. The soft velvet finish introduces the pink colour palette from the beginning and creates a luxurious foundation against the snowy foliage.
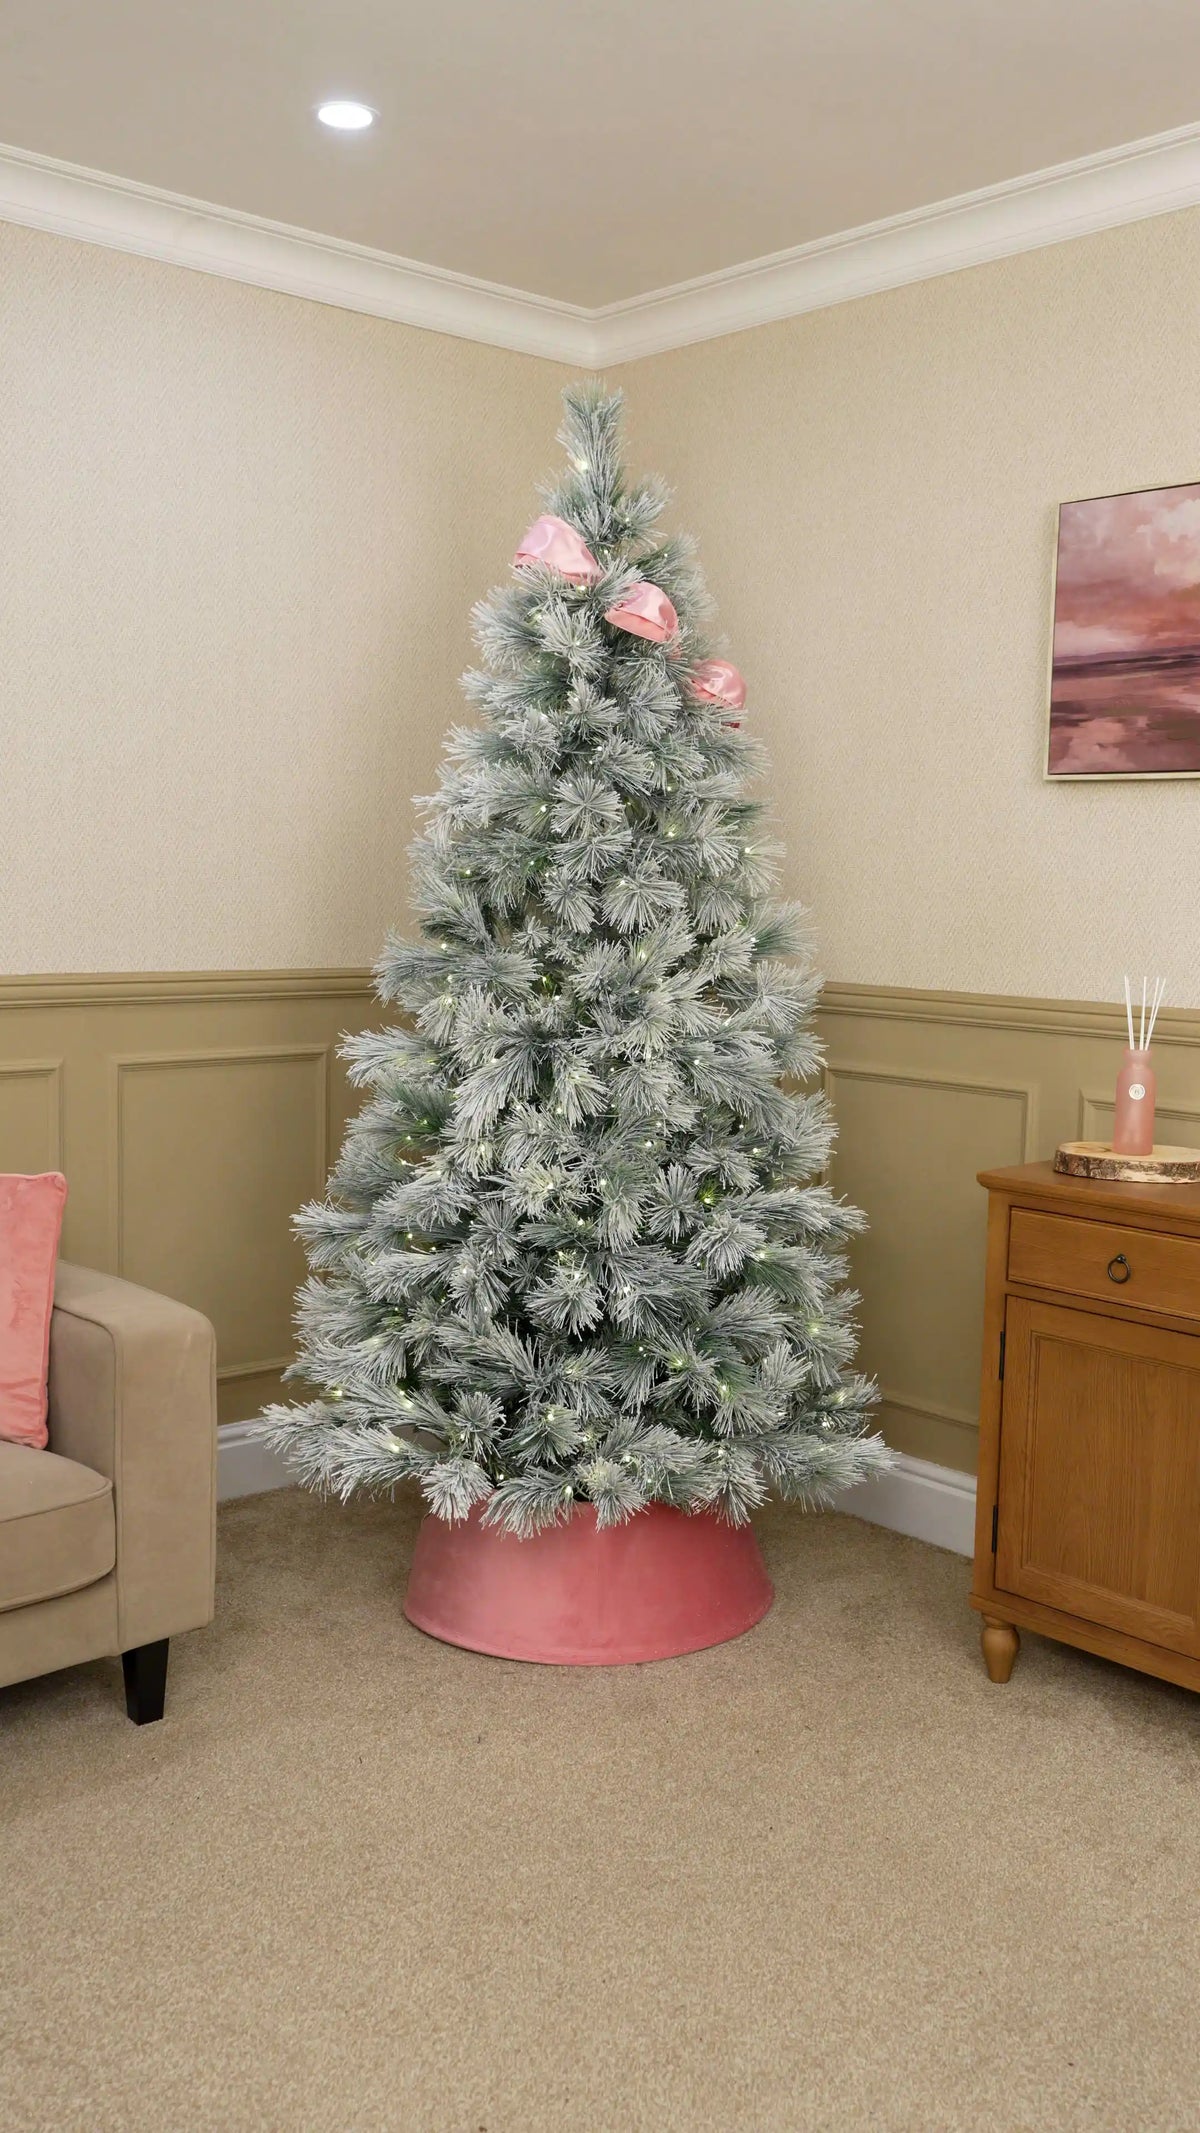
Start the main design with your 10cm and 6cm Double-Sided Pink Velvet Ribbon.
Lay the 10cm ribbon with its velvet side facing upwards, then position the 6cm ribbon centrally on top with its satin side facing upwards. Leave a velvet border visible on either side to create a layered ribbon with two contrasting finishes.
Secure both ribbons together within the branches near the top of the tree, then begin shaping the first bubble. Lay the ribbon over the back of your hand to create a soft rounded curve, pinch it just beyond your hand and use a branch to secure the point in place.
Gently slide your hand out and adjust the bubble without flattening it. Keep both ribbon layers aligned so the satin centre and velvet border remain clearly visible.
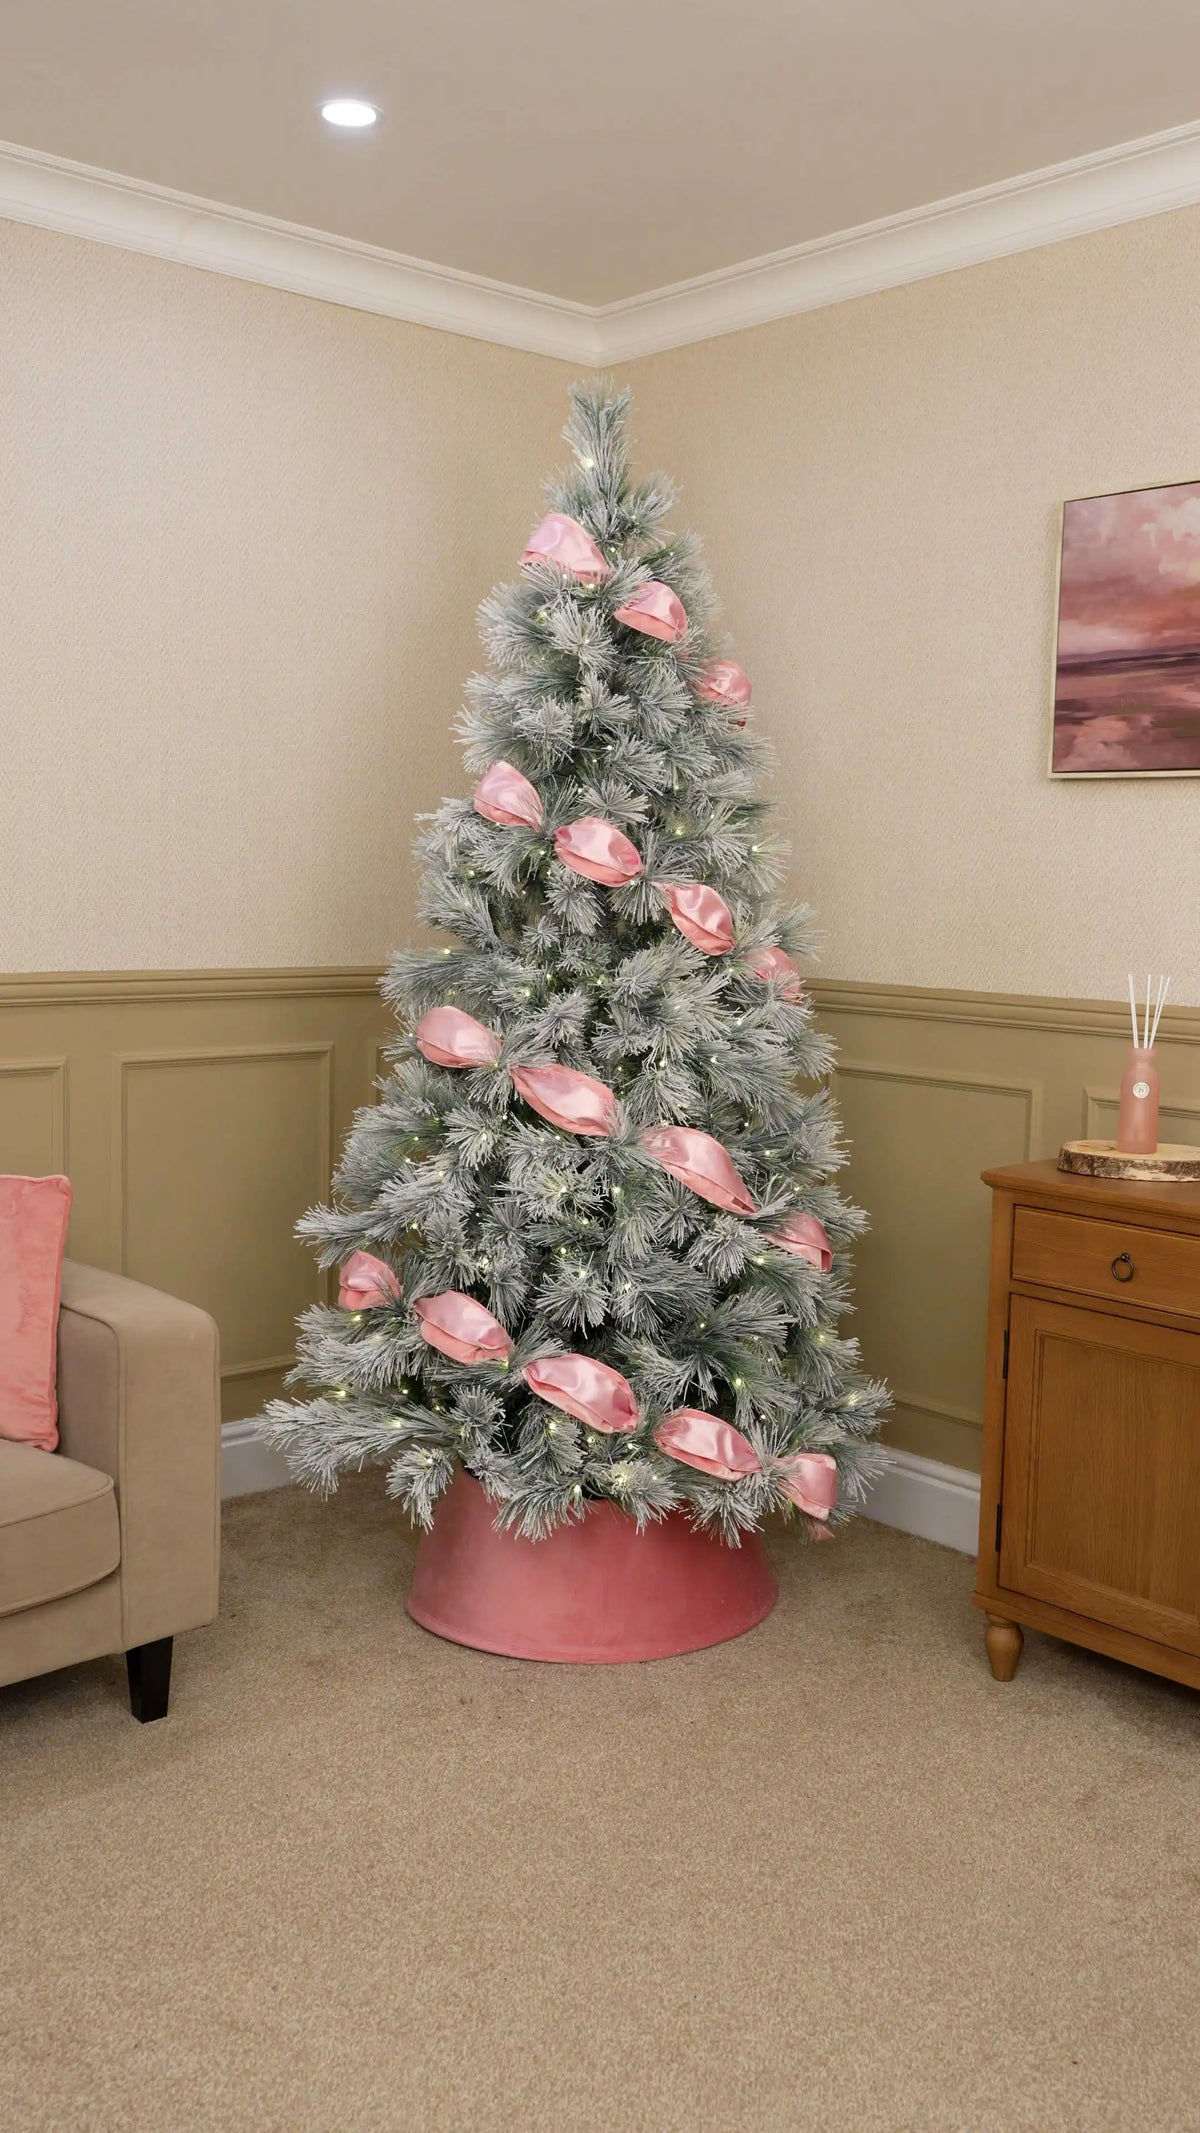
Continue the same bubbling technique diagonally across the tree, working gradually downwards.
Keep the spacing between each ribbon row fairly even, leaving enough greenery visible for the baubles and other decorations. As the tree becomes wider towards the base, extend the rows further across the branches while maintaining the same flowing angle.
Step back regularly to check that the diagonal lines feel balanced from top to bottom. Reshape any flattened sections as you work, keeping the ribbon bubbles soft and rounded.
Next, add your 20cm Pink Velvet Baubles to the middle section of the tree.
Use two different bauble styles, alternating them through the spaces between the ribbon rows to add variety and texture. Keep the baubles sitting towards the front of the branches so their shape and detailing remain clearly visible.
Give each oversized bauble enough space to stand out without covering the ribbon bubbles. These larger decorations create strong focal points and form the main velvet layer of the design.
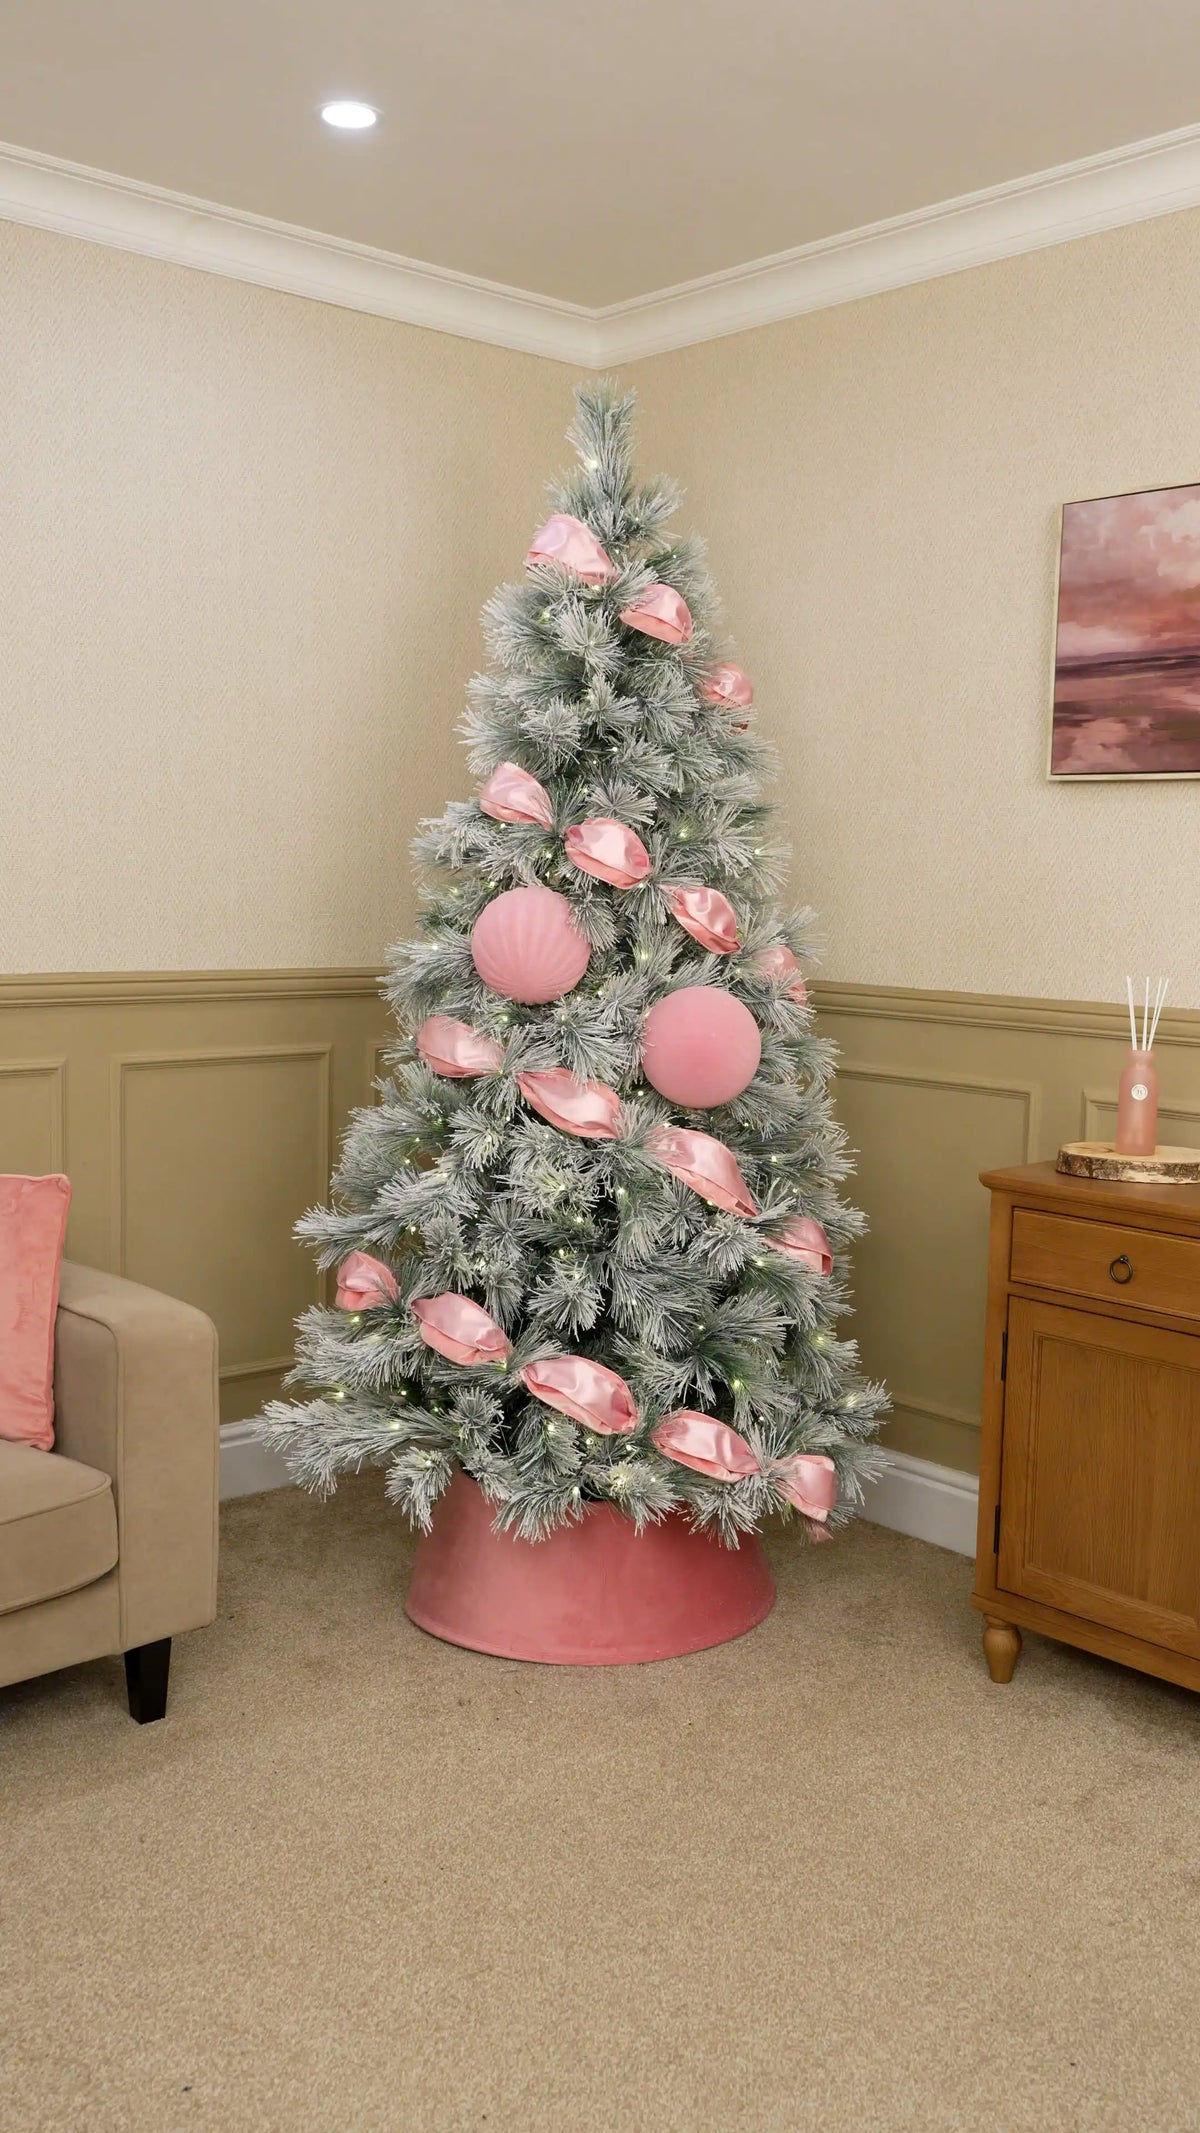
Next, add your 15cm Pink Velvet Baubles to the layers above and below the central 20cm baubles.
Keep them forward-facing and position them between the ribbon rows so the velvet finish remains visible. Then add two 20cm baubles along the lowest row to balance the wider branches at the base.
Towards the top, finish the main bauble layer with two 10cm Pink Velvet Baubles. Using smaller decorations here keeps the design in proportion with the narrower upper branches.
Step back to check the overall balance, making sure the different bauble sizes complement one another without flattering or hiding the ribbon.
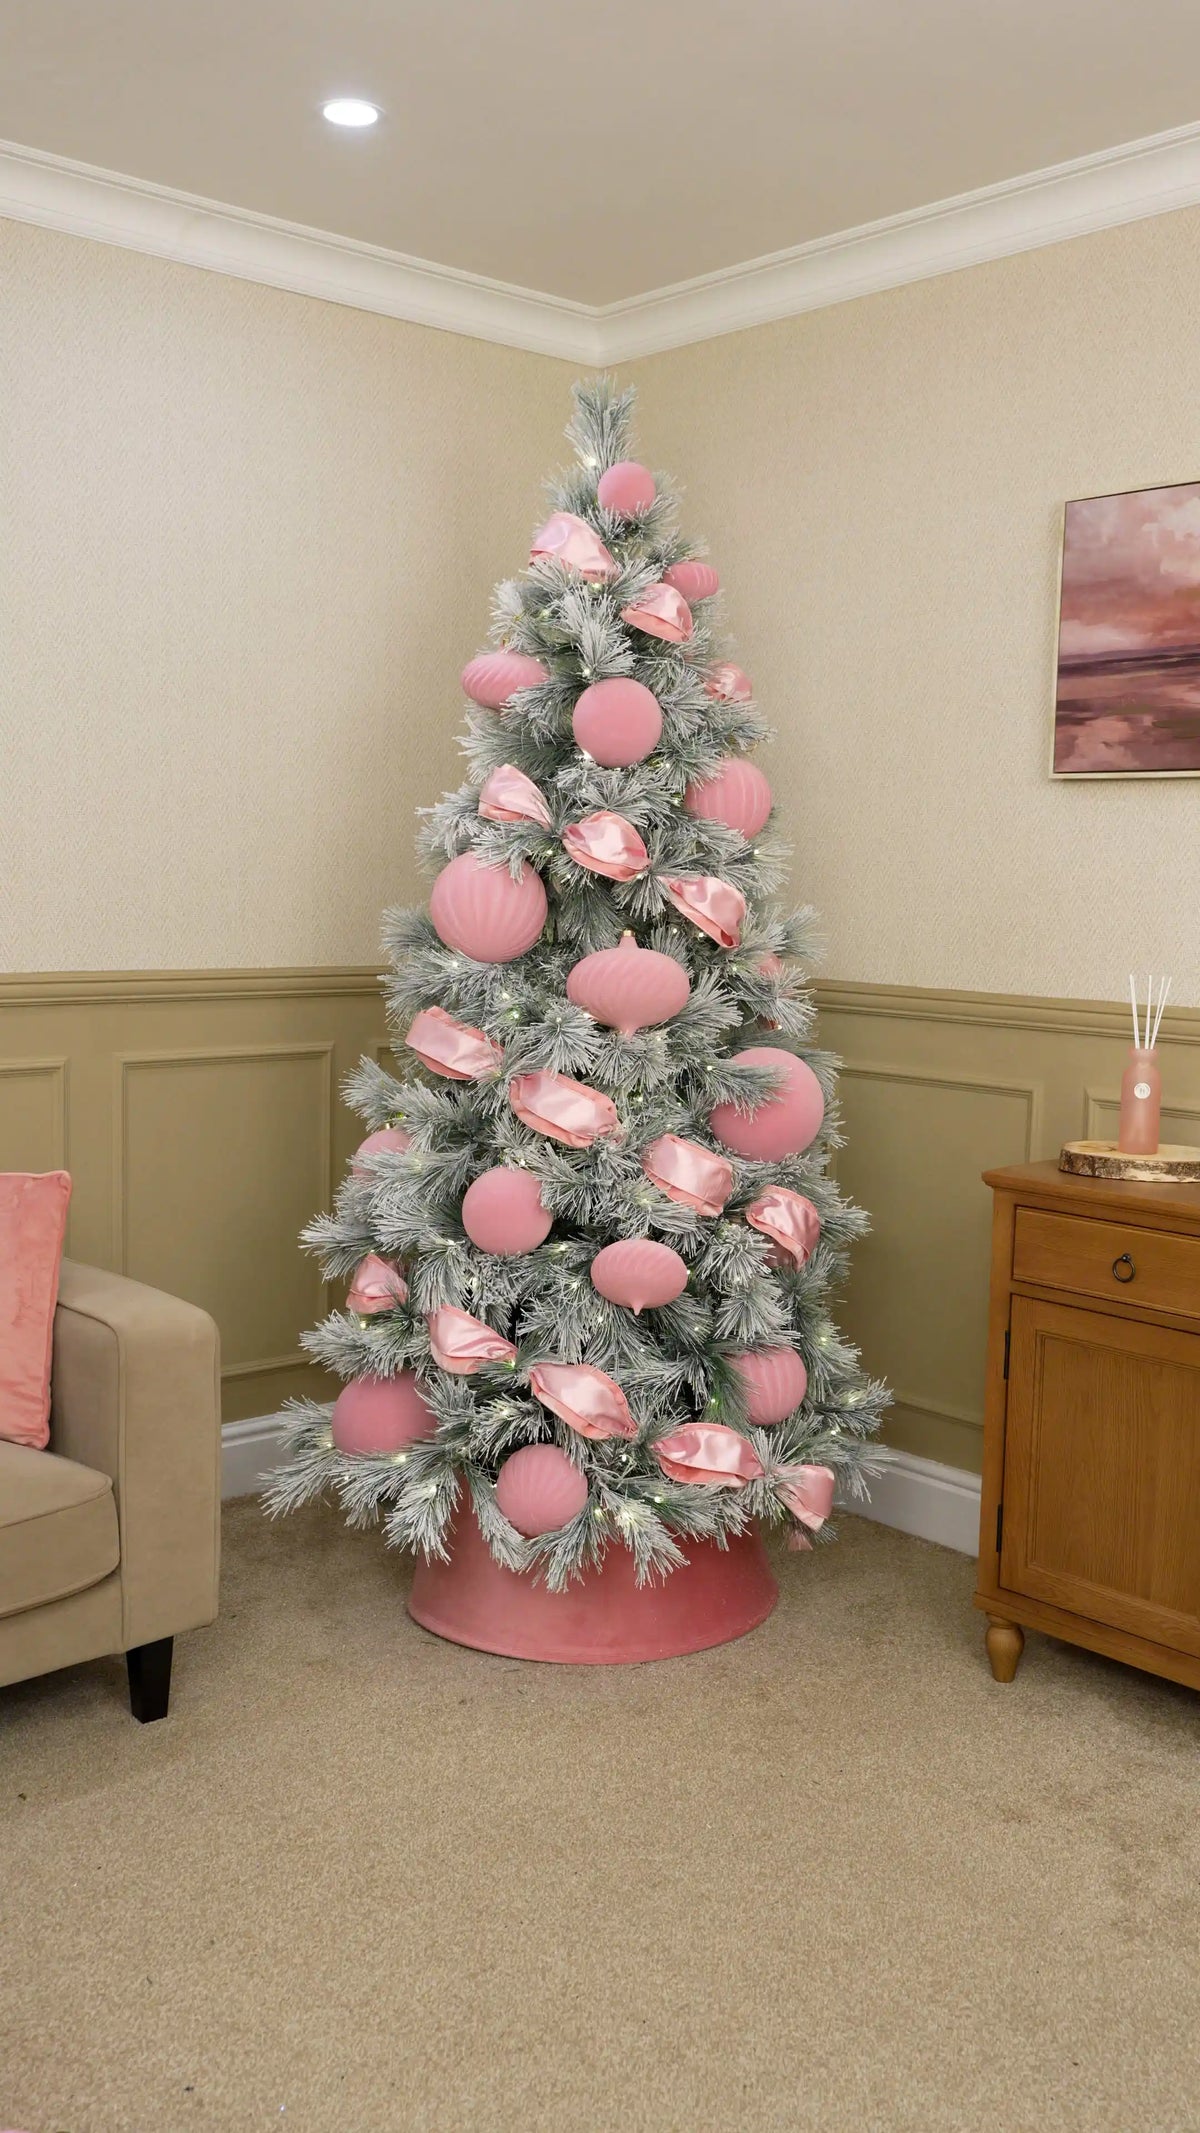
Once the main bauble layer is in place, add Pink Velvet Bauble Picks throughout the remaining greenery.
Tuck the stems into the branches, leaving the smaller velvet baubles visible against the snow-flocked foliage. Vary their angle slightly and use them to fill the spaces around the larger decorations and between the diagonal ribbon rows.
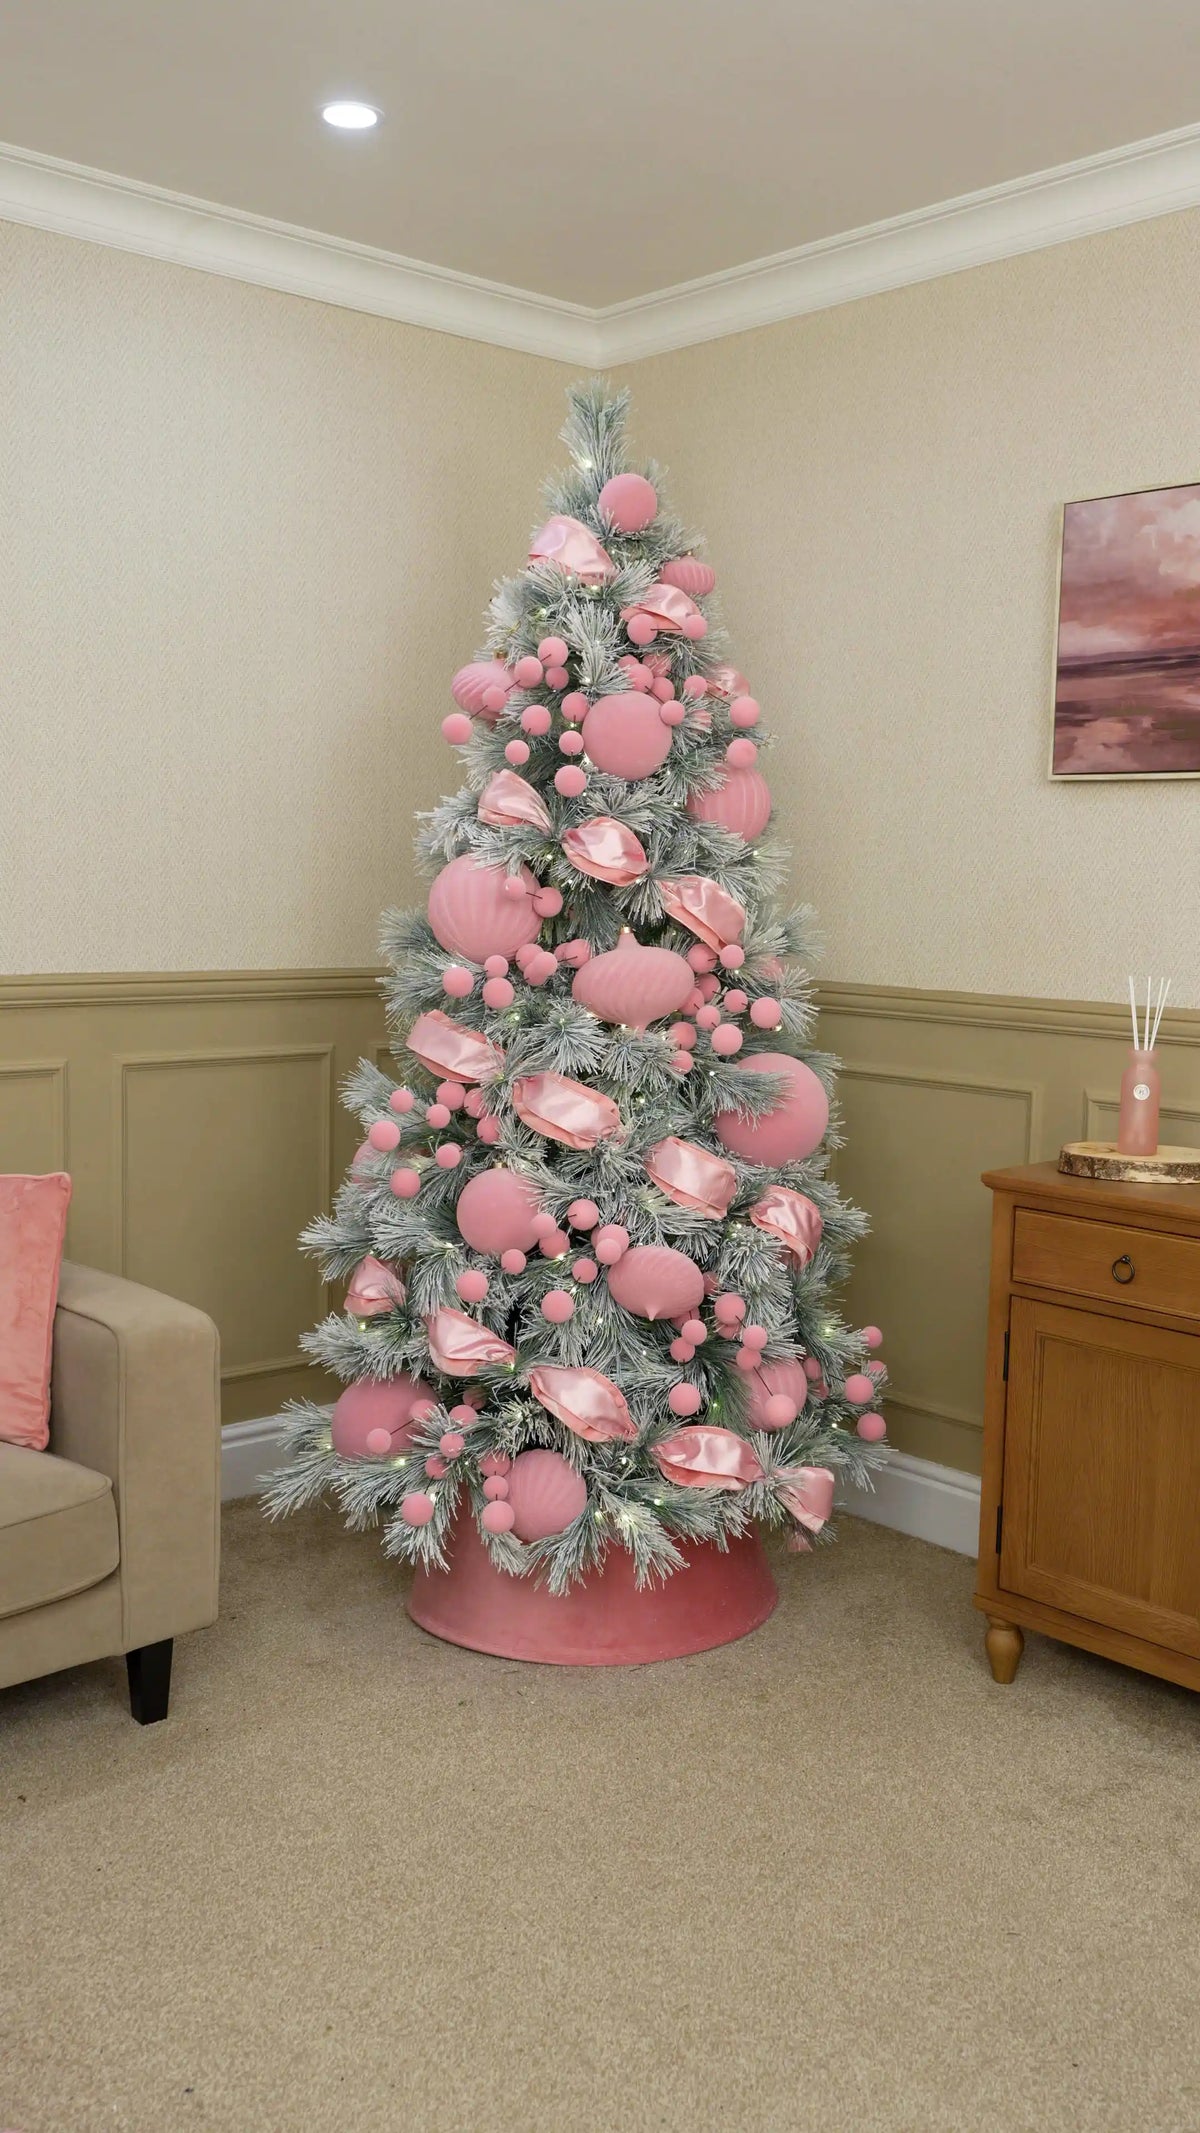
Next, add Pink Glitter Nests towards the tips of the branches, where their shape and glitter detailing can remain clearly visible.
Distribute them across the front and sides of the tree, positioning them between the velvet baubles and ribbon sections. Leave enough space around each one so their fine texture is not hidden by neighbouring decorations.
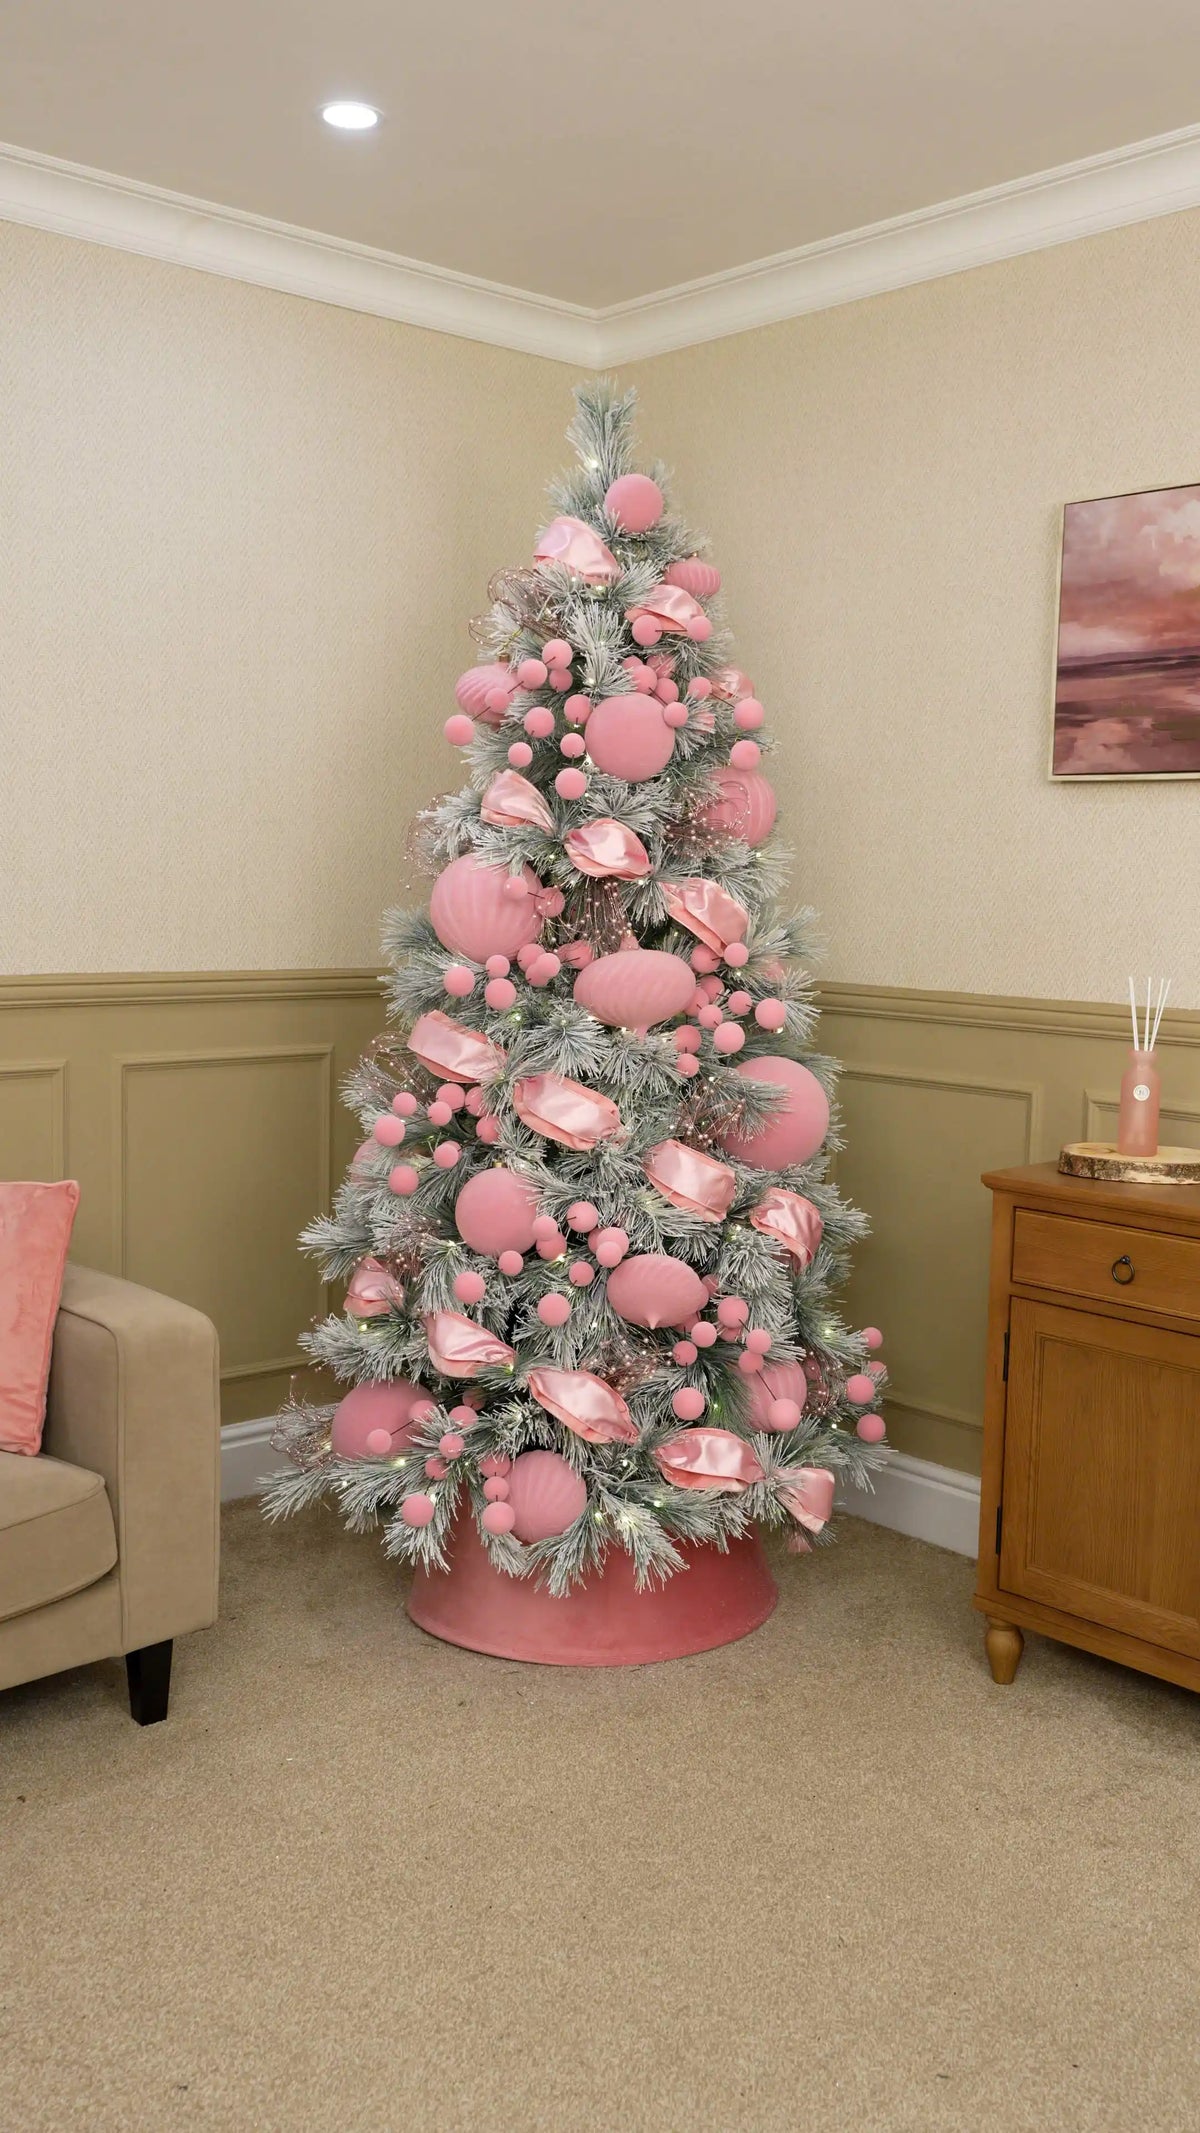
Continue layering with Pink Glitter Coral Picks throughout the tree.
Vary their depth and direction, tucking some deeper into the foliage and allowing others to extend slightly beyond the branch tips. Angle some upwards and others towards the sides to create movement and a fuller outline.
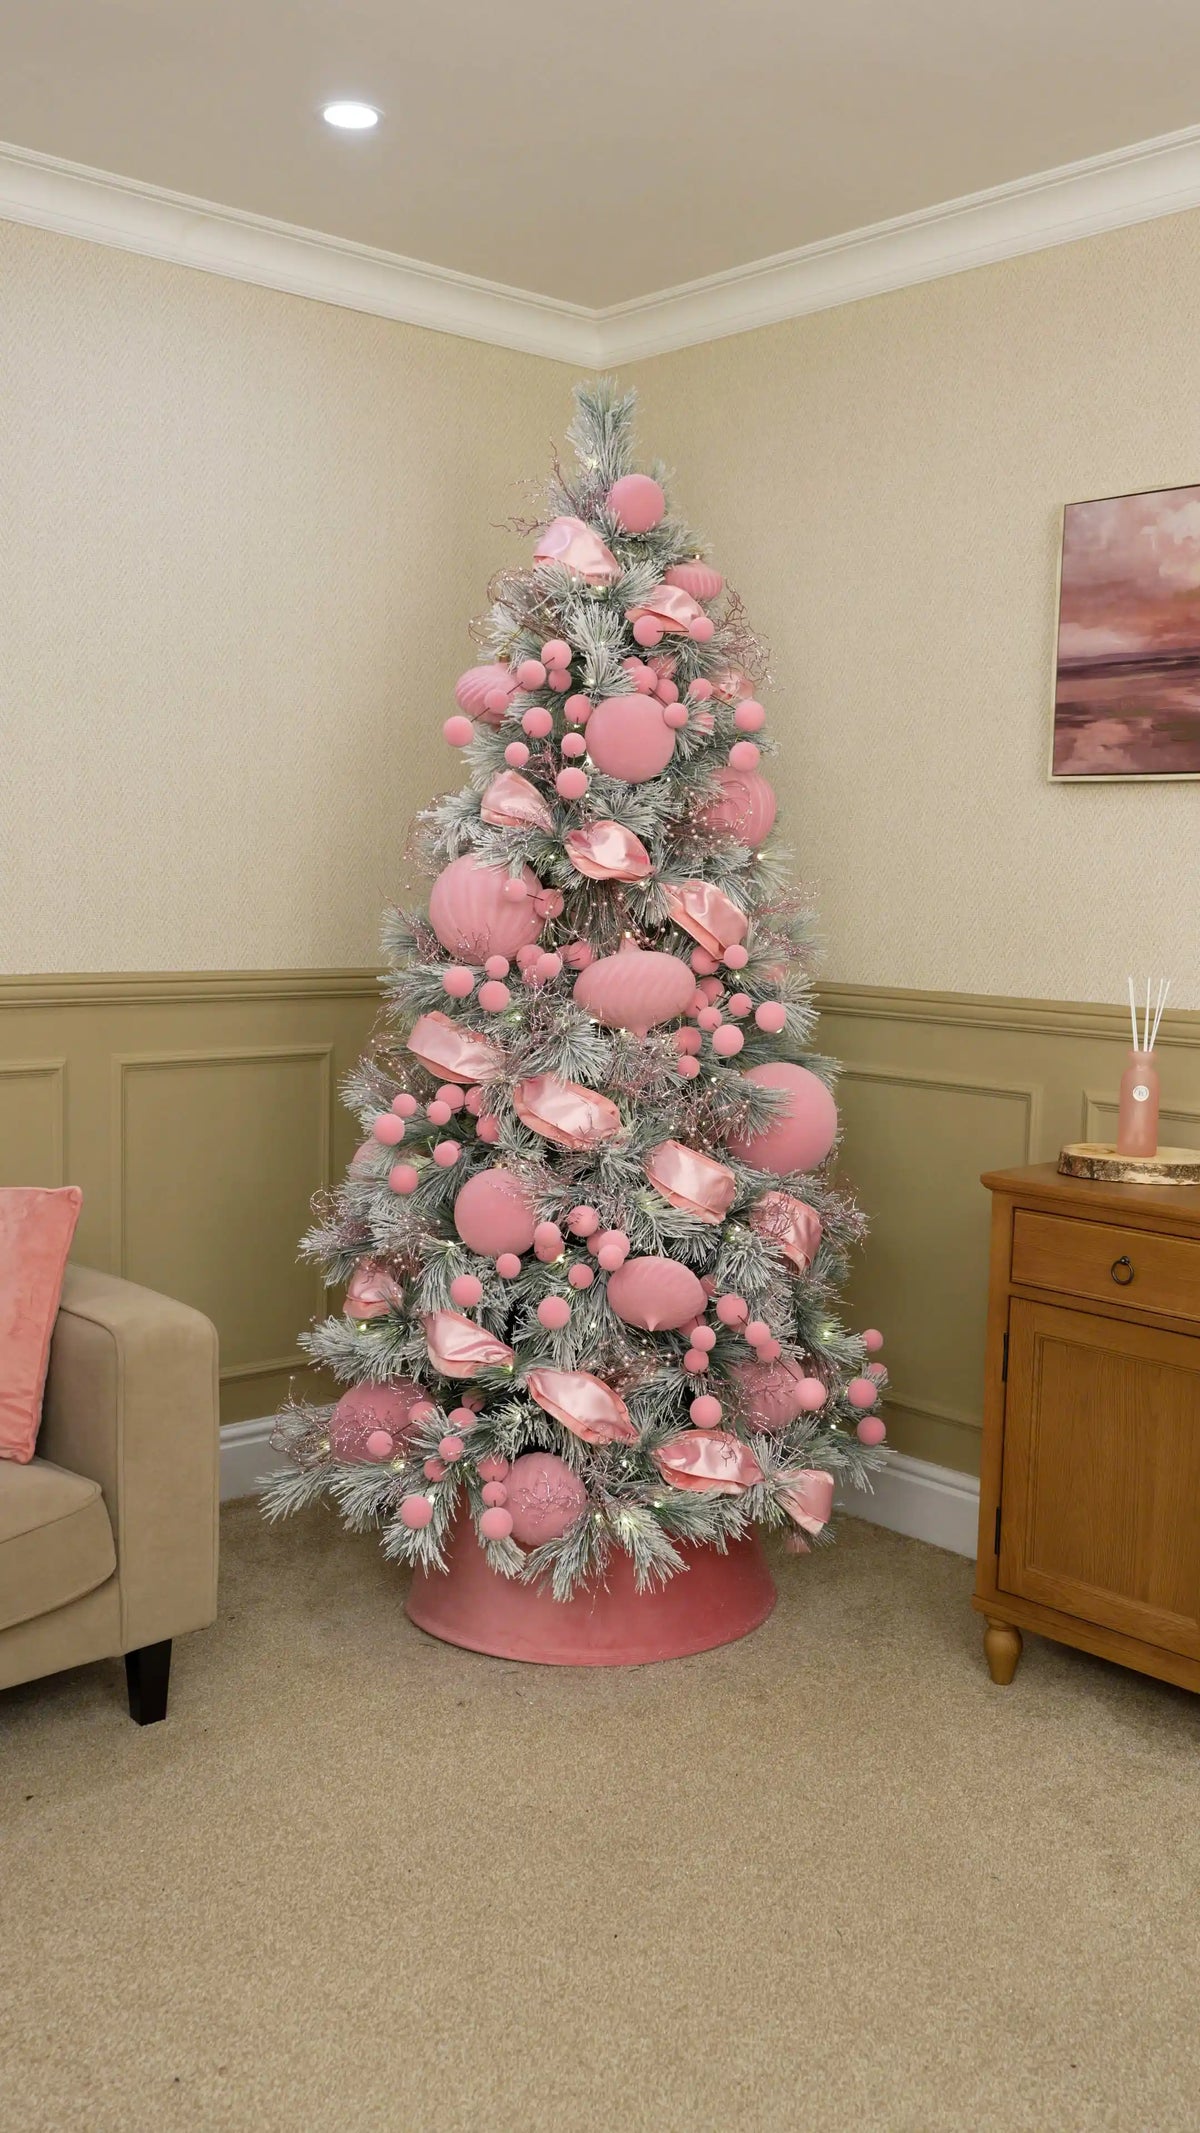
Next, add Pink Glass Berry Clusters throughout the remaining spaces between the velvet baubles, glitter nests and coral picks.
Allow each cluster to sit freely so its shape remains visible against the snow-flocked branches. Position them around the ribbon bubbles and across the front and sides of the tree, using them to fill smaller gaps.
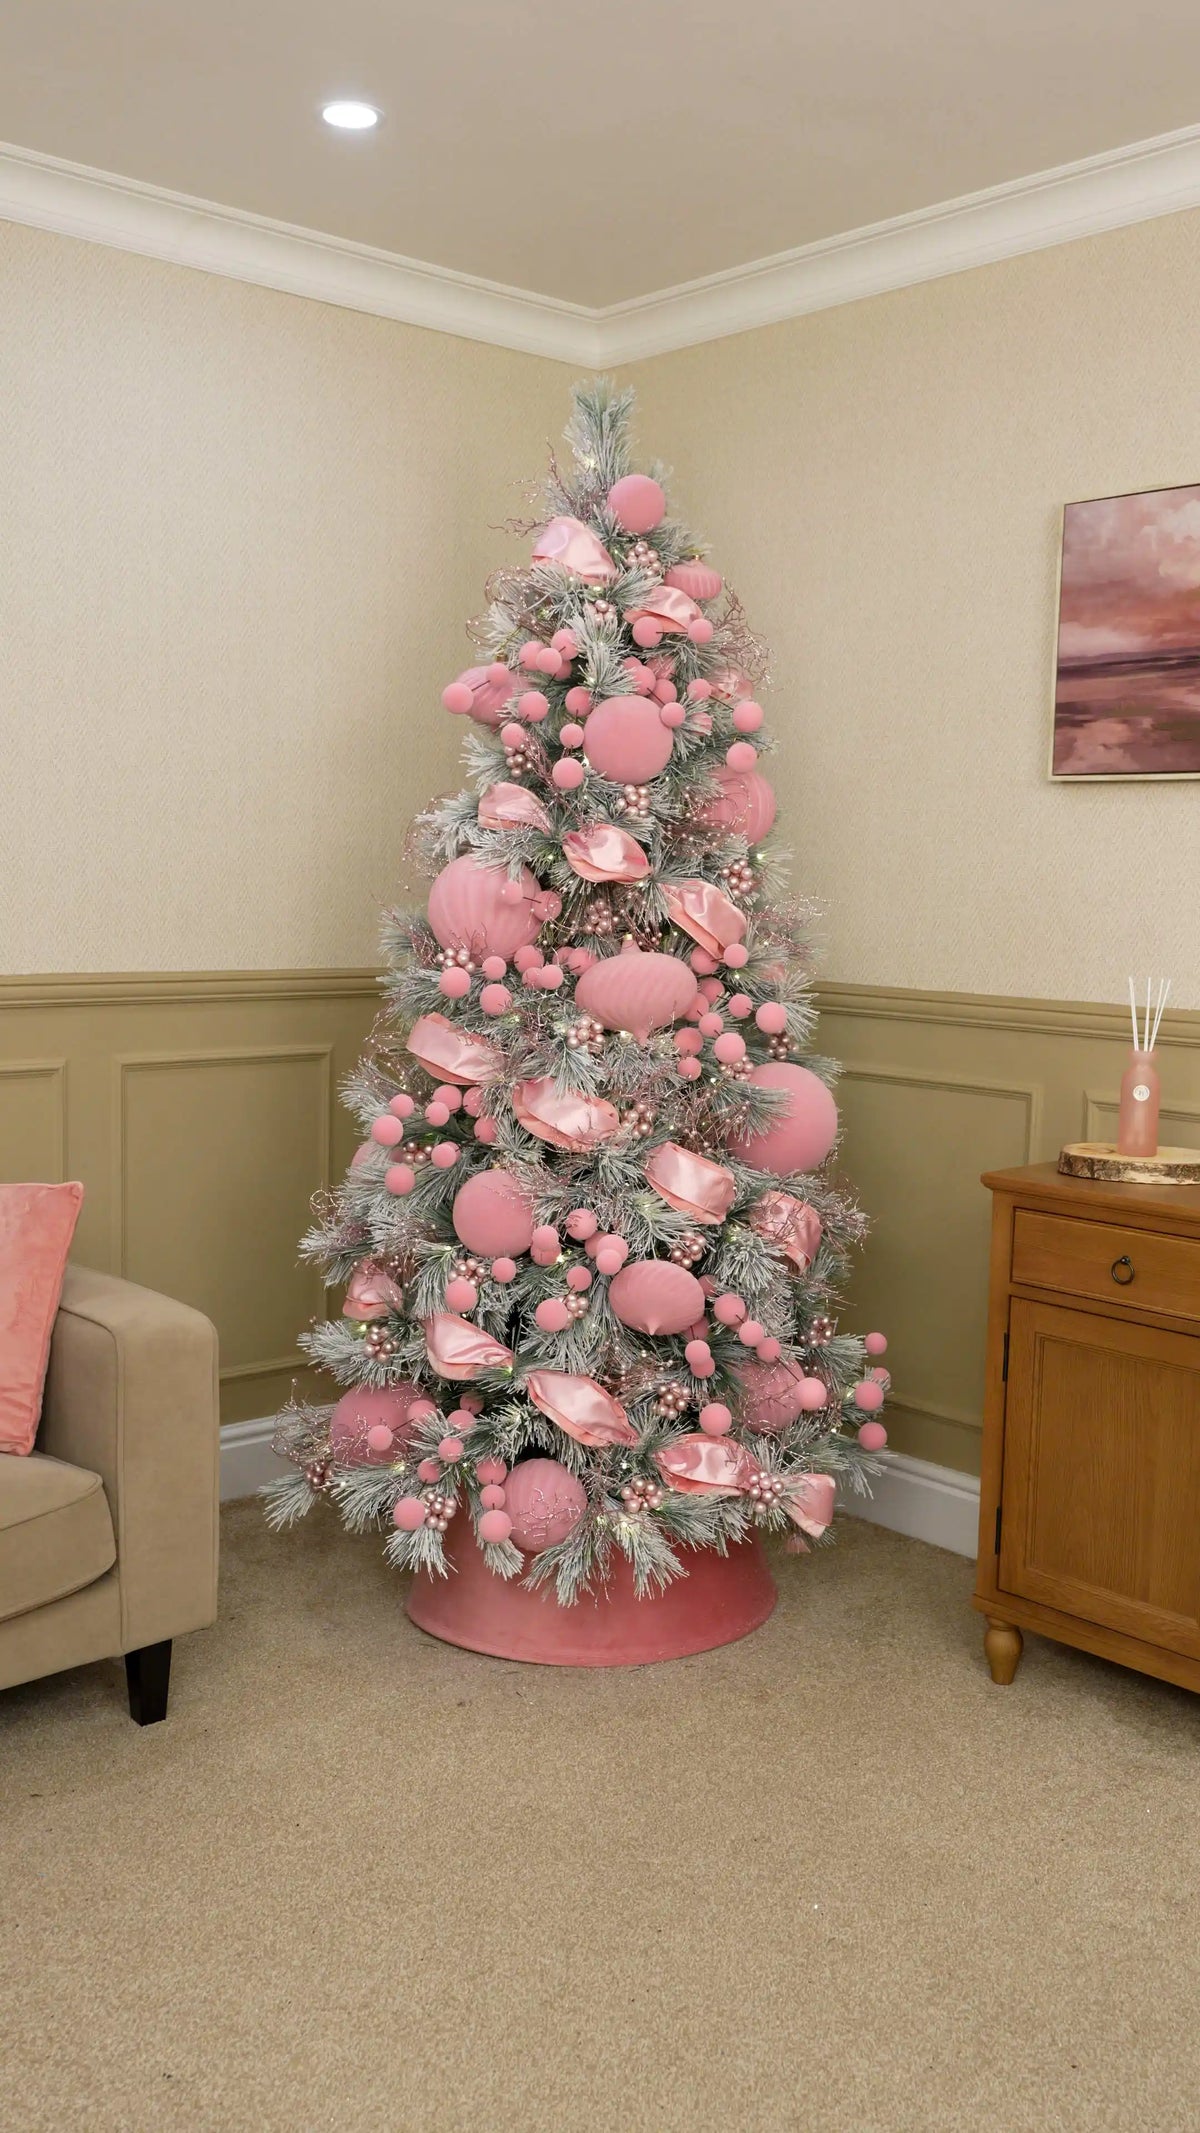
To complete the tree, cut your Pink Firework Sprays into smaller individual sections.
Gently open out each firework before placing it, then nestle the stems throughout the tree. Vary their depth and direction, tucking some further into the foliage and allowing others to sit closer to the branch tips.
Angle the sprays upwards and outwards to add movement through the tree while keeping the diagonal ribbon layers clearly visible. This final layer adds delicate sparkle and helps complete the soft, wintry pink look.
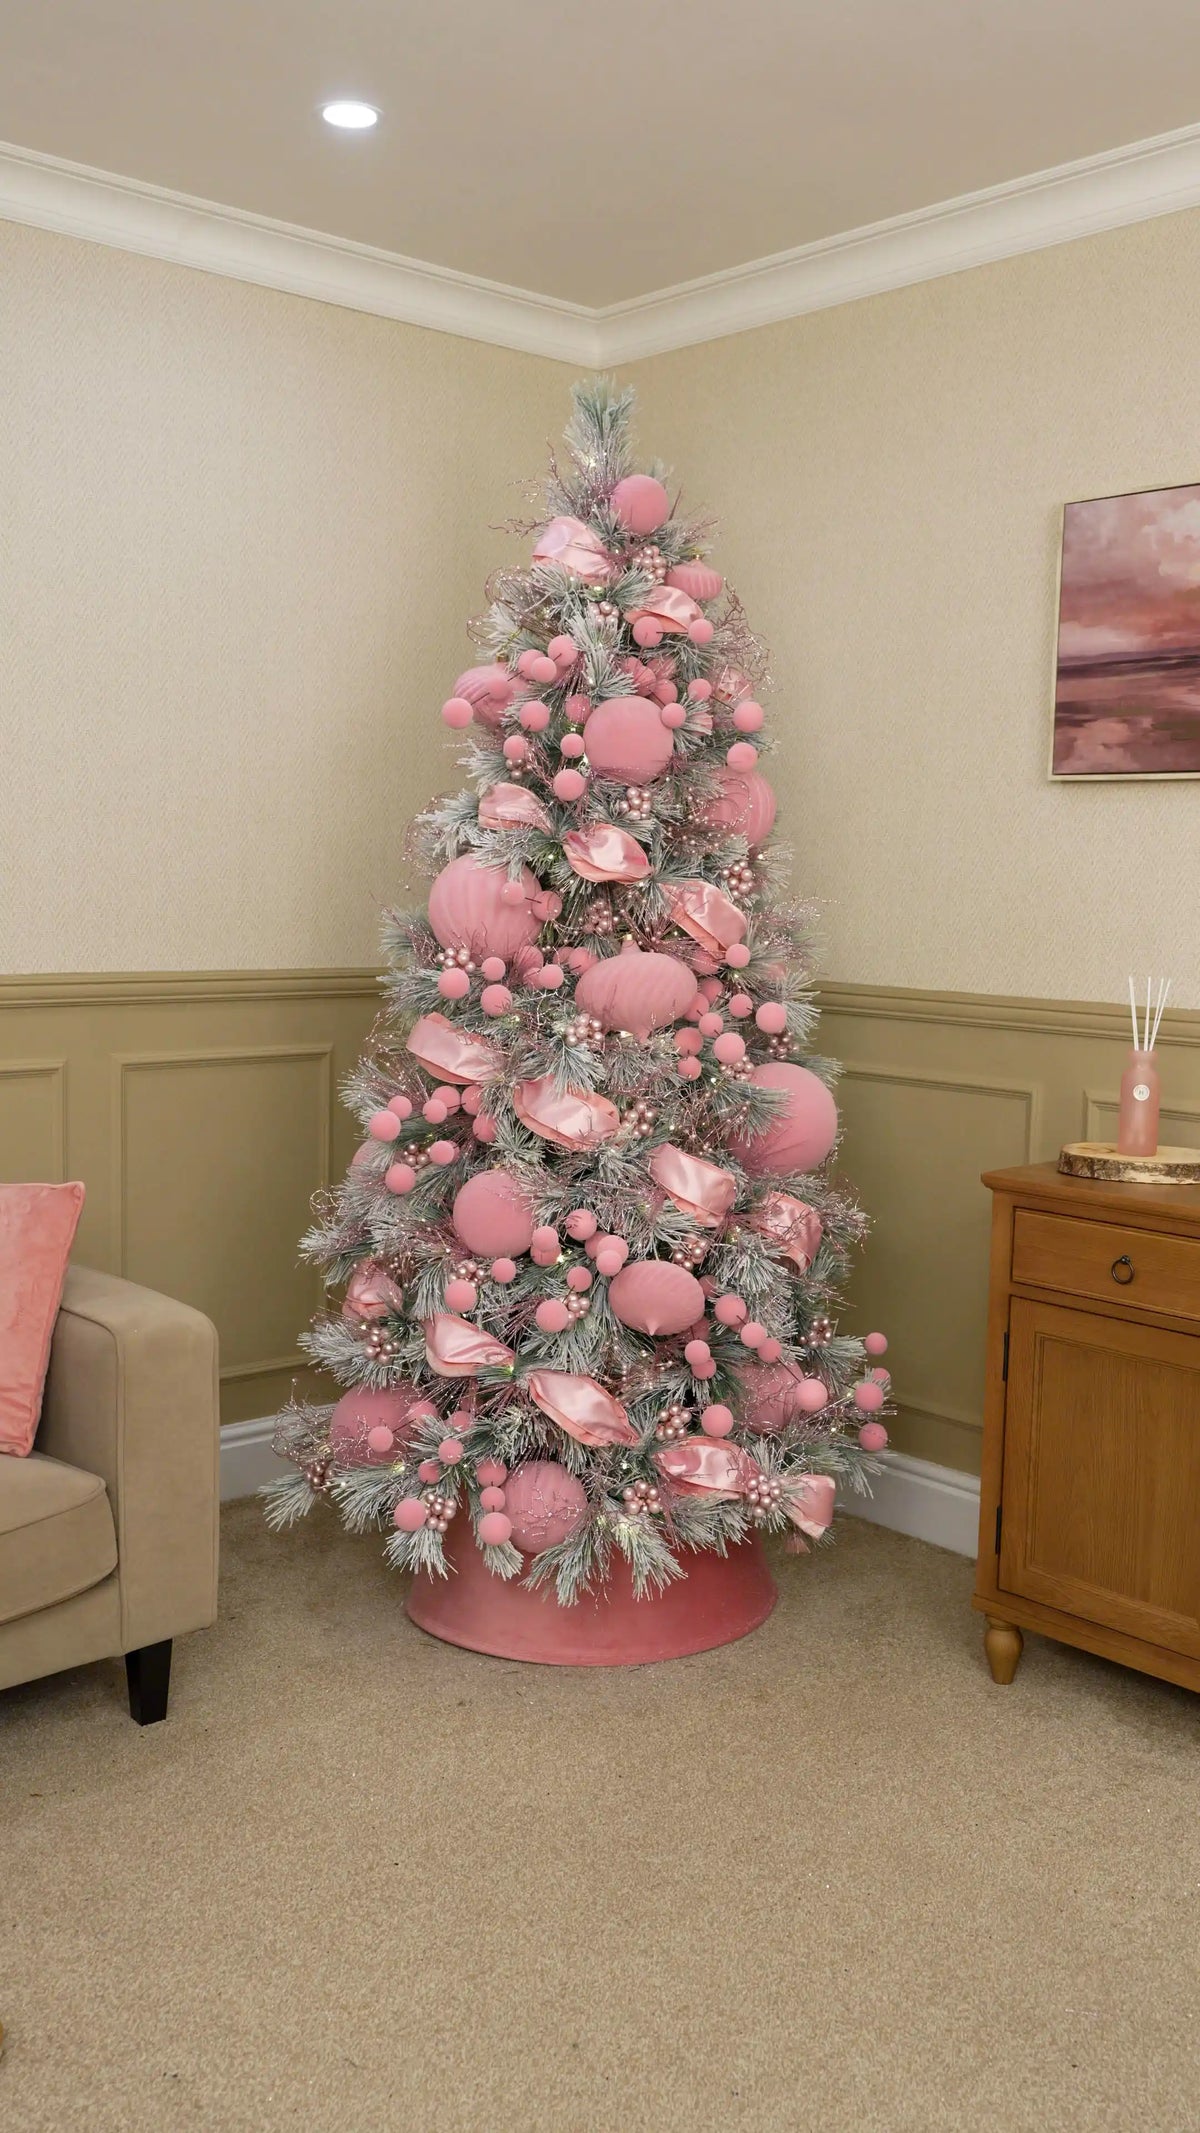
The Finished Look
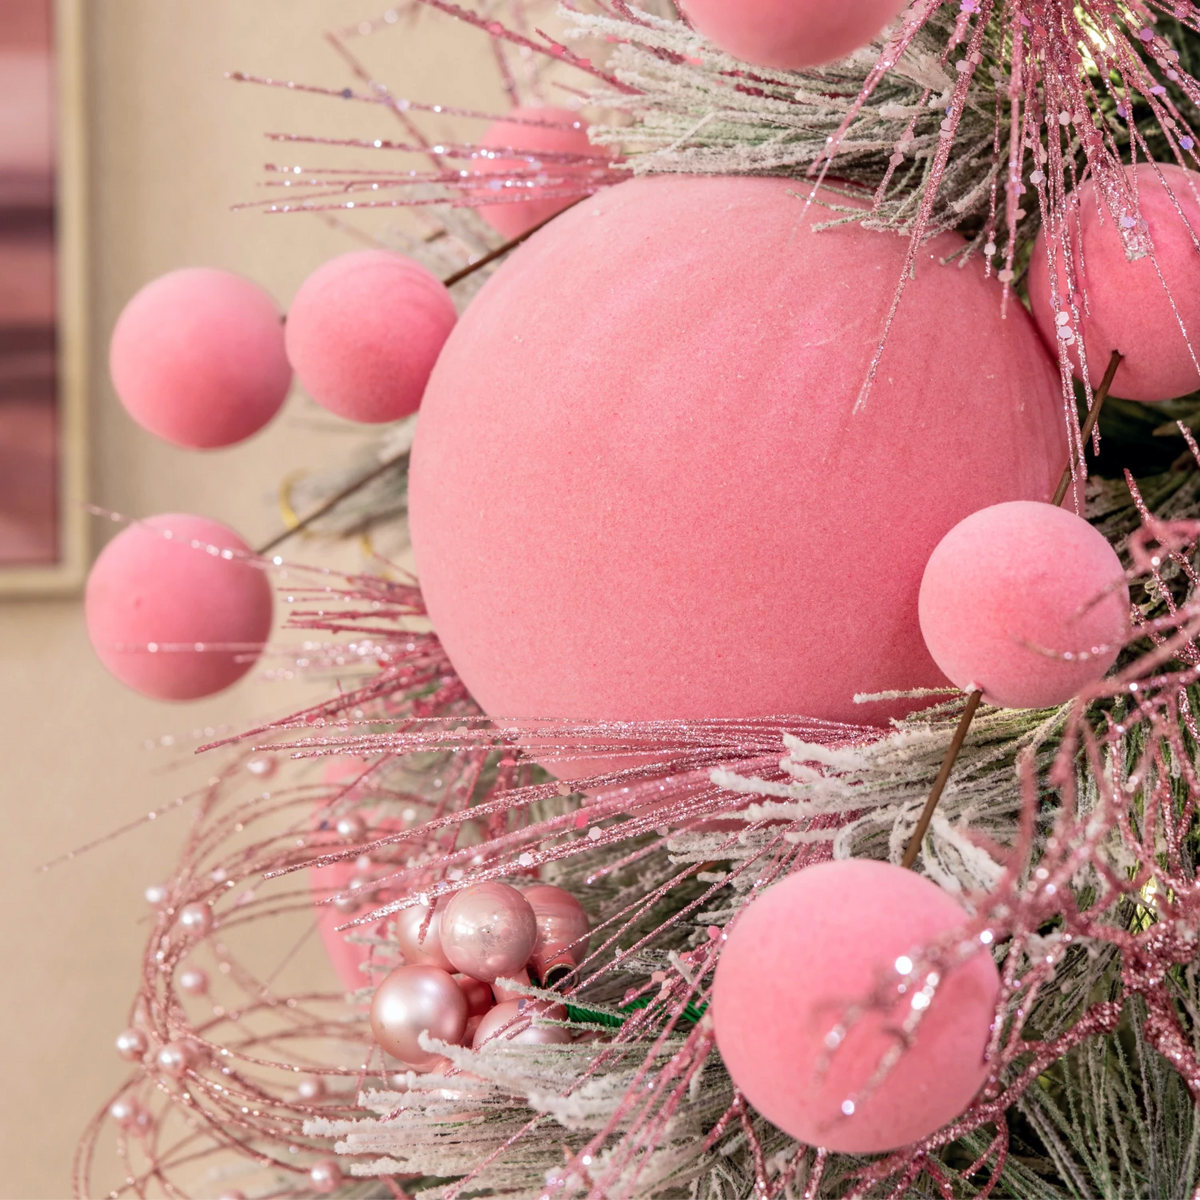
This pink velvet Christmas tree combines layered ribbon bubbles, oversized velvet baubles, glitter picks, glass berry clusters and firework sprays to create a soft, elegant festive look with plenty of texture and sparkle.
The diagonal ribbon layers give the tree its main structure, while the different bauble sizes build depth between each sweep. Pink glitter nests and coral picks add finer detail, while the glass berry clusters and firework sprays catch the warm lights and bring a delicate shimmer to the snowy branches.
Paired with the Pink Velvet Tree Collar and the snow-flocked foliage, this pink velvet Christmas tree theme creates a luxurious festive centrepiece that feels soft, polished and beautifully seasonal.
Shop the look highlights

Choose your option


Choose your option


Choose your option


Choose your option


Choose your option


Choose your option


Choose your option


Choose your option


