The Black & Gold Look

Dramatic Black & Gold Styling
Follow our simple step-by-step guide to style the timeless look with foliage, baubles and texture. Watch the video below for the full look.
Watch The look
Come to life
Come to life
Watch our video on how to style a Christmas tree with black and gold decorations to create a bold and luxurious look with velvet ribbon, metallic detail and dramatic festive elegance.

Step-by-step
Make sure every branch of your 7 ft Royal Fir Christmas Tree has been carefully fluffed before you begin adding any decorations. Properly shaping your tree at the beginning creates a fuller silhouette and gives every ribbon section, bauble, pick and flower somewhere to sit naturally.
To help, you can stand back every few minutes while fluffing to check how the tree is looking from a distance. This makes it much easier to spot any uneven areas that remain.
Once you’re happy with the shape, position your Black Metal Tree Collar around the base before the rest of the decorating. The black finish carries the darker tones through to the base of the tree, while the green foliage creates a rich backdrop for the gold details.

Start the main decoration layer with your Black and Gold Diamond Wire Edge Velvet Ribbon.
Begin near the top of the tree at the front, then work downwards, creating soft ribbon bubbles as you go. To create each bubble, take a small section of ribbon and gently curve it outwards before tucking it back into the tree. Twist a branch around the tucked section to secure it in place.
Repeat this process down the front of the tree, shaping each ribbon bubble so the diamond pattern remains visible. The wired edges help the ribbon hold its shape and make it easier to create a full, flowing finish.
Once the front section is complete, repeat the same technique down each side of the tree. This carries the ribbon pattern around the design and creates a soft velvet layer ready for the baubles and gold details.

The largest decorations should usually be added to your tree first. So for this black and gold look, begin with your 20cm black and gold baubles in shiny, matt and glitter finishes.
Position them mainly through the lower half of the tree, where the wider branches can support their scale more naturally. Alternate between black and gold as you work, mixing the different finishes so the design feels varied rather than too uniform.
Place the baubles between the ribbon bubbles, keeping them visible without covering too much of the ribbon. This helps the velvet pattern and oversized baubles work together as the main foundation of the design.

Next, add your 15cm and 10cm black and gold baubles throughout the tree.
Use the 15cm baubles to fill larger spaces between the oversized decorations, then work the 10cm baubles into smaller gaps and upper sections where the branches become narrower.
Continue alternating black and gold, mixing shiny, matt and glitter finishes as you go. Position some baubles closer to the ribbon and others slightly deeper into the branches, helping the colours and finishes flow naturally from top to bottom.

Once the main bauble layer is in place, add Gold Berry Picks throughout the remaining gaps between the ribbon and baubles.
Slide the stems into the branches, leaving the berries visible, then gently spread them out so they sit naturally among the greenery. Work across the front and sides of the tree, spacing the picks evenly enough to carry touches of gold throughout the design.

Next, add 33cm Gold Twig Picks throughout the tree to introduce a finer metallic texture.
Tuck the stems into the branches, allowing the gold twigs to extend slightly beyond the greenery so their shape remains visible. Spread them across the front and sides, placing them between the baubles, berry picks and ribbon sections.

To bring in another black detail, add Mini Black Poinsettias throughout the tree.
Clip them onto branches among the baubles and gold picks, positioning each flower so the petals face outwards and remain visible against the greenery. Their smaller size makes them ideal for filling little gaps without overpowering the rest of the design.

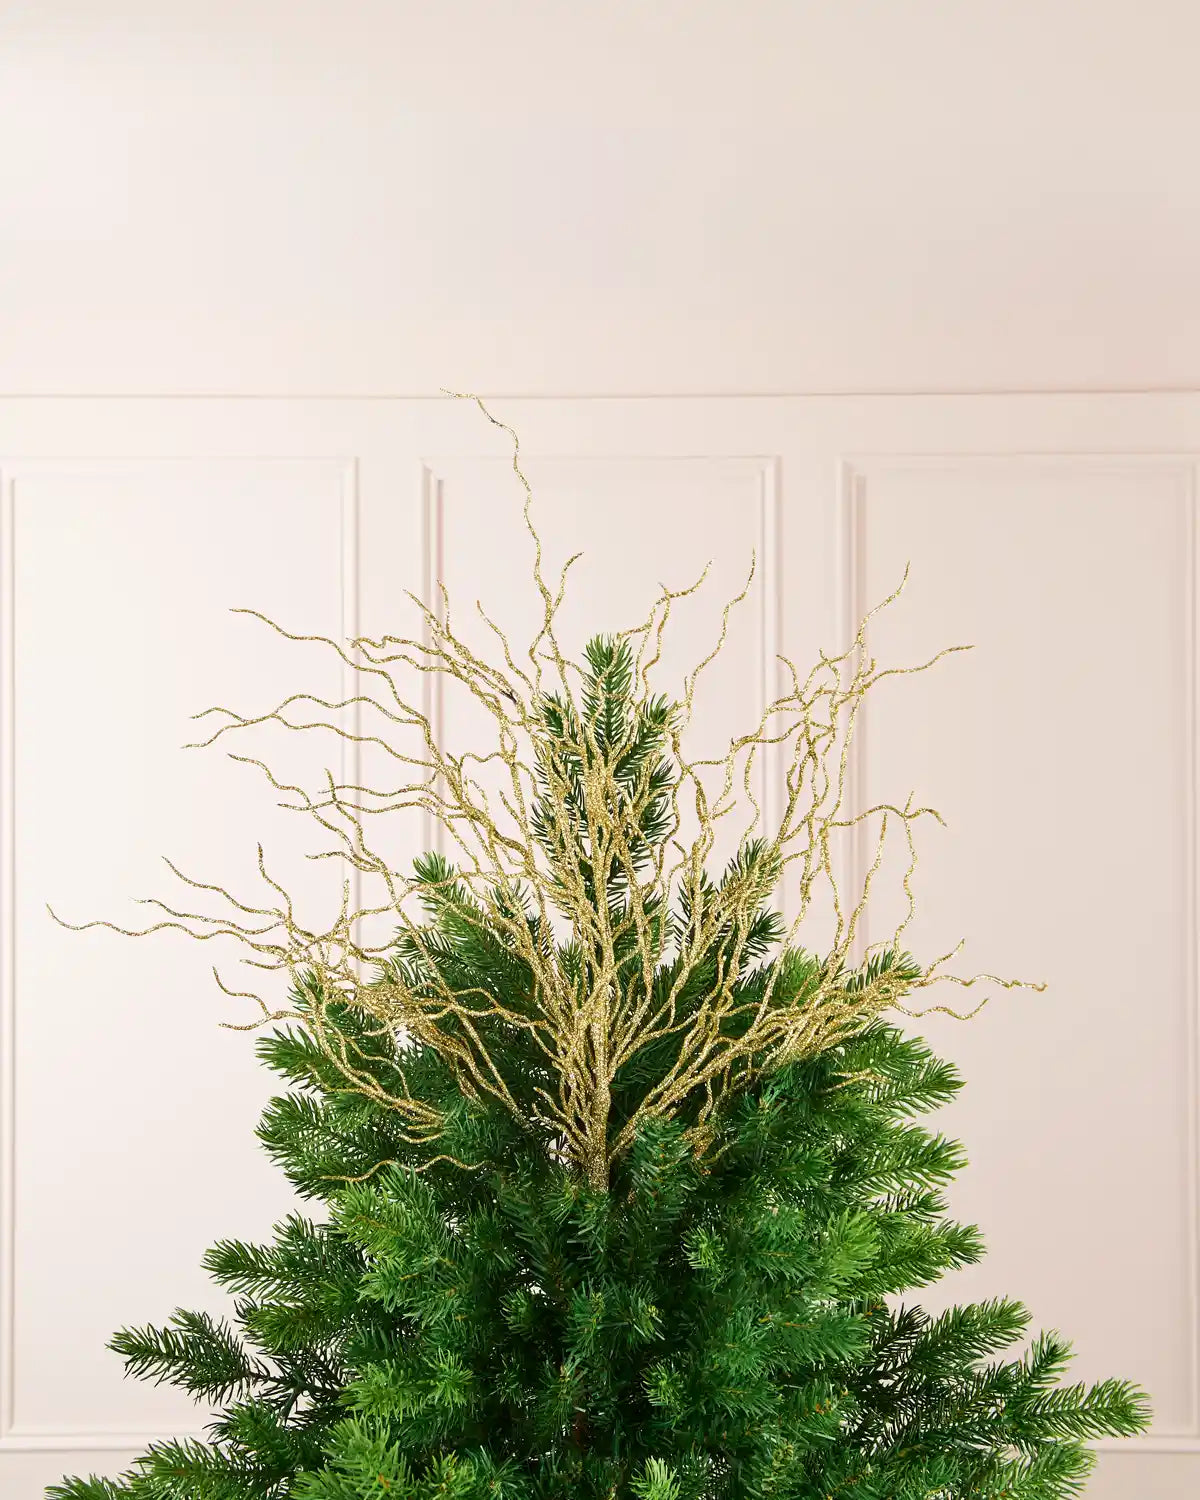
Finish the tree with a 90cm Gold Twig Tree Topper.
Position the topper securely at the top of the tree, then gently arrange the twigs so they fan out above the branches and create a full, balanced shape. Spread the individual stems so each part of the topper remains visible.

The Finished Look
This black and gold Christmas tree combines velvet ribbon, oversized baubles, gold berry picks, twig details, black poinsettias and a statement topper to create a bold, elegant festive look.
The black and gold ribbon creates a soft, flowing structure through the tree, while the baubles build depth with a mix of shiny, matt and glitter finishes. Gold berry picks and twig details add sparkle, texture and movement, while the mini black poinsettias bring another layer of dark, dramatic detail.
Paired with the Black Metal Tree Collar and the rich green foliage of the Royal Fir, this black and gold Christmas tree theme creates a luxurious festive centrepiece that feels full, striking and beautifully polished.
Shop the look highlights